Purge the Sins of the Horadrim
Time: 2025-08-11
New bonds are forged as old enemies arise, reborn and hellbent on untold destruction. On July 1, Season 9: Sins of the Horadrim lets you wield powerful Horadric Spellcraft and unearth the secrets of the past in a new Seasonal Questline. Unearth and cleanse Blood Relics infused with Astaroth’s corruption to staunch his malevolent return to Sanctuary. This update also brings permanent updates to Nightmare Dungeons for both Seasonal and Eternal Realms, including new Horadric Strongroom micro-dungeons, endgame Escalating Nightmares, and new Nightmare Dungeon affixes.
Seek Penance in the Seasonal Questline
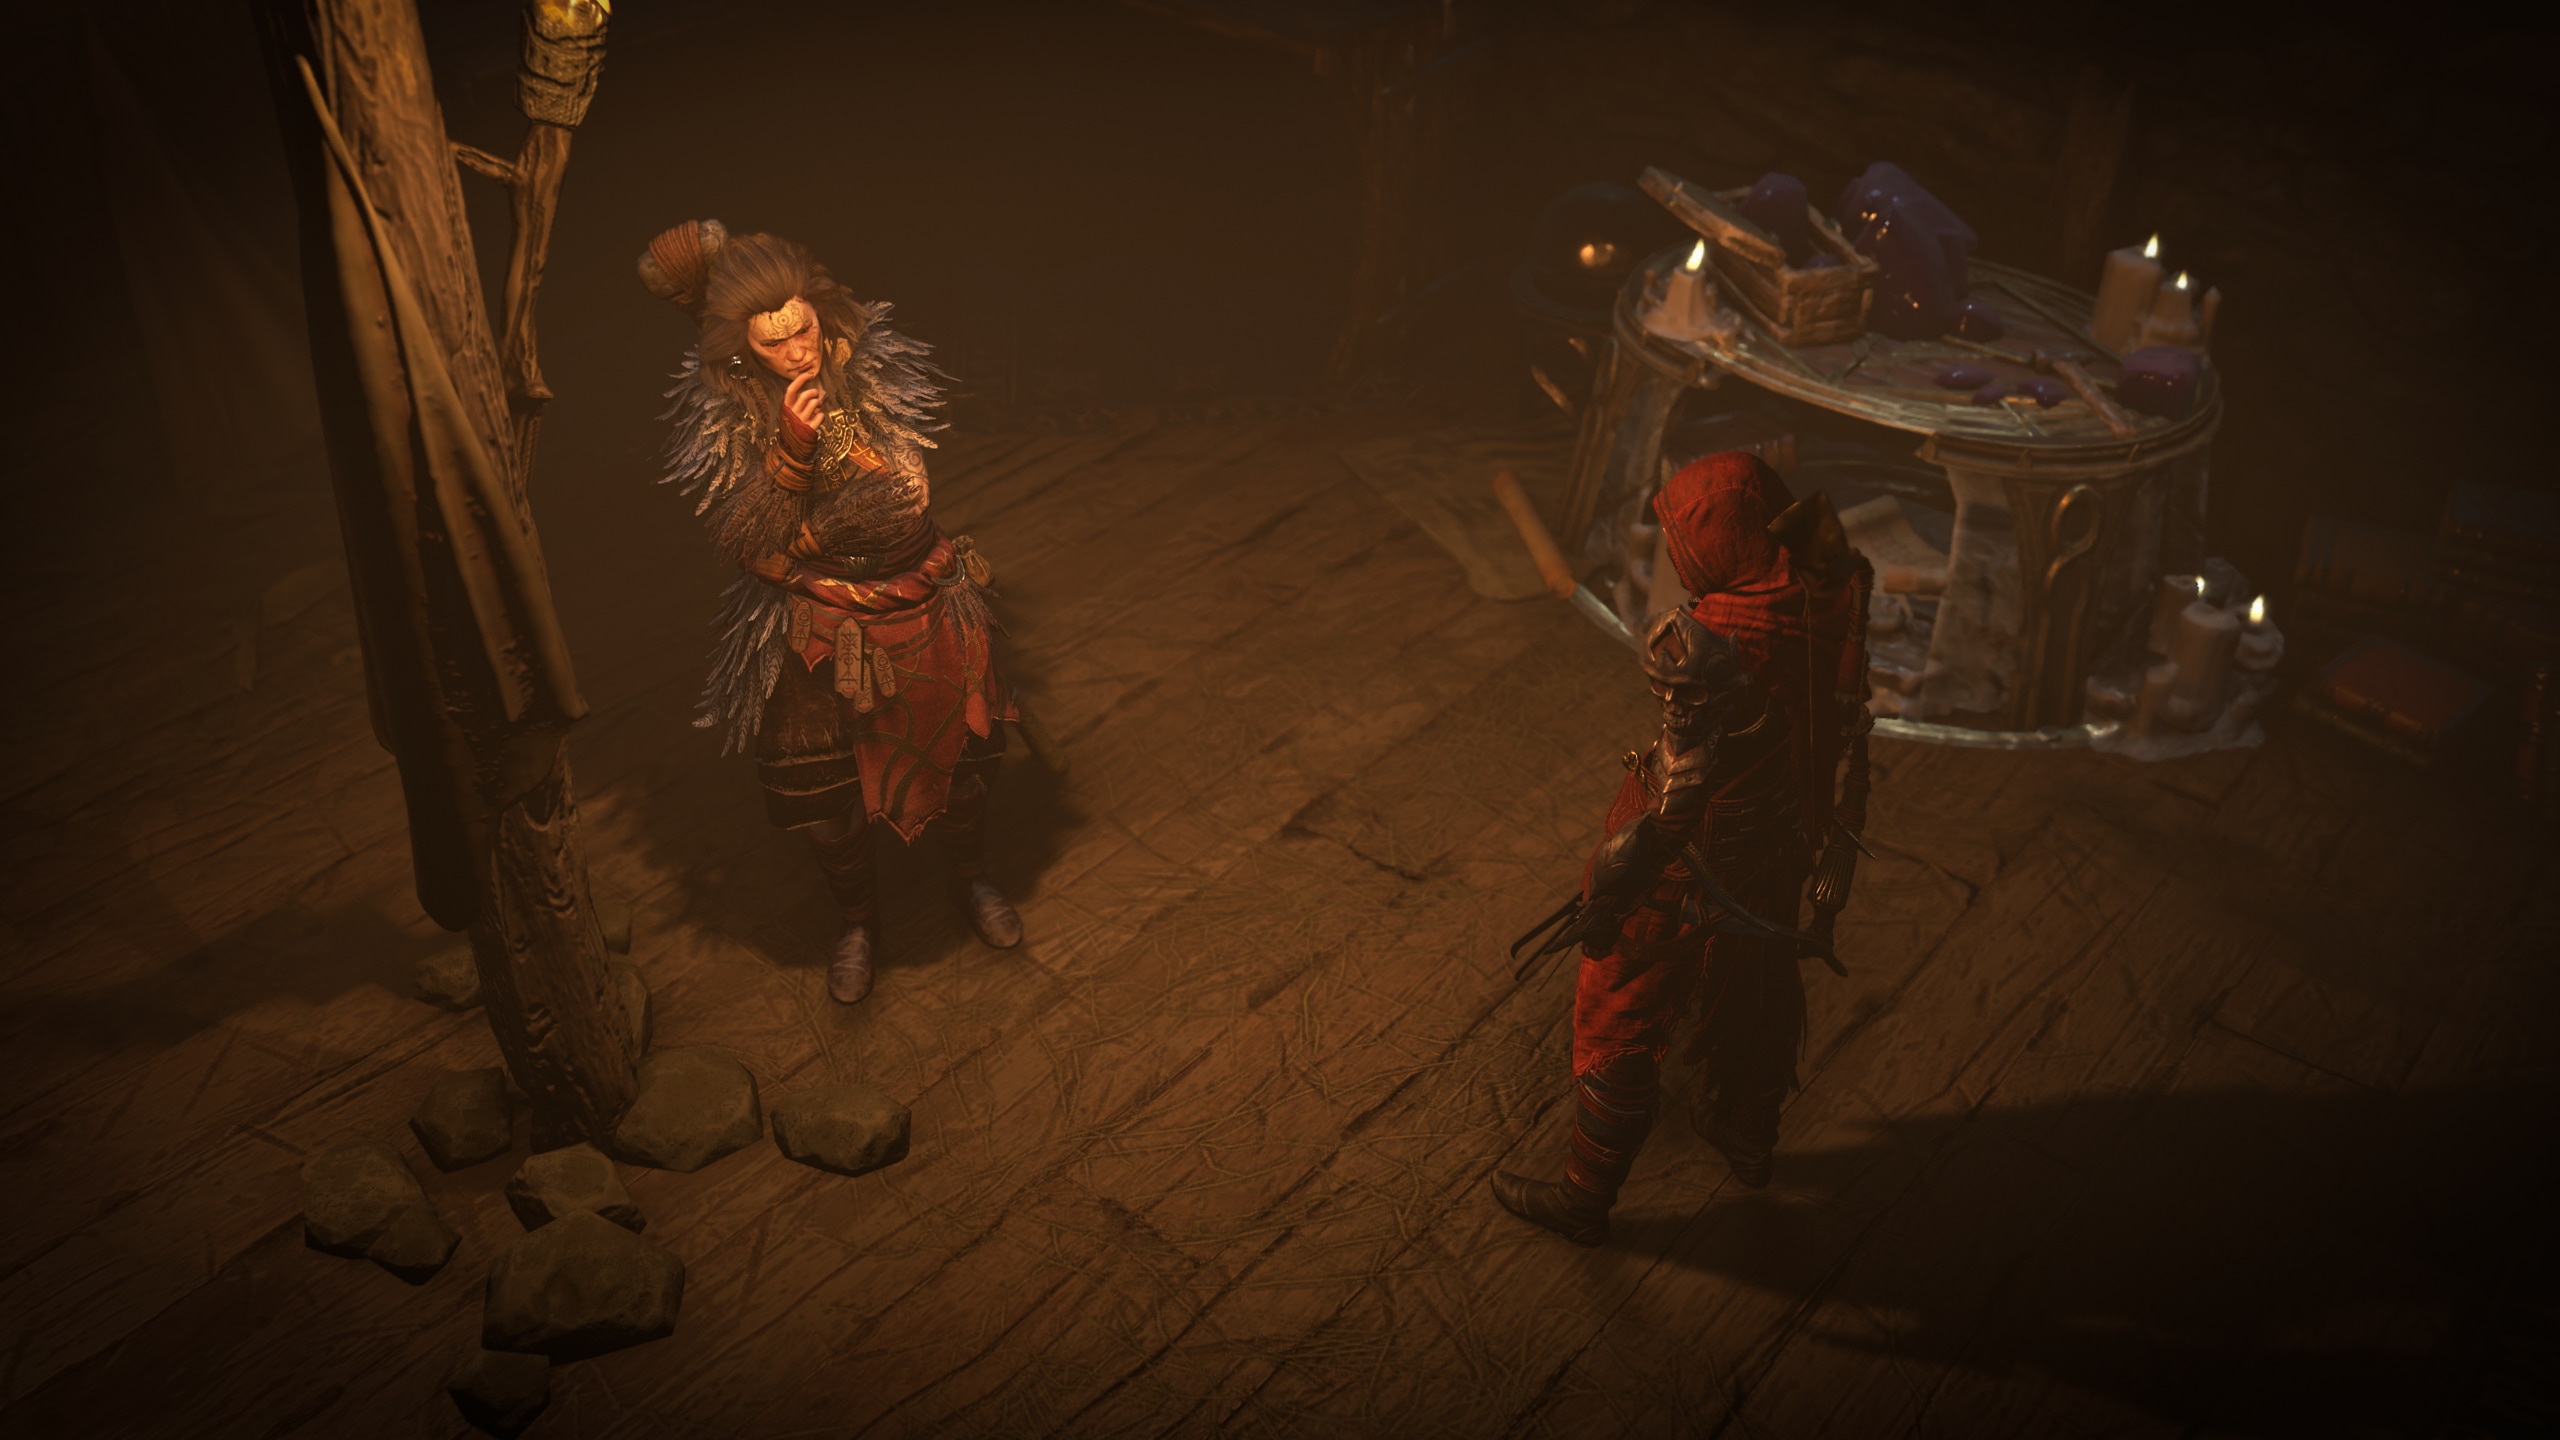
All bonds that hold strong are eternally subject to the entropy of the universe; they crack and fragment, eventually unleashing whatever horrors lay within. Season 9: Sins of the Horadrim takes you to Cerrigar, where you’ll meet the Druid Bryona. Bryona must contend with decisions made by Donan—the Horadric Mage responsible for sealing away Astaroth upon his defeat—that now threaten to once again endanger her home and her people.
It’s your task to discover and purge the blood relics influenced with Astaroth’s blood before they fall into demonic hands.
To begin the The Embers Yet Smolder questline, find Bryona in Cerrigar, northwest of the Waypoint. You must have also completed Diablo IV’s base game campaign and created a new character on the Seasonal Realm.
During the Seasonal Questline, you’ll discover the secret to unlocking Horadric Strongrooms and delve further into these archives of this once sacred order. You’ll also gain access to the Horadric Focus in Cerrigar. This powerful device of the Horadrim is where you can check your Seasonal Reputation (Horadric Knowledge) and earn rewards from the Seasonal Reputation Track.
Horadric Knowledge can be earned on the Seasonal Realm by slaying Mummified Horadrim in Strongrooms, Elite Enemies and Bosses. Note that Lair Bosses also grant Horadric Knowlege, but you must unlock their respective Hoard upon their defeat to claim it.
Horadric Phials can be earned in Nightmare Dungeons, Nightmare Escalations, Horadric Strongrooms, and Lair Boss Horde Chests. These Phials can be used in exchange for Horadric Knowledge at the Lapidary, and to craft Horadric Jewels.
This Questline also grants you access to the Horadric Wayfinder, which allows you to find Horadric Strongrooms hidden within Nightmare Dungeons.
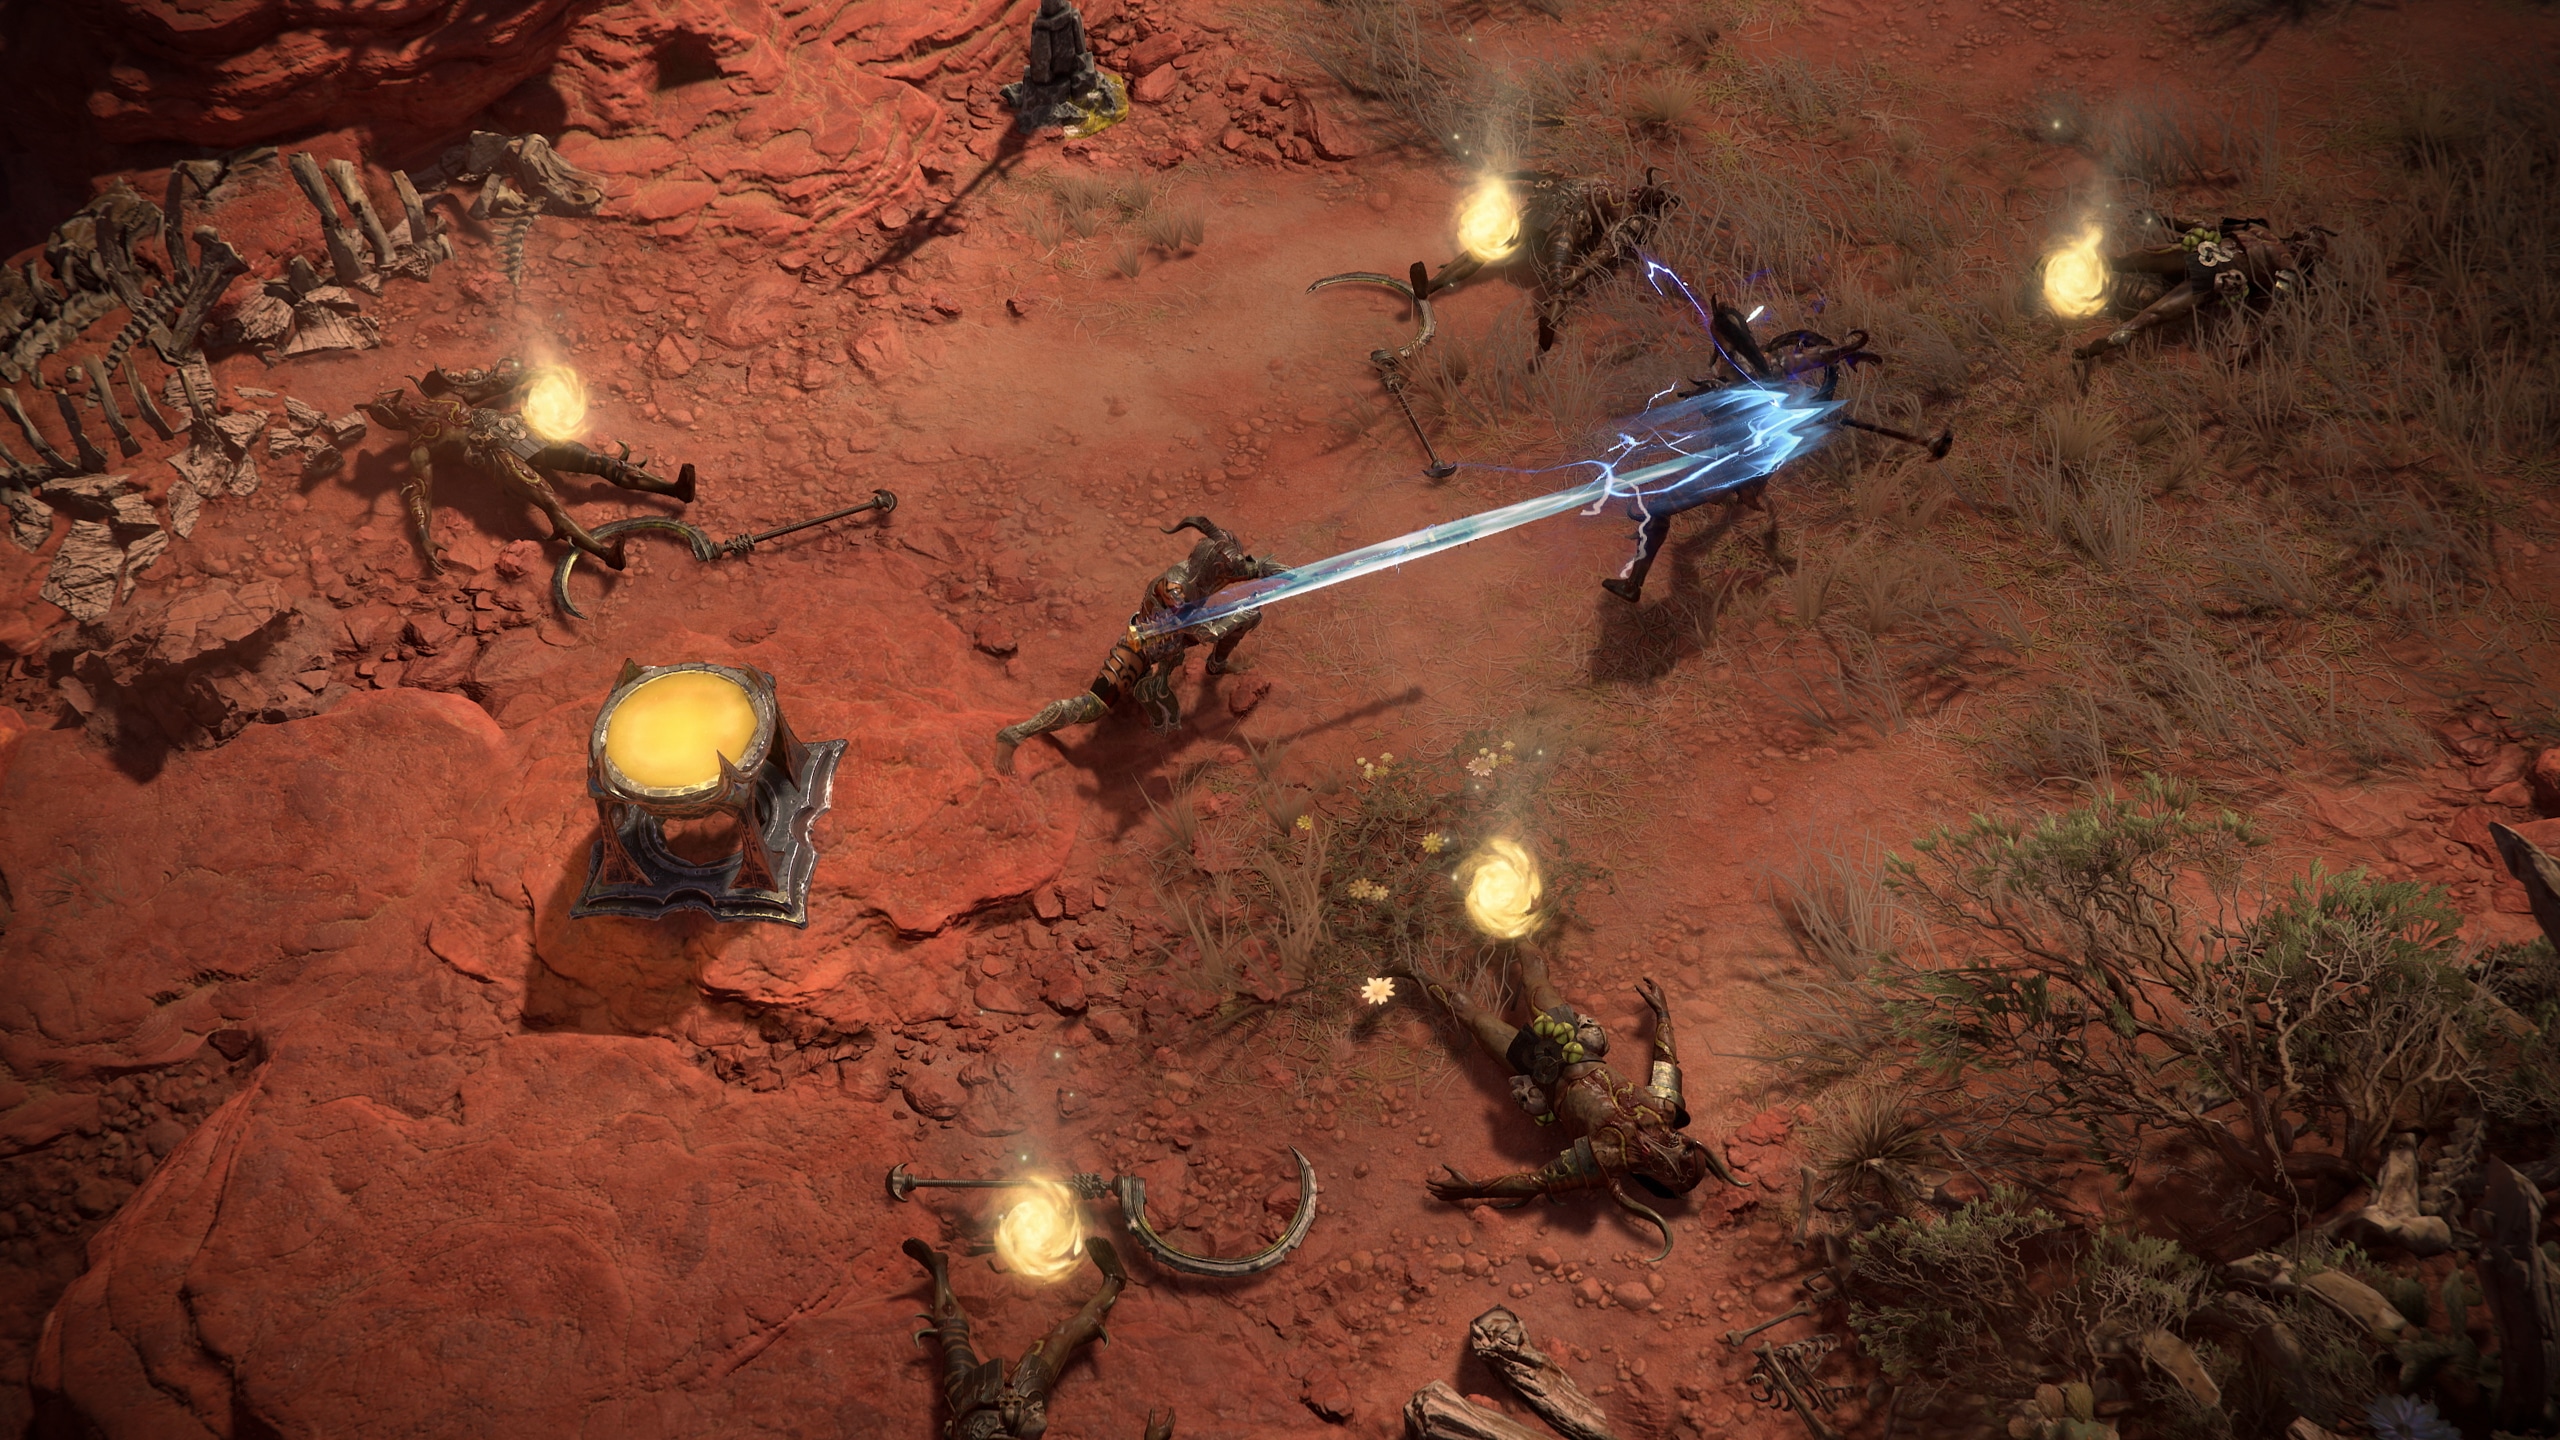
Customize Powerful Horadric Spells
The secrets of the Horadrim are buried throughout the world, laid plain for those who know not only how to look, but how to see as well. Unearthing secrets which have long since been locked away may reveal ghastly horrors, but can also grant untold power to those bold enough to seek them.
Season 9: Sins of the Horadrim introduces a new way to interact with your powers, granting access to powerful Spellcrafting abilities to create incredible new combinations. Through three key pillars, Horadric Spells provides novel ways to customize and build power at your fingertips. Link them to your abilities and unleash devastating double attacks tailored to your playstyle.
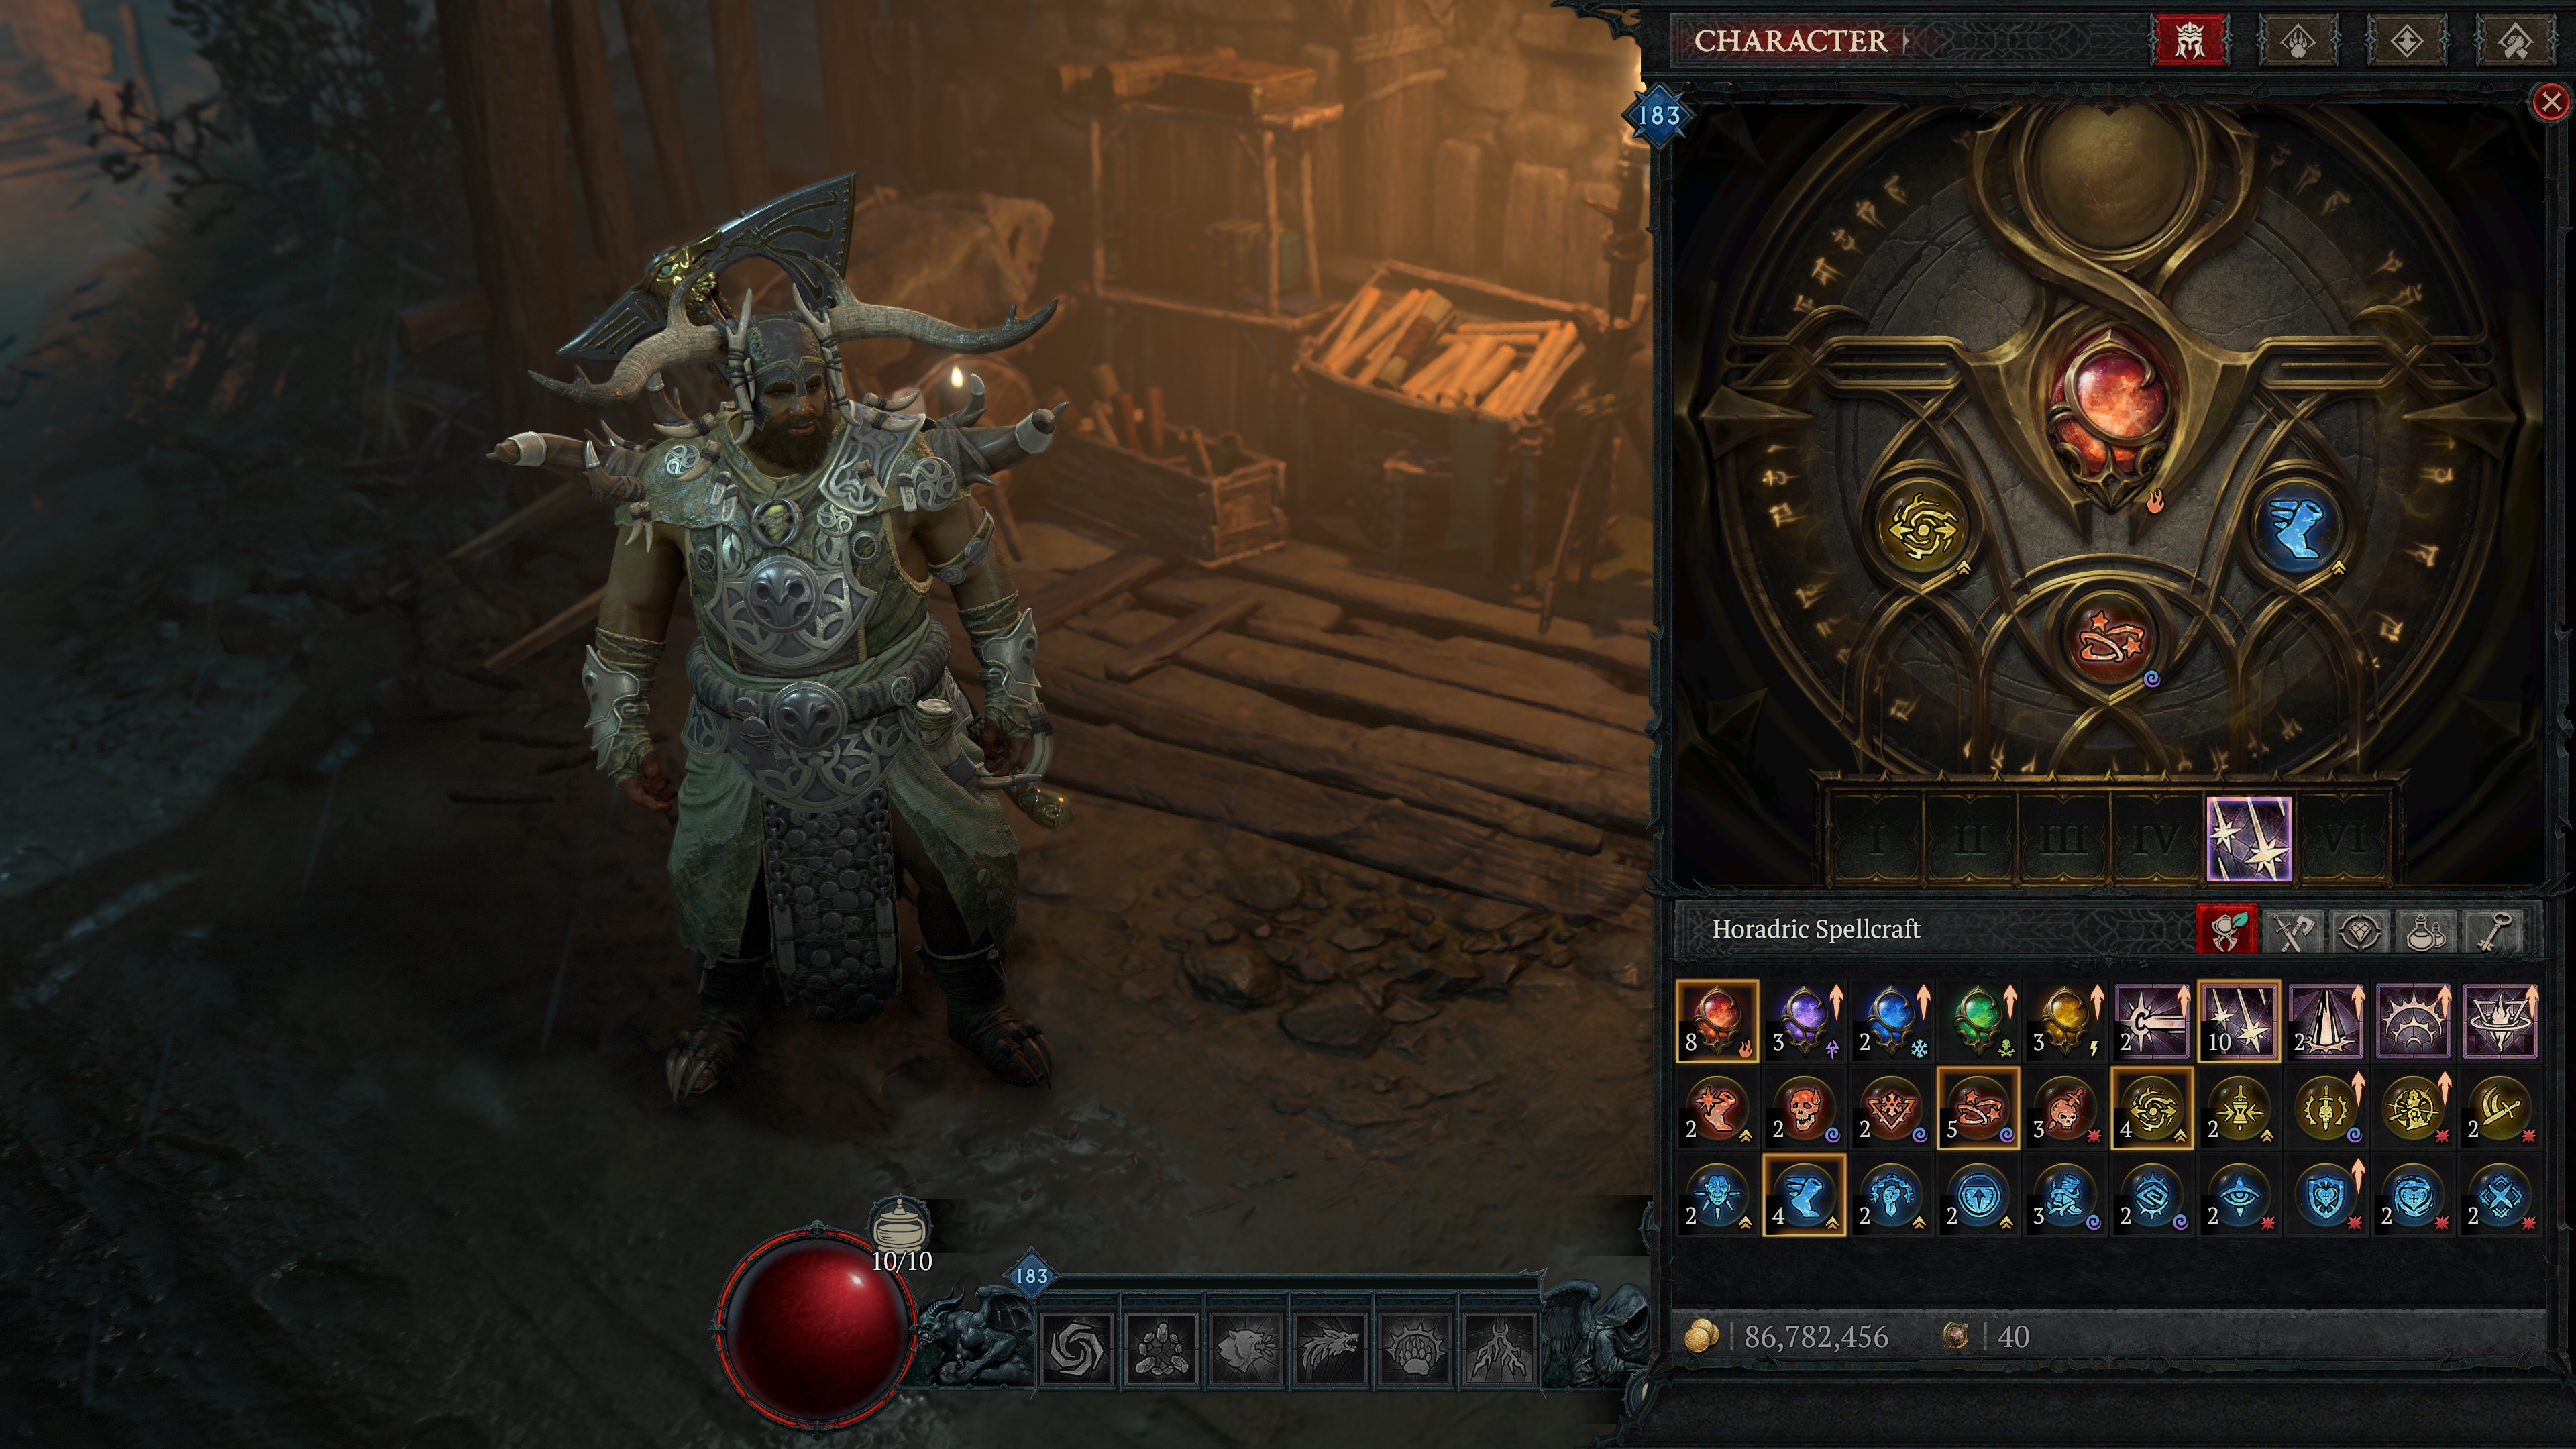
Three different potent elements combine to create these intense spells: Catalysts, Infusions, and Arcana.
- Catalysts: the base power of your spell
- Infusions: modifies the type of elemental damage your spell deals
- Arcana: adds additional effects to the base power of your spell
There are numerous possibilities through the different combinations of Catalysts, Infusions and Arcana. To build your Horadric Spell, you can equip a main Catalyst, an Infusion to support, and three Arcana to augment and build your spell. Each element contributes to your overall spell, allowing you to tinker and discover incredible results. This is your chance to really experiment and wield Horadric magic with untold potential.
Completing your arsenal of Horadric Spellcraft is done in a couple different ways. Gain access to Catalysts and Infusions through the Seasonal Questline, while Arcana will be found as a reward from completing Horadric Strongrooms.
Catalysts
The main source of power for your Horadric spell.
- The foundation of your spell, providing it form and function.
- Catalysts have their own Cooldown, Lucky Hit, and Rank 10 Bonus.
- Catalysts will activate off a specific Action Bar Skill based on the interface slot they are placed into.
- Your Action Bar Skill will glow with purple magic while your Catalyst is available to activate.
- These can be customized further with Infusions and Arcana.
Celestial Surge
Astral Magic
- Awaken an Oracular Rune that Pulls In all surrounding enemies. A torrent of stars follow that randomly strike the area 20 times for damage each.
- Cooldown: 15 seconds (11.2 seconds at Rank 20).
- Lucky Hit Chance: 30% 18%
- Rank 10: Stars periodically fall around you and are guaranteed to crash around a Nearby enemy for the same damage.
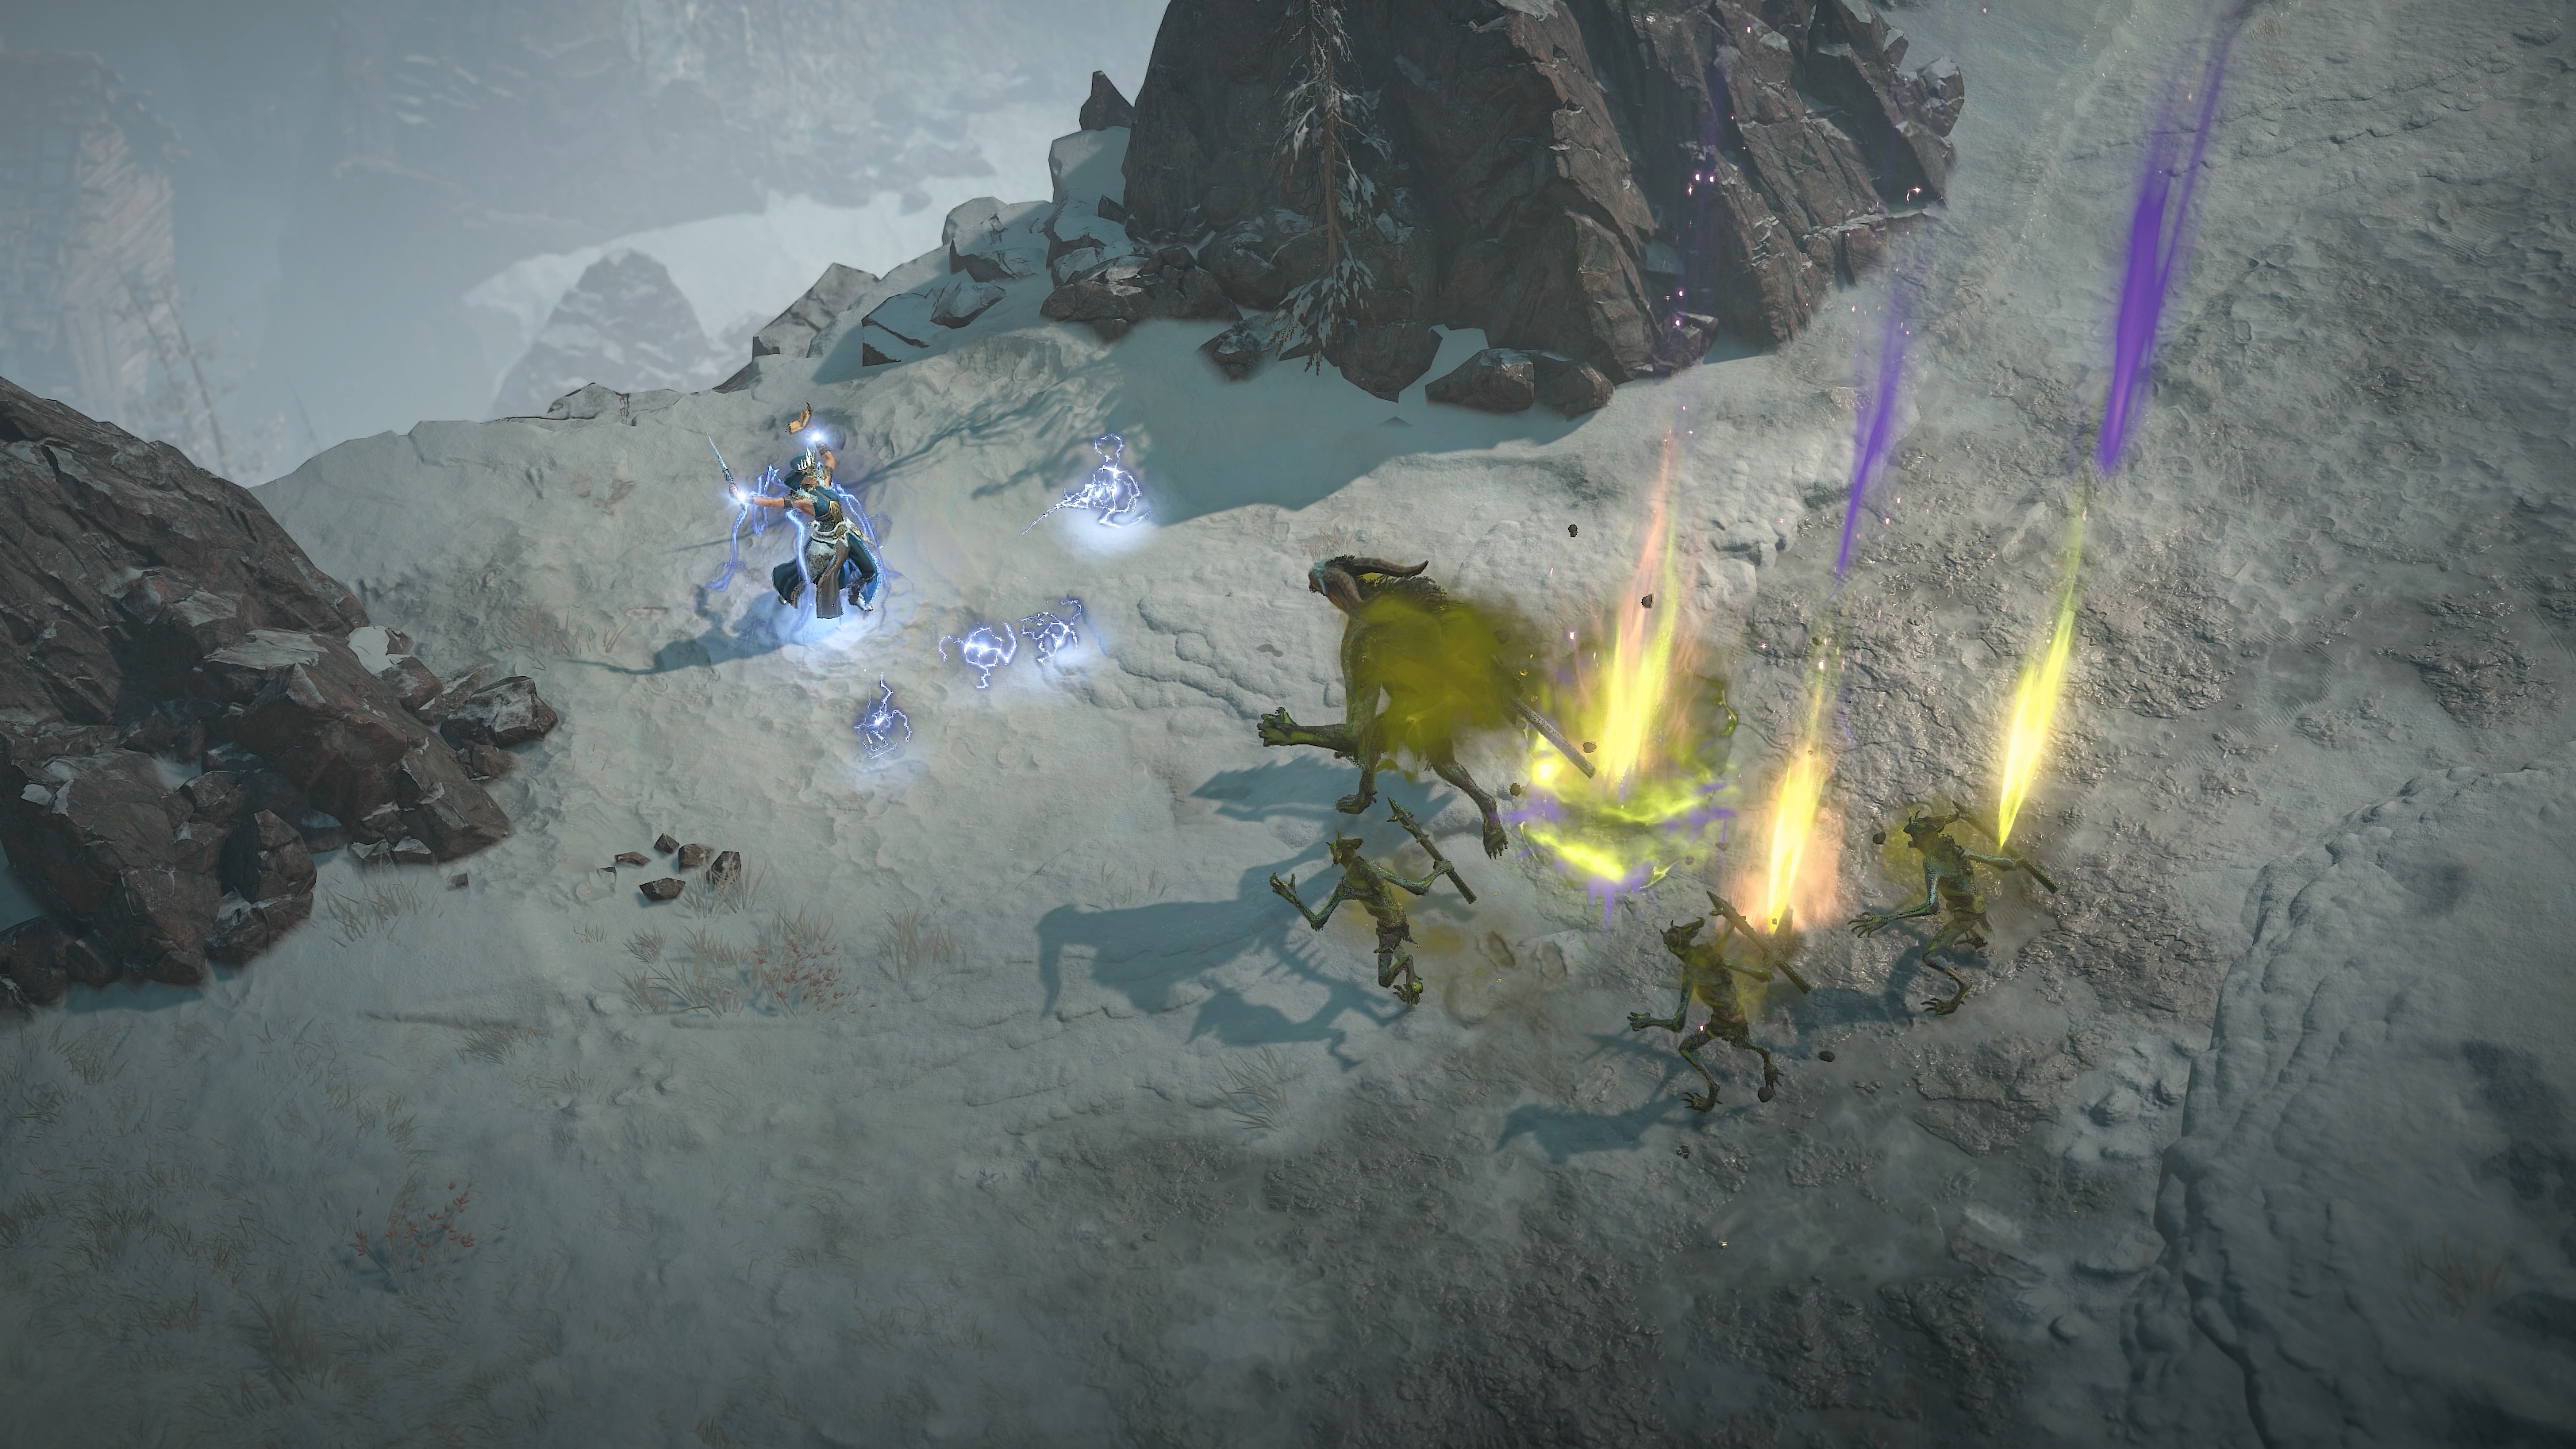
Disintegrate
Arcane Magic
- Form an Arcane Conductor that emits a persistent beam between itself and you, dealing a steady blitz of damage over 8 seconds.
- Cooldown: 10 seconds (5.3 at Rank 20).
- Lucky Hit Chance: 9%
- Rank 10: Enemies within the beam are Slowed by 50%.
Propulsion
Arcane Magic
- Generate a Mana Blast that delivers damage and Knocks Back all foes. Enemies that collide take another damage.
- Cooldown: 9 8 seconds (4.3 3 at Rank 20).
- Lucky Hit Chance: 15%.
- Rank 10: The Knock Back is gargantuan and enemies slammed into terrain by it form a Lesser Mana Blast the first time it happens to them.
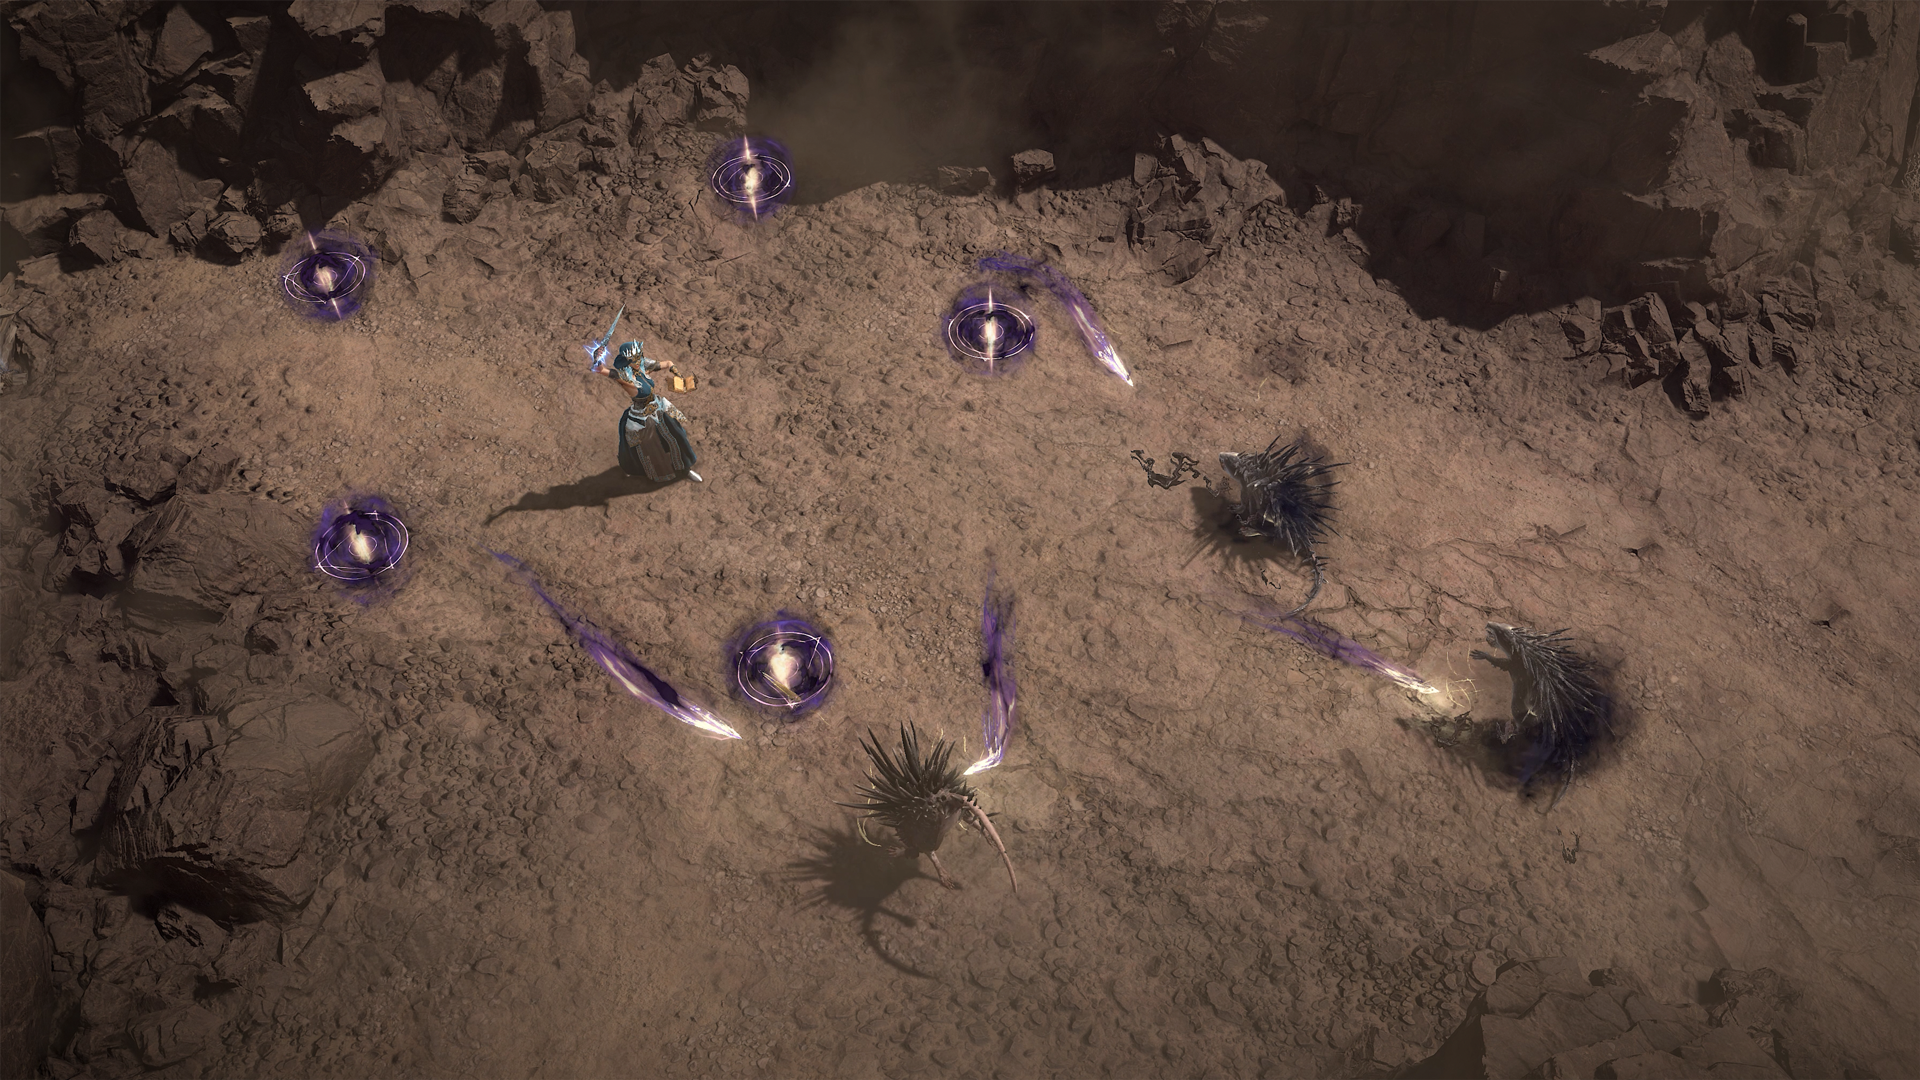
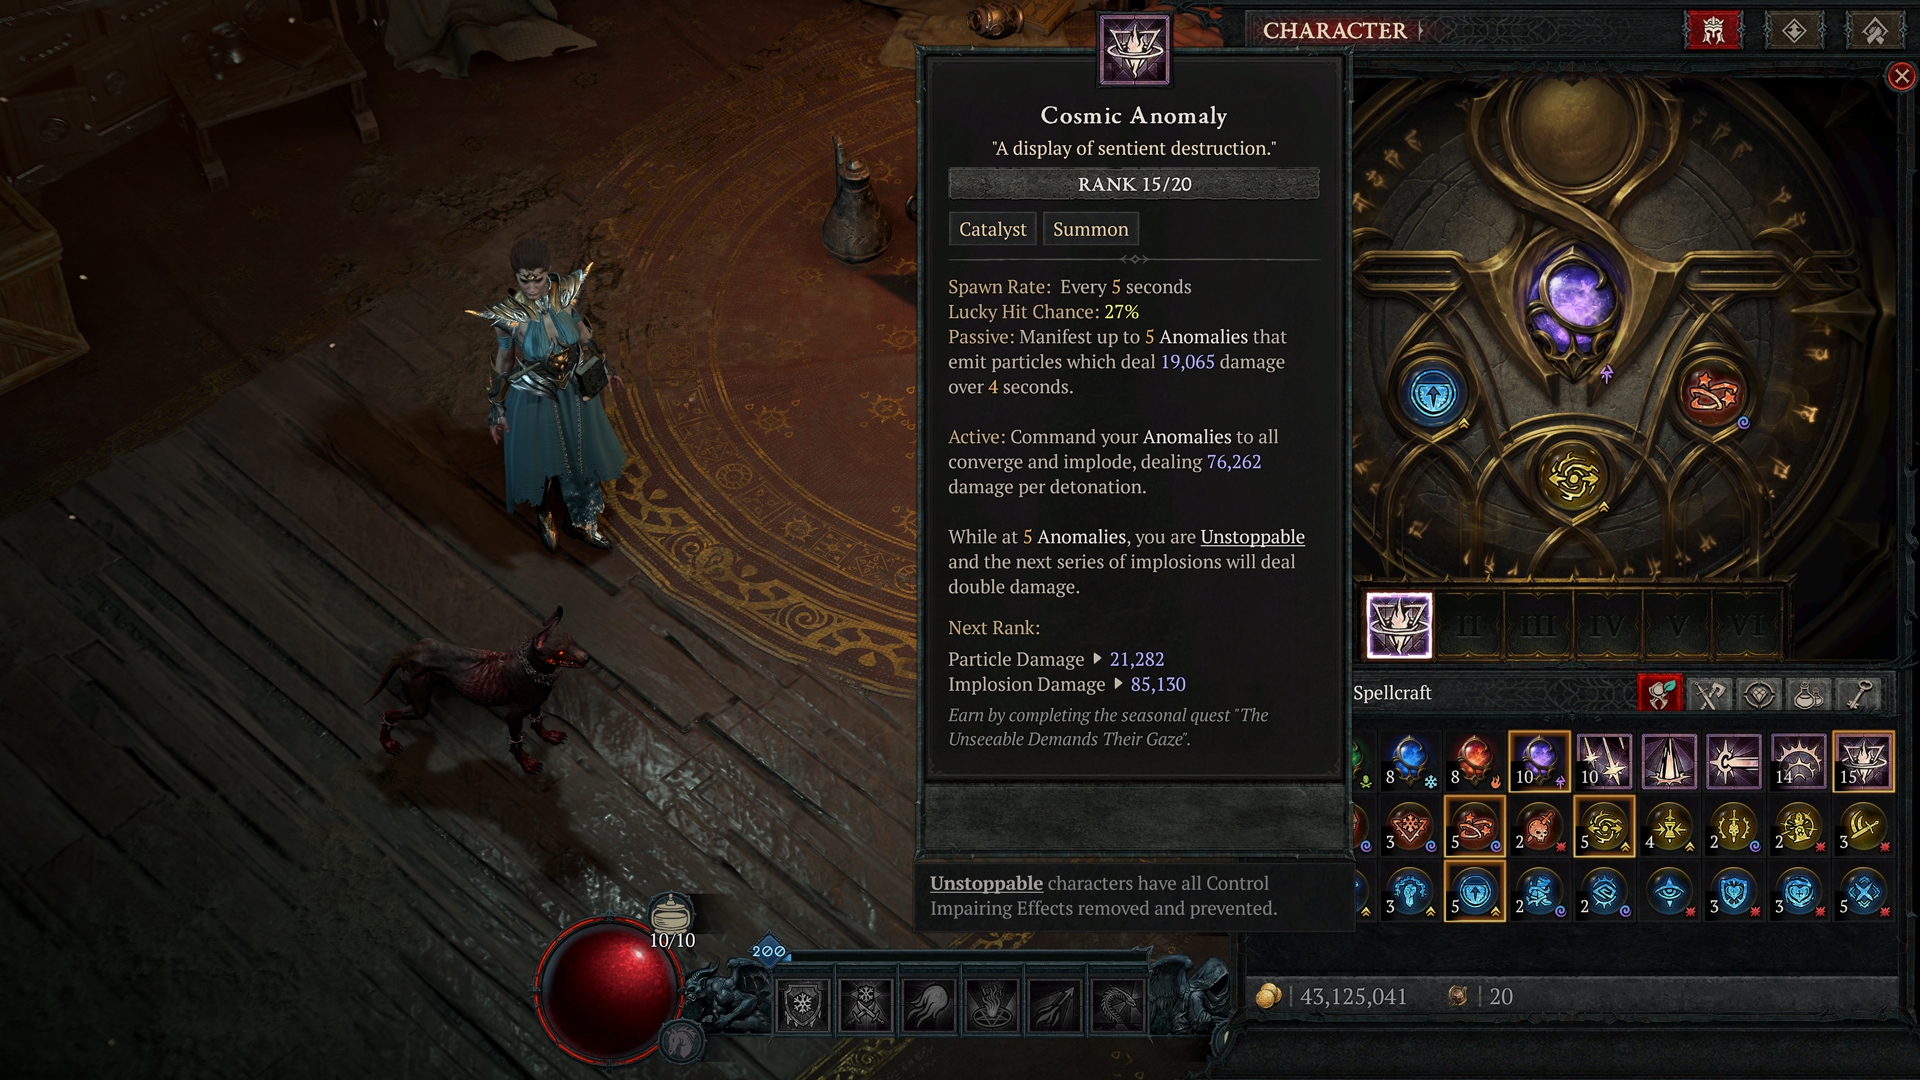
Cosmic Anomaly
Astral Magic
- Passive: Manifest up to 5 Anomalies that emit particles which deal damage over 4 seconds.
- Active: Command your Anomalies to converge and implode, dealing damage per detonation.
- Spawn Rate: Every 5 seconds.
- Lucky Hit Chance: 20%
- Rank 10: While at 5 Anomalies, you are Unstoppable and the next implosion will deal double damage.
Astral Pillar
Astral Magic
- Shape an Ethereal Column that Taunts for 3.0 seconds. Piercing waves flow from it and deal damage, until you create another one or move too far away.
- Cooldown: 7 seconds.
- Lucky Hit Chance: 12%
- Rank 10: The Taunted enemies become Vulnerable and move faster.

Infusions
These incantations imbue your Catalyst with power and magic.
- Modifies the type of damage or damage-over-time that your Catalyst deals.
- After levelling to Rank 5, each Infusion gains its own bonus that allows your Catalyst to deactivate specific monster affixes.
Smoldering Ember
Your Spell Catalyst now deals Fire and or Burning damage.
- Bonus: It destroys enemy structures and has a 10% chance to ignite the ground beneath enemies, dealing 150% 450% Burning damage over 5 seconds. While equipped, your Fire Damage Bonus is equal to that of your highest Damage Type Bonus.
- Rank 5: Deactivates monster Chilling Winds effects for 5 8 seconds.
Nebulous Extract
Your Spell Catalyst now deals Shadow and or Corrupting damage.
- Bonus: Enemies hit by it deal 5-10% reduced damage for 7 seconds. While equipped, your Shadow Damage Bonus is equal to that of your highest Damage Type Bonus.
- Rank 5: Deactivates monster Summoner effects for 5 8 seconds.
Glacial Nimbus
Your Spell Catalyst now deals Cold and or Frostbiting damage.
- Bonus: Enemies damaged by it are Chilled for 15-25%. This effect happens once per enemy every 1 second. While equipped, your Cold Damage Bonus is equal to that of your highest Damage Type Bonus.
- Rank 5: Deactivates monster Explosive effects for 5 8 seconds.
Corrosive Vapor
Your Spell Catalyst now deals Poison and or Poisoning damage.
- Bonus: Enemies damaged by it take 150% 320% Poisoning damage over 4 seconds. This effect can only happen on each enemy every 3 seconds. While equipped, your Poison Damage Bonus is equal to that of your highest Damage Type Bonus.
- Rank 5: Deactivates monster Vampiric effects for 5 8 seconds.
Thunderous Particle
Your Spell Catalyst now deals Lightning and or Sparking damage.
- Bonus: Enemies damaged by it arc 150% 320% Lightning damage to a surrounding enemy. This effect can only happen on each enemy every 3 seconds. While equipped, your Lightning Damage Bonus is equal to that of your highest Damage Type Bonus.
- Rank 5: Deactivates monster Suppressor effects for 5 8 seconds.
Arcana
Equip up to three different Arcana to modify your Catalyst in many ways.
- There are 3 tiers of Rarity for Arcana: Magic, Rare, and Legendary.
- Legendary Arcana adjust their effects based on the Catalyst they are bound to. Discover the depth and complexity as you delve through the possibilities.
- Contain specific spell tags that can be relied on to further modify your spell. Many powerful Horadric Jewels relate to these tags, incredible combinations await.
Magic
Tendrilous Bundle
- Lucky Hit: Damage from your Catalyst has up to a 35% chance to Immobilize for 5 seconds (+5% each rank).
Tranquil Stone
- Invoking your Catalyst grants Unstoppable for 3 seconds whenever it activates (+0.4 each rank).
Shifting Powder
- Your Catalyst increases your Movement Speed by 30% during its effect and for 5 more seconds after it ends (+8% each rank).
Luminous Gem
- Your Catalyst will Daze enemies it damages for 2 seconds (+1 each rank).
Murky Essence
- Invoking your Catalyst grants Stealth for 2 seconds whenever it activates (+0.4 each rank).
Invigorating Helix
- Once per enemy every 5 seconds, damage from your Catalyst will Fortify and Heal you for 5% of your Maximum Life (+1% each rank).
Bottled Wind
- Invoking your Catalyst grants a Barrier equal to 30% of your Maximum Life for 4 seconds. After it dissipates, its essence is bottled back up (+4% each rank).
Jagged Bramble
- Lucky Hit: Damage from your Catalyst has up to a 50% chance to deal 100% 150% of your Thorns damage (+30% each rank).
Reactive Ooze
- After your Catalyst activates, you gain 5% Maximum Resource Generation per second for the next 10 seconds (+3% each rank).
Volatile Crystal
- After your Catalyst activates, it grants 10% Resistance and Maximum Resistance to the Element of your Infusion for 10 seconds (+2% each rank).
Rare
Gleaming Conduit
- The effect size of your Catalyst is increased by 10% (+8% each rank).
Fractured Core
- Your Catalyst deactivates monster Damage Resistance Aura effects for 2.5 seconds, but you take 10% more stacking damage for the same time (+0.5 each rank).
Sapping Crux
- Your Catalyst applies Vulnerable for 3 seconds (+1 each rank).
Potent Alloy
- Your Catalyst destroys enemy Barriers and Knocks them Down for 1.0 seconds after the removal (+0.8 each rank).
Sharpening Gizmo
- Lucky Hit: Damage from your Catalyst has a 40%-80% 50% chance to deal 200% Physical damage consume damage-over-time effects and deal 100% of their damage instantly. Your Catalyst Lucky Hit Chance is doubled. (+30% 8% each rank).
Legendary
Floaty Bobble
- Your Catalyst gains a specialized blink effect that grants Unhindered for 2.0 seconds. (+0.4 each rank).
- Floaty Bobble creates the following effects for each Catalyst:
- Celestial Surge: Blinks you to the center of its Oracular Rune when it forms and grants Unhindered.
- Disintegrate: Blinks you to your target but leaves its Arcane Conductor behind. You are Unhindered while the beam is active and for 2.0 seconds afterwards.
- Propulsion: Blinks you to the center of the blast and makes you Unhindered for 2.0 seconds. The melee variant blinks you to the Knocked Back enemies.
- Astral Pillar: Blinks you to your focused destination and grants Unhindered for 2.0 seconds while dropping the flare at your previous spot for ranged variants.
- Cosmic Anomaly: Blinks you to its implosion, grants Unhindered, and cleanses all your negative effects.
Nightmare Orb
- Your Catalyst gains a specialized Fear effect that lasts 4.0 seconds. (+0.4 each rank)
- Nightmare Orb creates the following effects for each Catalyst:
- Celestial Surge: Stars Fear unaffected enemies for 4.0 seconds. After the Fear ends, there is a 25% 50% chance for another star to fall.
- Disintegrate: Fears unaffected enemies and deals 100% increased damage to them while they are Feared. for 4.0 seconds. Killing affected enemies restores 5% Maximum Life and Primary Resource.
- Propulsion: Removes enemy Vulnerable effects to Fear them. While Feared, those enemies randomly form Lesser Mana Blasts. to Fear unaffected enemies for 4.0 seconds. After the Fear ends, a Lesser Mana Blast is formed.
- Astral Pillar: Every 9th wave Fears for 4.0 seconds. Enemies close to it are Taunted and have their Fear removed. Solar Flare automatically Taunts and lures enemies that are Feared.
- Cosmic Anomaly: Anomalies Fear and apply an 80% 90% Slow to unaffected enemies they come into contact with for 4 seconds.
Frigid Heart
- Your Catalyst gains a specialized Freeze effect that lasts 3.0 seconds. (+0.4 each rank)
- Frigid Heart creates the following effects for each Catalyst:
- Celestial Surge: The Oracular Rune from Celestial Surge explodes and Freezes enemies. A second one forms after the star strikes end.
- Disintegrate: Your Disintegrate beams Freeze all affected enemies for 3.0 seconds after you Evade and also grant 15% Dodge Chance for double that duration.
- Propulsion: Enemies that collide twice are Frozen for 3.0 seconds.
- Astral Pillar: The flare Freezes surrounding enemies for 3.0 seconds when removed. Each Freeze increases your Lucky Hit Chance by 10% for 5 seconds, up to 25%.
- Cosmic Anomaly: Anomalies have a 10% 30% chance to preserve themselves instead of imploding and Freeze surrounding enemies.
Pressurized Steam
- Your Catalyst gains a specialized Stun effect that lasts 1.0 seconds (+0.4 each rank).
- Pressurized Steam creates the following effects for each Catalyst:
- Celestial Surge: The stars have a 25% chance to Stun and are guaranteed to Critically Strike Stunned enemies.
- Disintegrate: After being invoked, Disintegrate Stuns each enemy it damages one time. This Stun applies 100% more Stagger to Bosses.
- Propulsion: Enemies slammed into terrain by Propulsion are Stunned and have a chance to miss their next 2 attacks.
- Astral Pillar: Waves have a 30% chance to Stun for 1.0 seconds and are guaranteed to Overpower Stunned enemies.
- Cosmic Anomaly: The particles from your Anomalies deal their damage instantly and have a 25% chance to Stun.
Bloody Charm
- Your Catalyst gains a specialized Execute effect for non-Boss enemies with 10% or less Life. (+2% each rank)
- Bloody Charm creates the following effects for each Catalyst:
- Celestial Surge: The moon's impact Executes non-Boss enemies with 10% or less Life. Successful Executions reduce your Cooldowns by 2 seconds.
- Disintegrate: Non-Boss enemies with 10% or less Life are immediately Executed. This threshold is doubled for non-Elite enemies.
- Propulsion: The Mana Blast from Propulsion will Execute non-Boss enemies. with 10% or less Life. Successful Executions reset it grant 70% Movement Speed for 5 seconds.
- Astral Pillar: Will launch additional waves towards Executable non-Boss enemies to Execute them.
- Cosmic Anomaly: Executes non-Boss enemies with its implosion. Successful Executions increase your Attack Speed by 20% for 8 seconds.
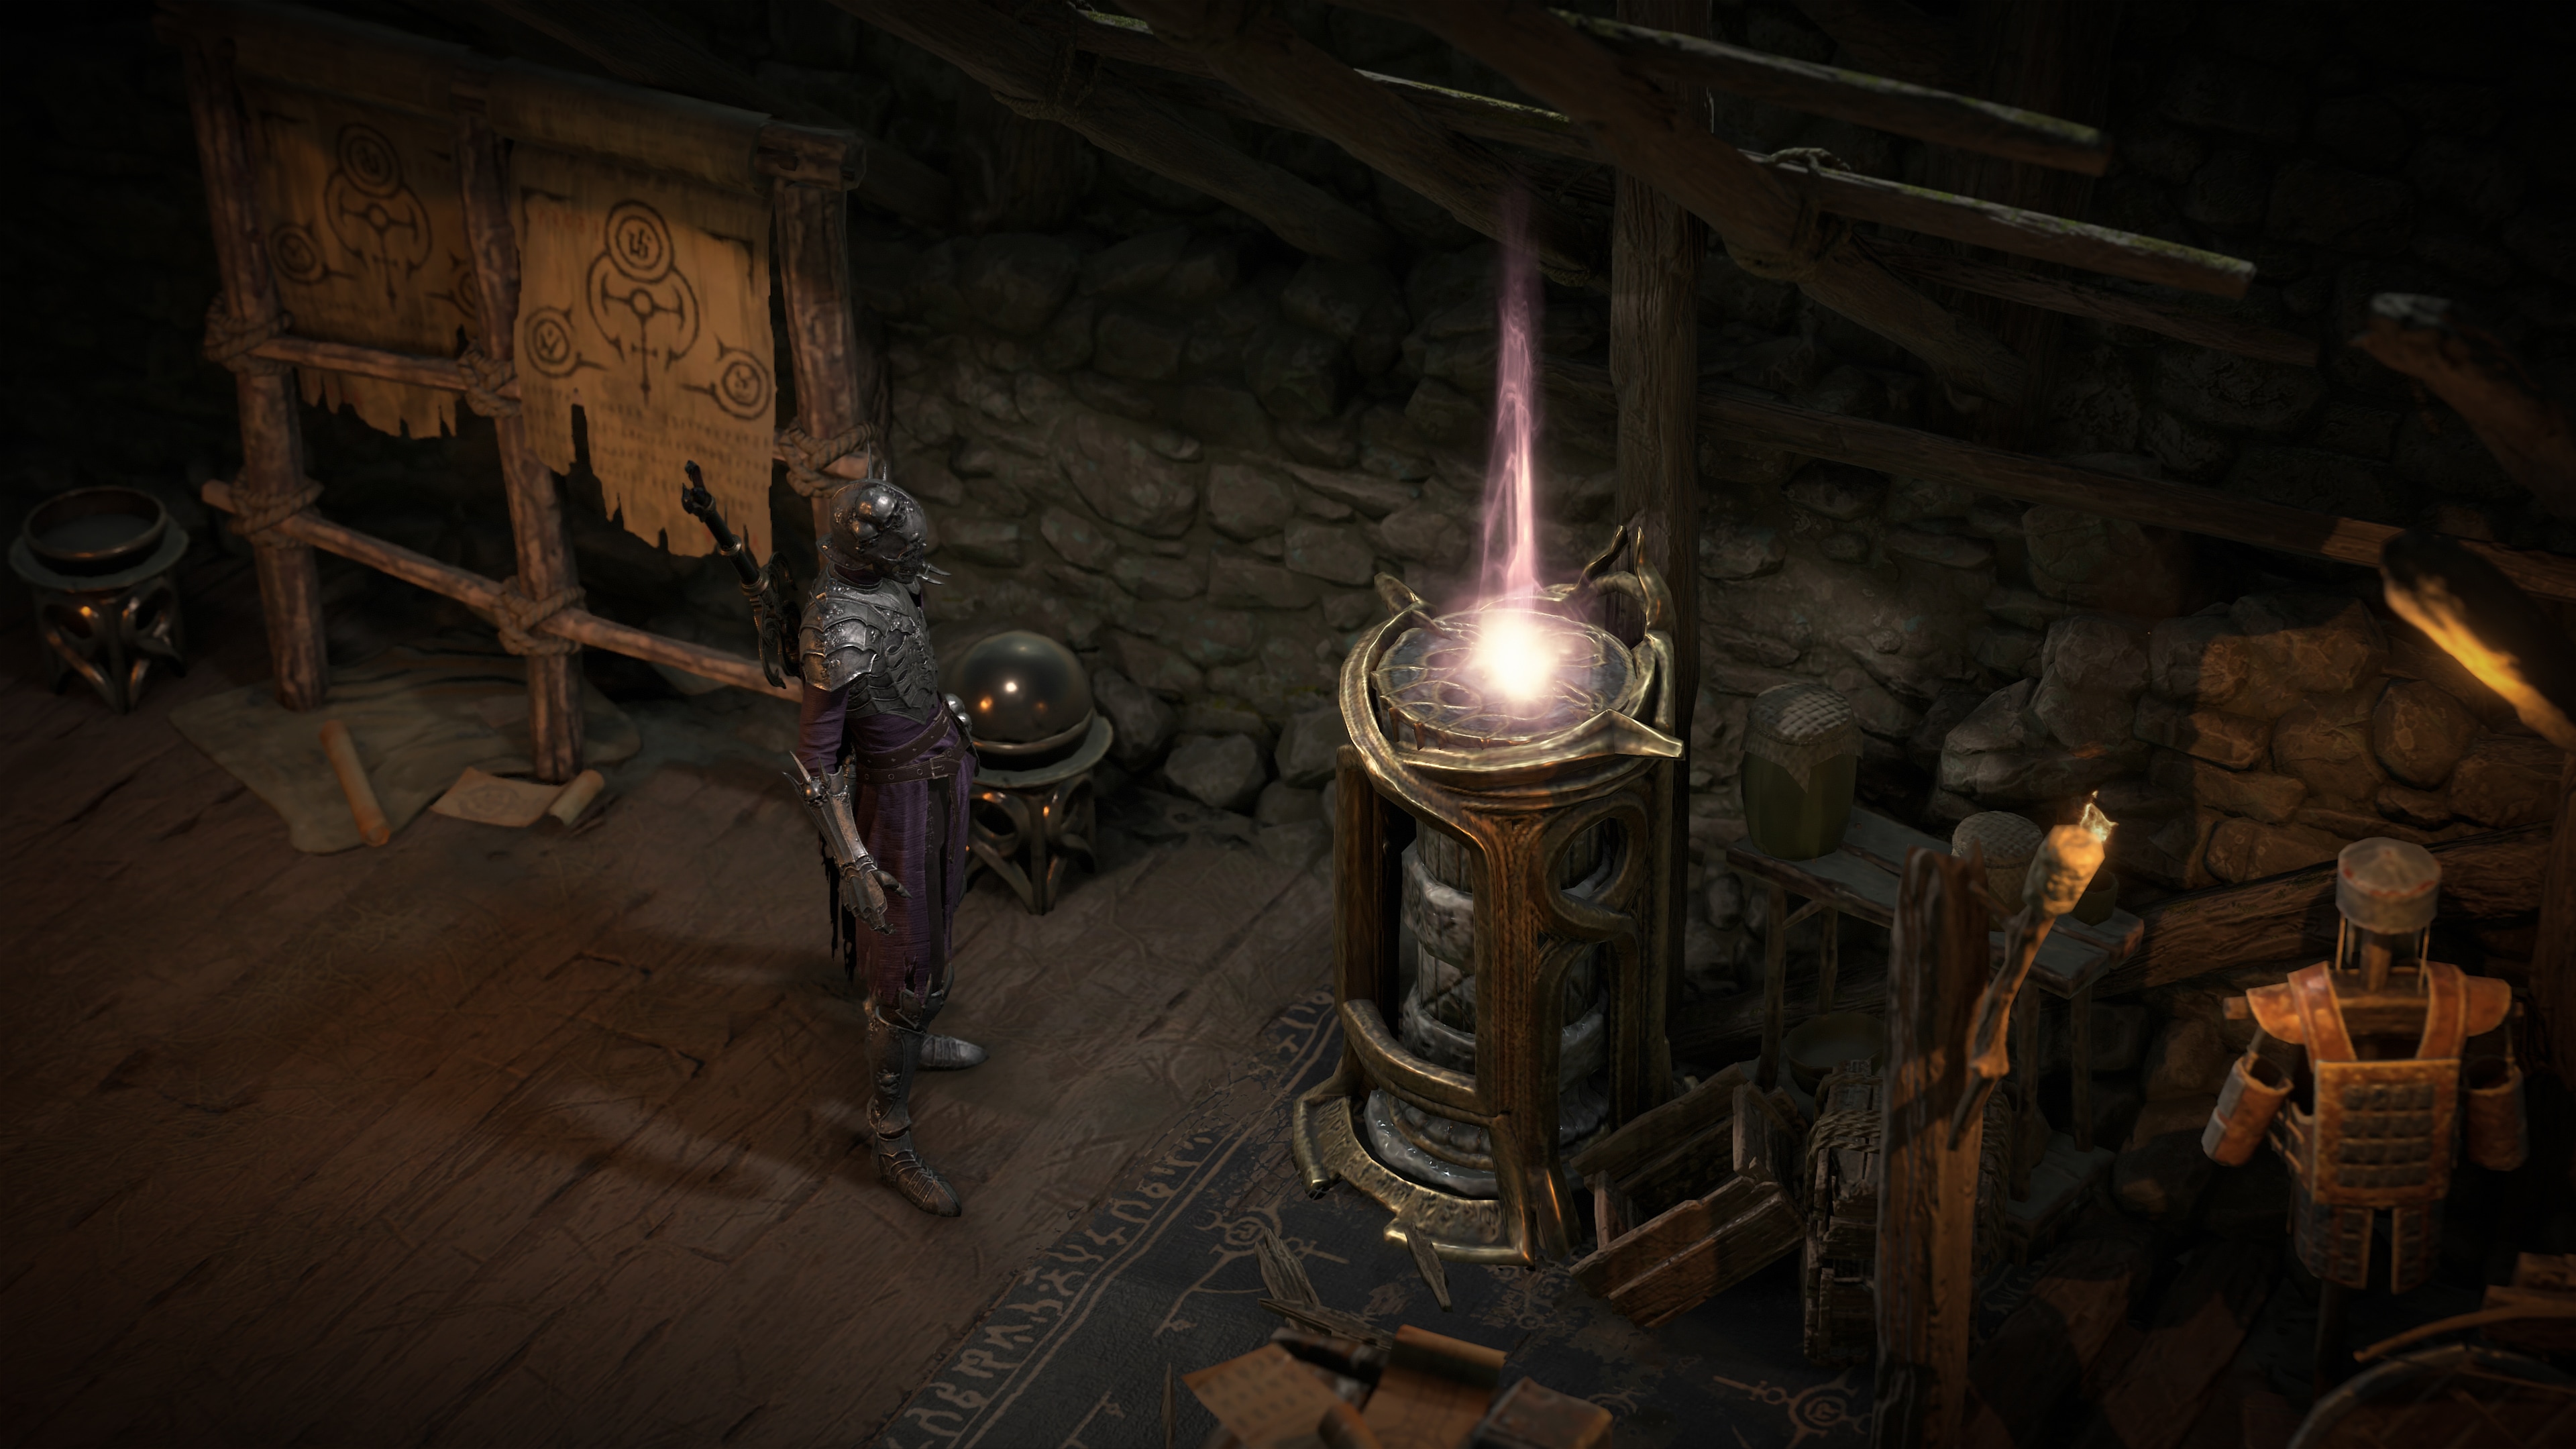
Craft Potent Horadric Jewels
Known for their incredible ability as Mages, the Horadrim possess the ability to refine stone into powerful artifacts to aid them in their quest.
Upon reaching Torment I, Horadric Tomes can appear as rewards from completed Strongrooms. Horadric Tomes are consumable items that give you the ability to craft socketable Horadric Jewels at the Horadric Lapidary. These powerful gems grant a variety of alluring powers and effects, from empowering your Horadric Spell, making enemies explode with elemental damage, and more.
Head to the Horadric Lapdiary in Cerrigar to craft Horadric Jewels once you’ve learned the secrets to their making through Horadric Tomes. The first Horadric Tome can be earned from the Horadric Knowledge Seasonal Reputation board.
Horadric Jewels can be crafted using Horadric Phials, Gem Fragments, and can be socketed in Amulets and both Ring slots.
Following the PTR, we have added an entirely new Horadric Jewel to earn:
Willbreaker
Physical damage you deal shatters enemies' spirits, causing them to take 40%[x] more Physical damage for 6 seconds. This effect applies when first damaging a Boss or Elite, or when they are affected by Crowd Control.
Developer’s Note: As this season offers extensive options for elemental character builds, we wanted to introduce this new Horadric Jewel so physical builds have something to chase as well.
The following Horadric Jewels are available:
Seal of Control
While you have two or more Arcana from the School of Control equipped, gain 45%[+] Control Duration and 30%[+] Lucky Hit Chance.
Seal of Power
While you have two or more Arcana from the School of Power equipped, gain 25%[+] Movement Speed and 15%[+] Critical Strike Chance.
Seal of Denial
While you have two or more Arcana from the School of Denial equipped, gain 30%[x] more Barrier, Fortify and Thorns.
Horadric Crest
For each Arcana from a unique School you have equipped, gain 5%[+] Damage Reduction and 1%[+] Maximum Resistance to All Elements.
Reverie Horn
Reverie Horn
After you injure or kill an enemy, your Summons are empowered, growing larger and dealing 50%[x] 30%[x] more damage for 4 seconds.
Scornful Light
You deal 20%[x] and take 10%[x] more Elemental damage.
Tyrant Bane
After you deal damage over time to an enemy, they take 0.33%[x] more damage over time from you forever.
Liminal Echo
If you would take fatal damage, instead prevent that damage, invoke Propulsion, and become Invulnerable for 3 seconds. This can only occur once every 75 seconds.
Note: This Horadric Jewel no longer drops when playing in Hardcore.
Developer’s Note: It’s important to us as Developers to maintain the integrity and spirit of Hardcore. We welcome any feedback regarding what that means to the community!
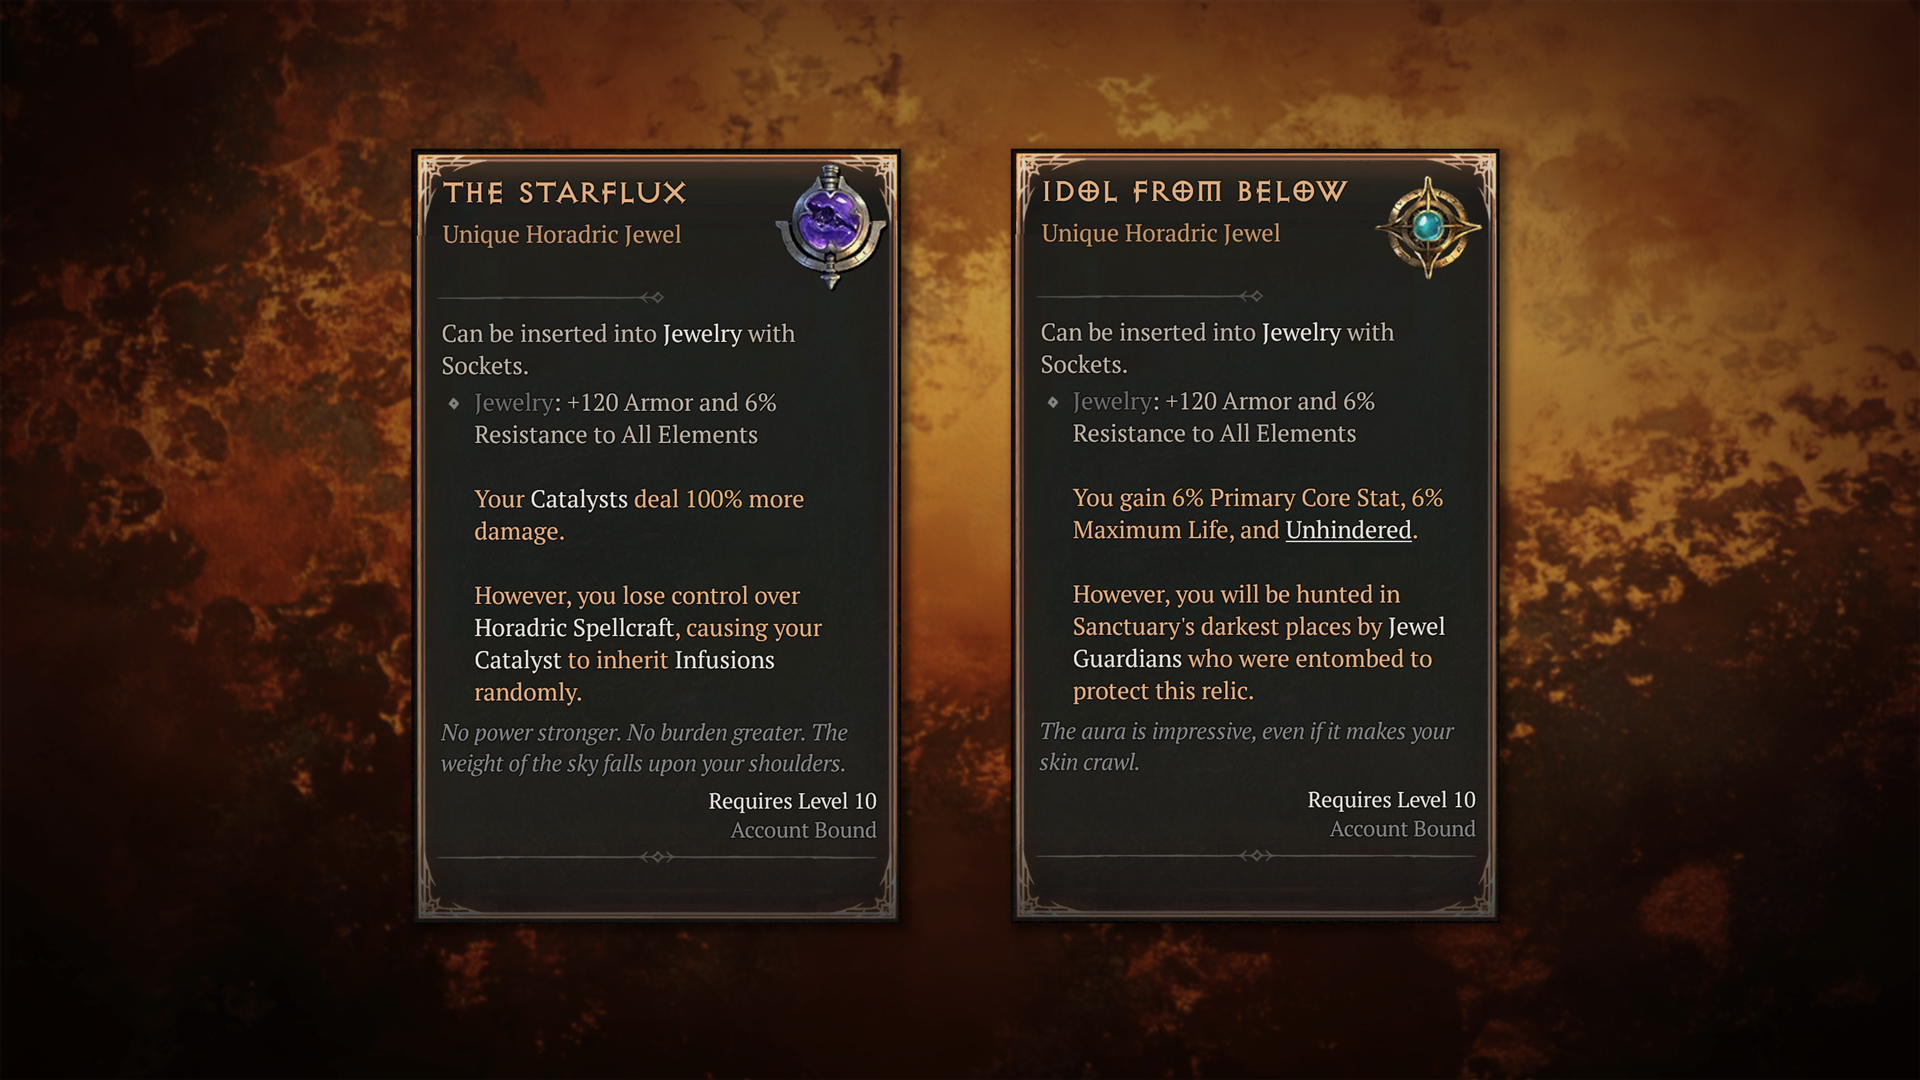
Idol From Below
You gain 6%[x] primary stat, 6%[x] 8%[x] maximum life and you are always Unhindered. However, you will be hunted in Sanctuary's darkest places by Jewel Guardians who were entombed to protect this relic. Jewel Guardians generated by Idol from Below can no longer appear in Training Grounds or after a Dungeon’s objective has been completed. They now also spawn at specific intervals as opposed to two random times.
Myriad Stone
After you cast your Catalytic Skill, if it is an Ultimate, gain 30%[+] Attack Speed for 10 seconds.
Spark of Creation
After you cast your Catalytic Skill, gain 5 10 Primary Resource.
Luminate Eye
Your Catalytic Skill gains 25%[+] Cooldown Reduction.
Brilliant Sigil
Your Infusions are 150%[x] more potent.
Elemental Brand
Your Catalytic Skill deals 33% damage of your Infusion's element over 3 seconds. Lucky Hit: Dealing damage of your Infusion's element has up to a 33% chance to trigger its secondary effect.
The Starflux
Your Catalysts deal 100%[x] more damage. However, you lose control over Horadric Spellcraft, causing your Catalysts to inherit Infusions randomly.
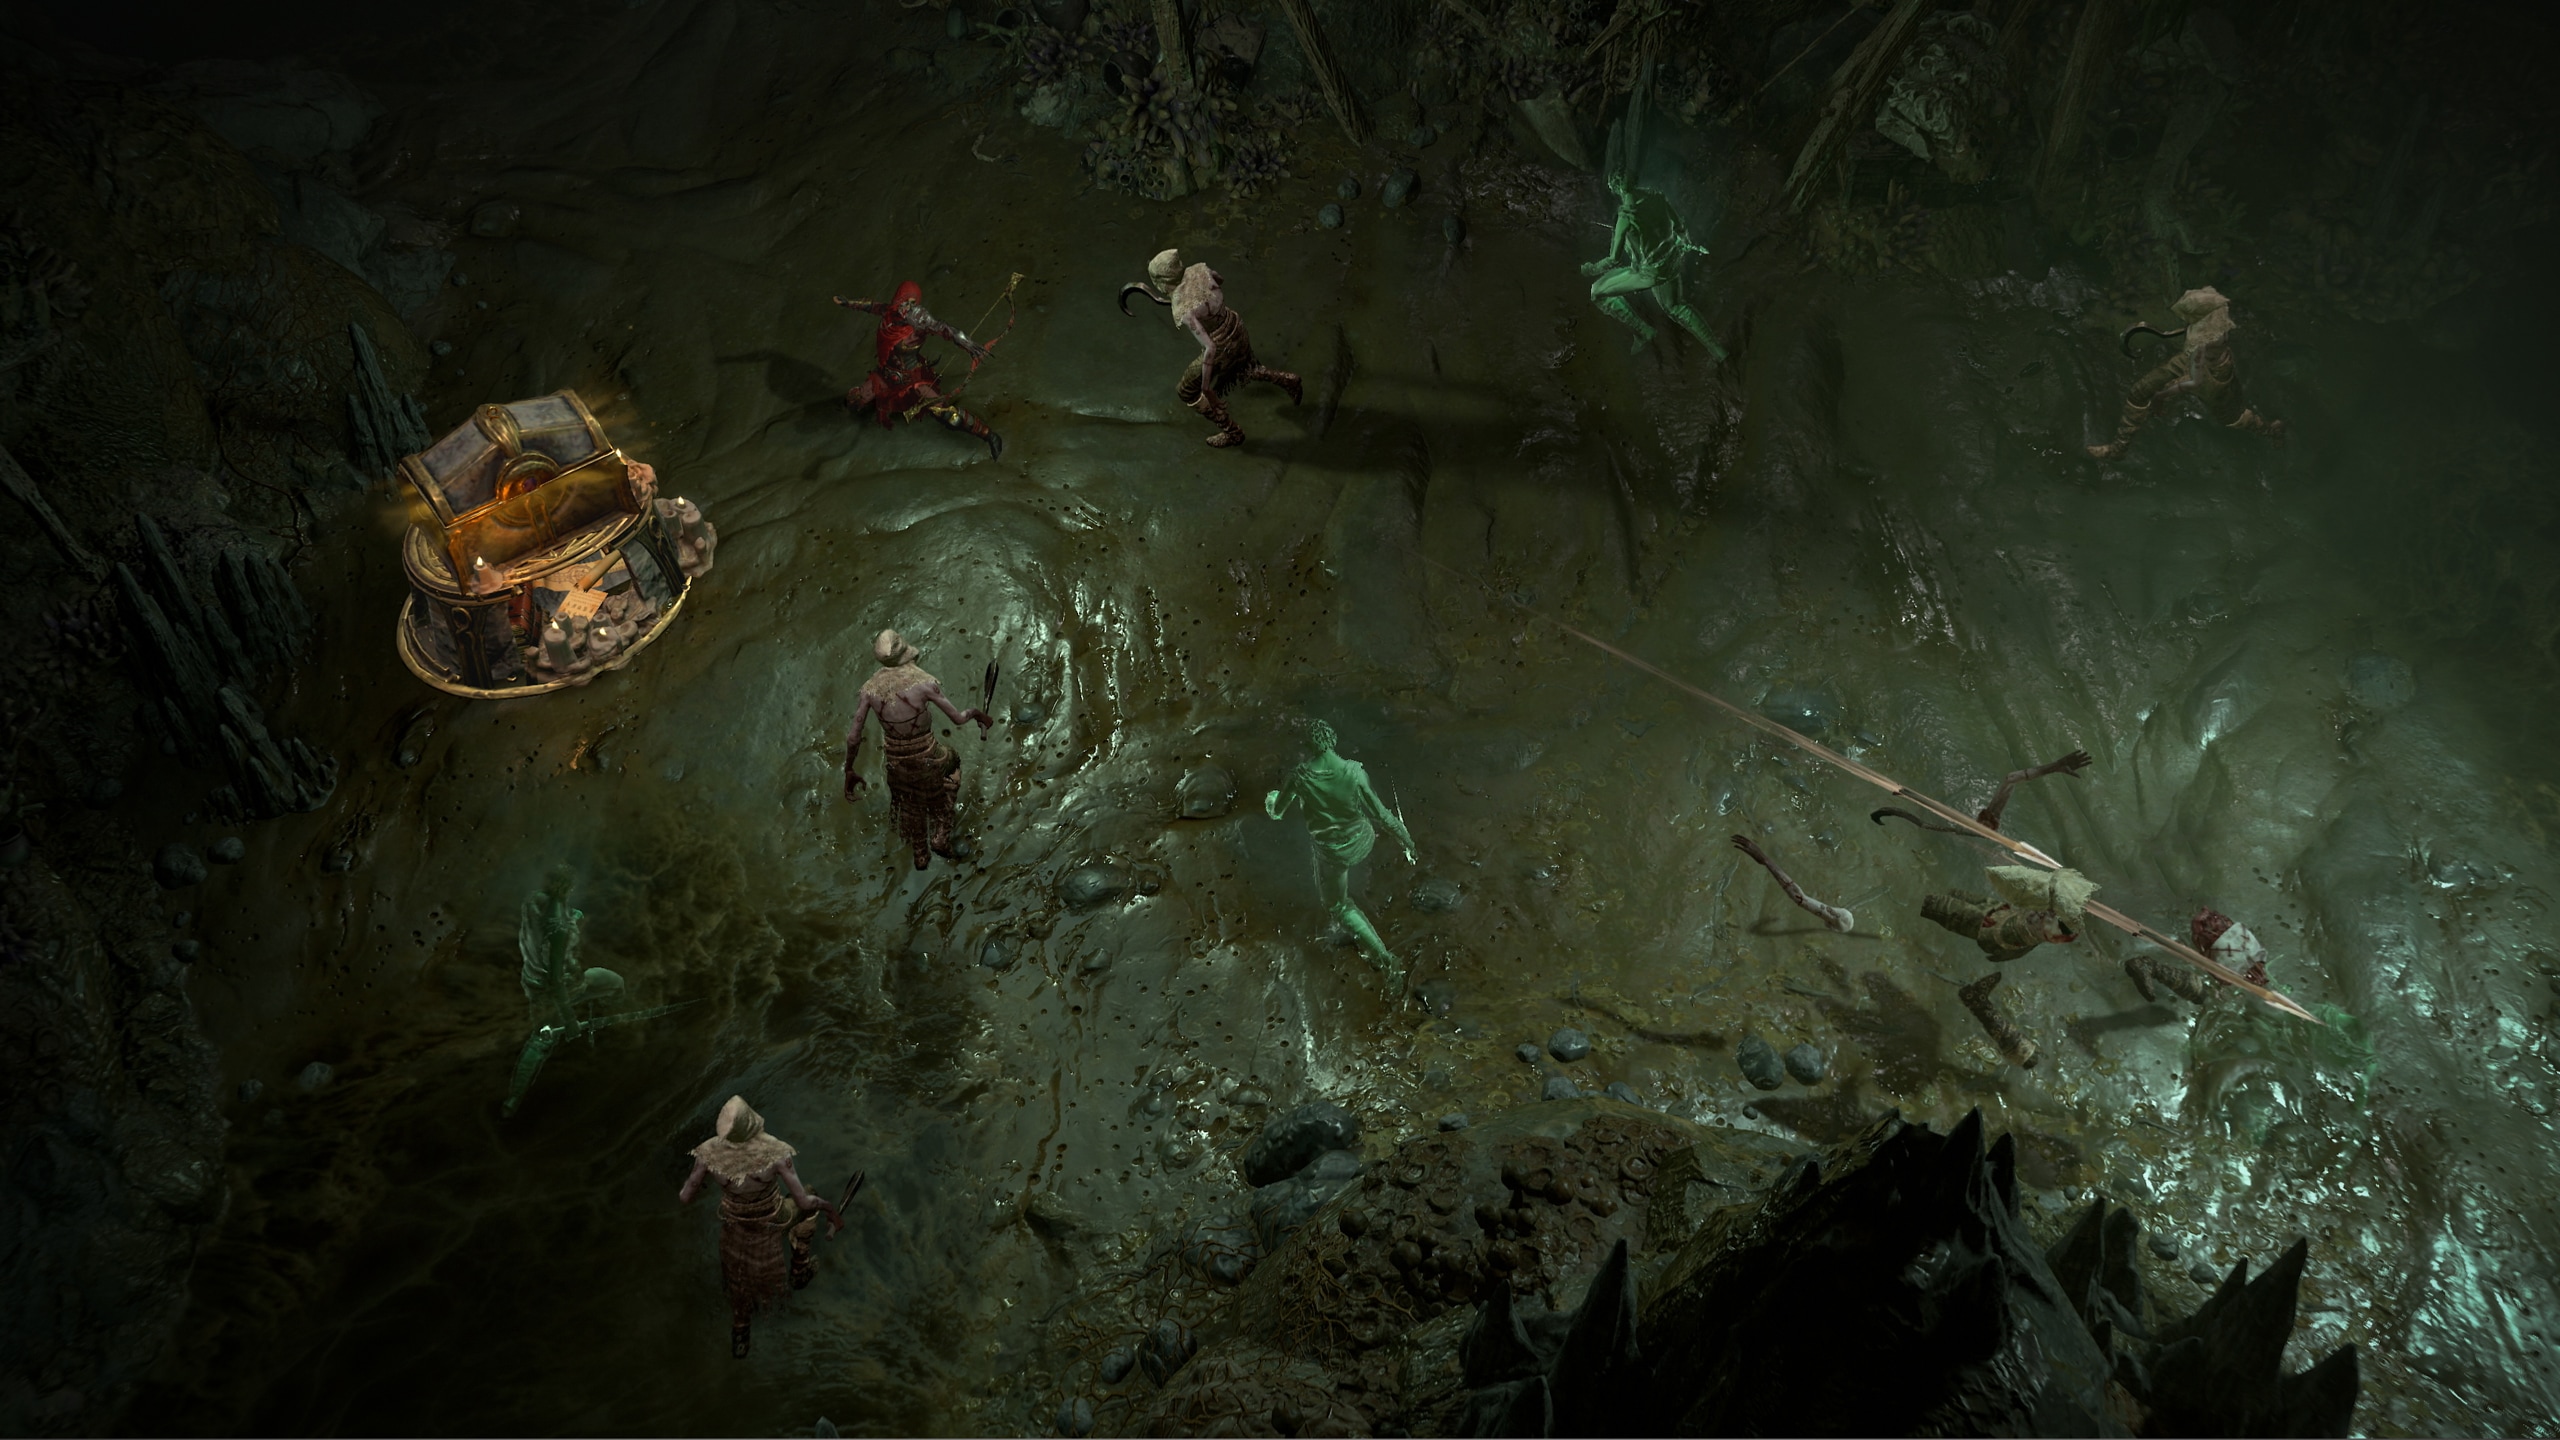
Explore Horadric Strongrooms

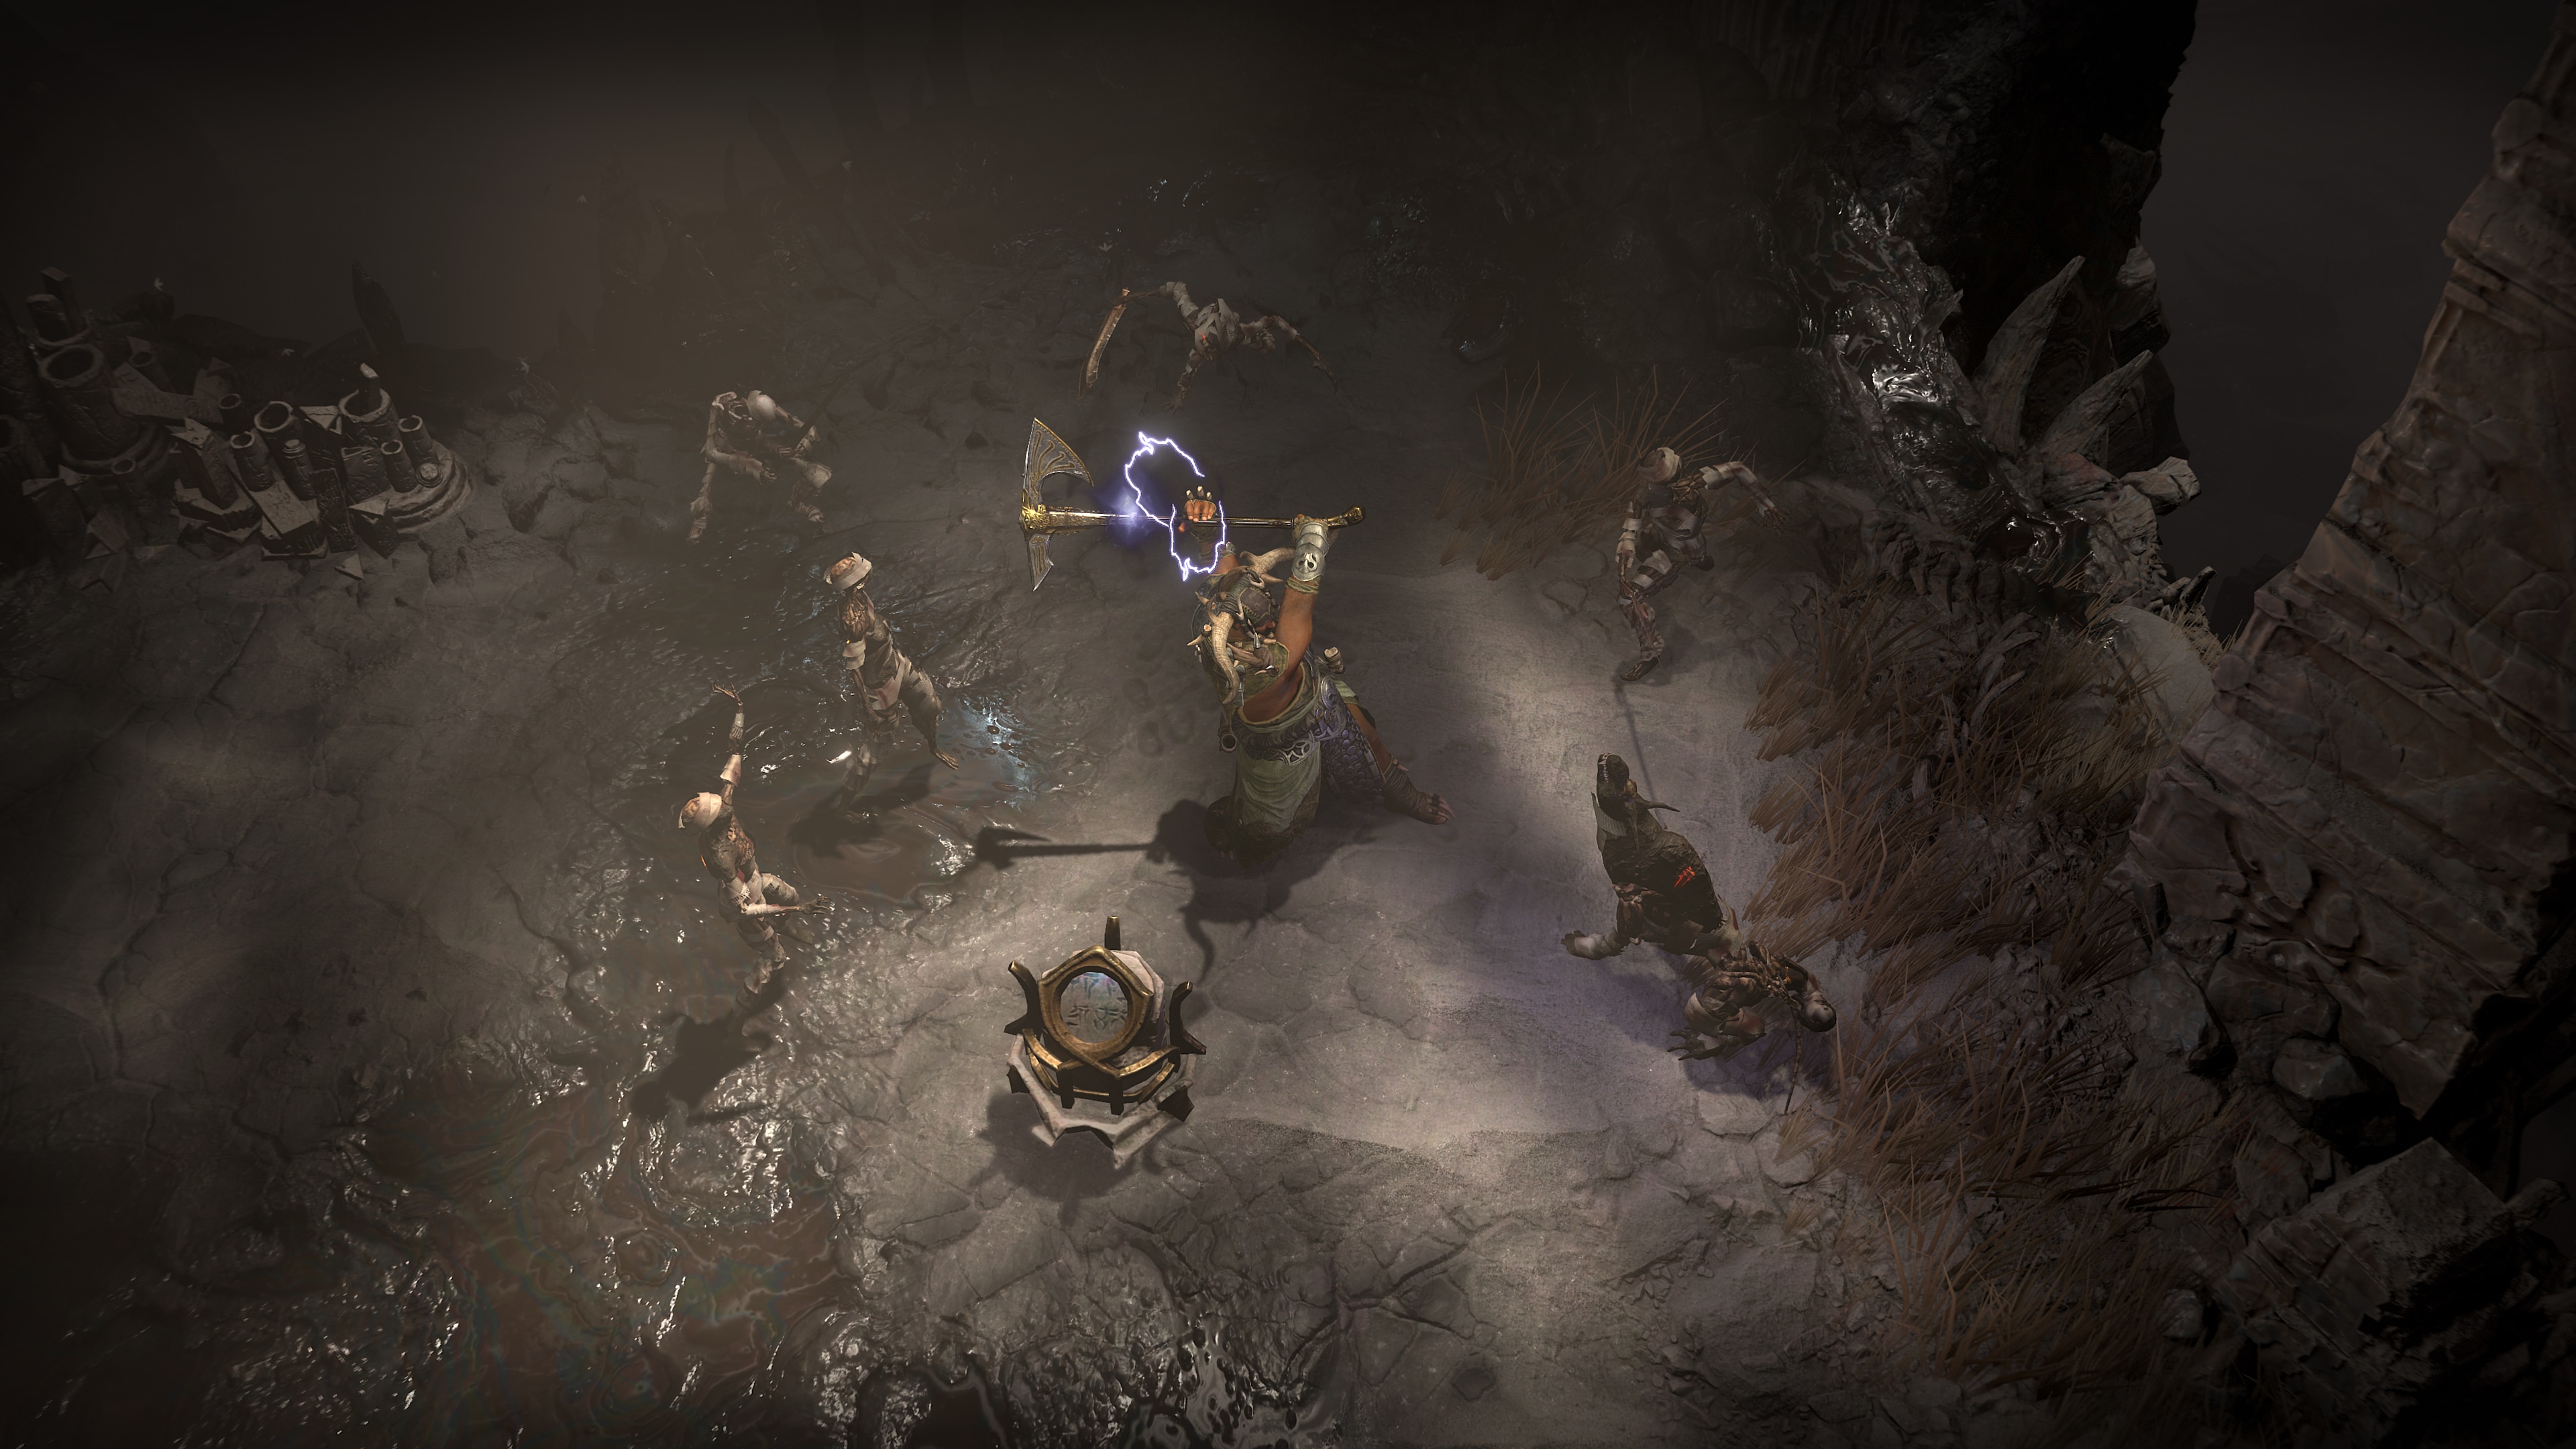
Hidden deep within Nightmare Dungeons, members of this once revered order left obscured Horadric Relics powered by the blood of a great enemy far away from the unworthy. Such Horadric Relics are protected within Strongrooms, revealed to only those who have the wisdom and courage to unveil their awesome potential.
Found within Nightmare Dungeons, Horadric Strongrooms are potent micro-dungeons that hold powerful rewards and new fearsome mummified enemies, delve into these rare Horadric tombs and fight your way out. Slay demons and satiate Horadric Pillars within to bolster your ability to earn Horadric Attunement, which is used in exchange for illustrious rewards upon emerging triumphant.
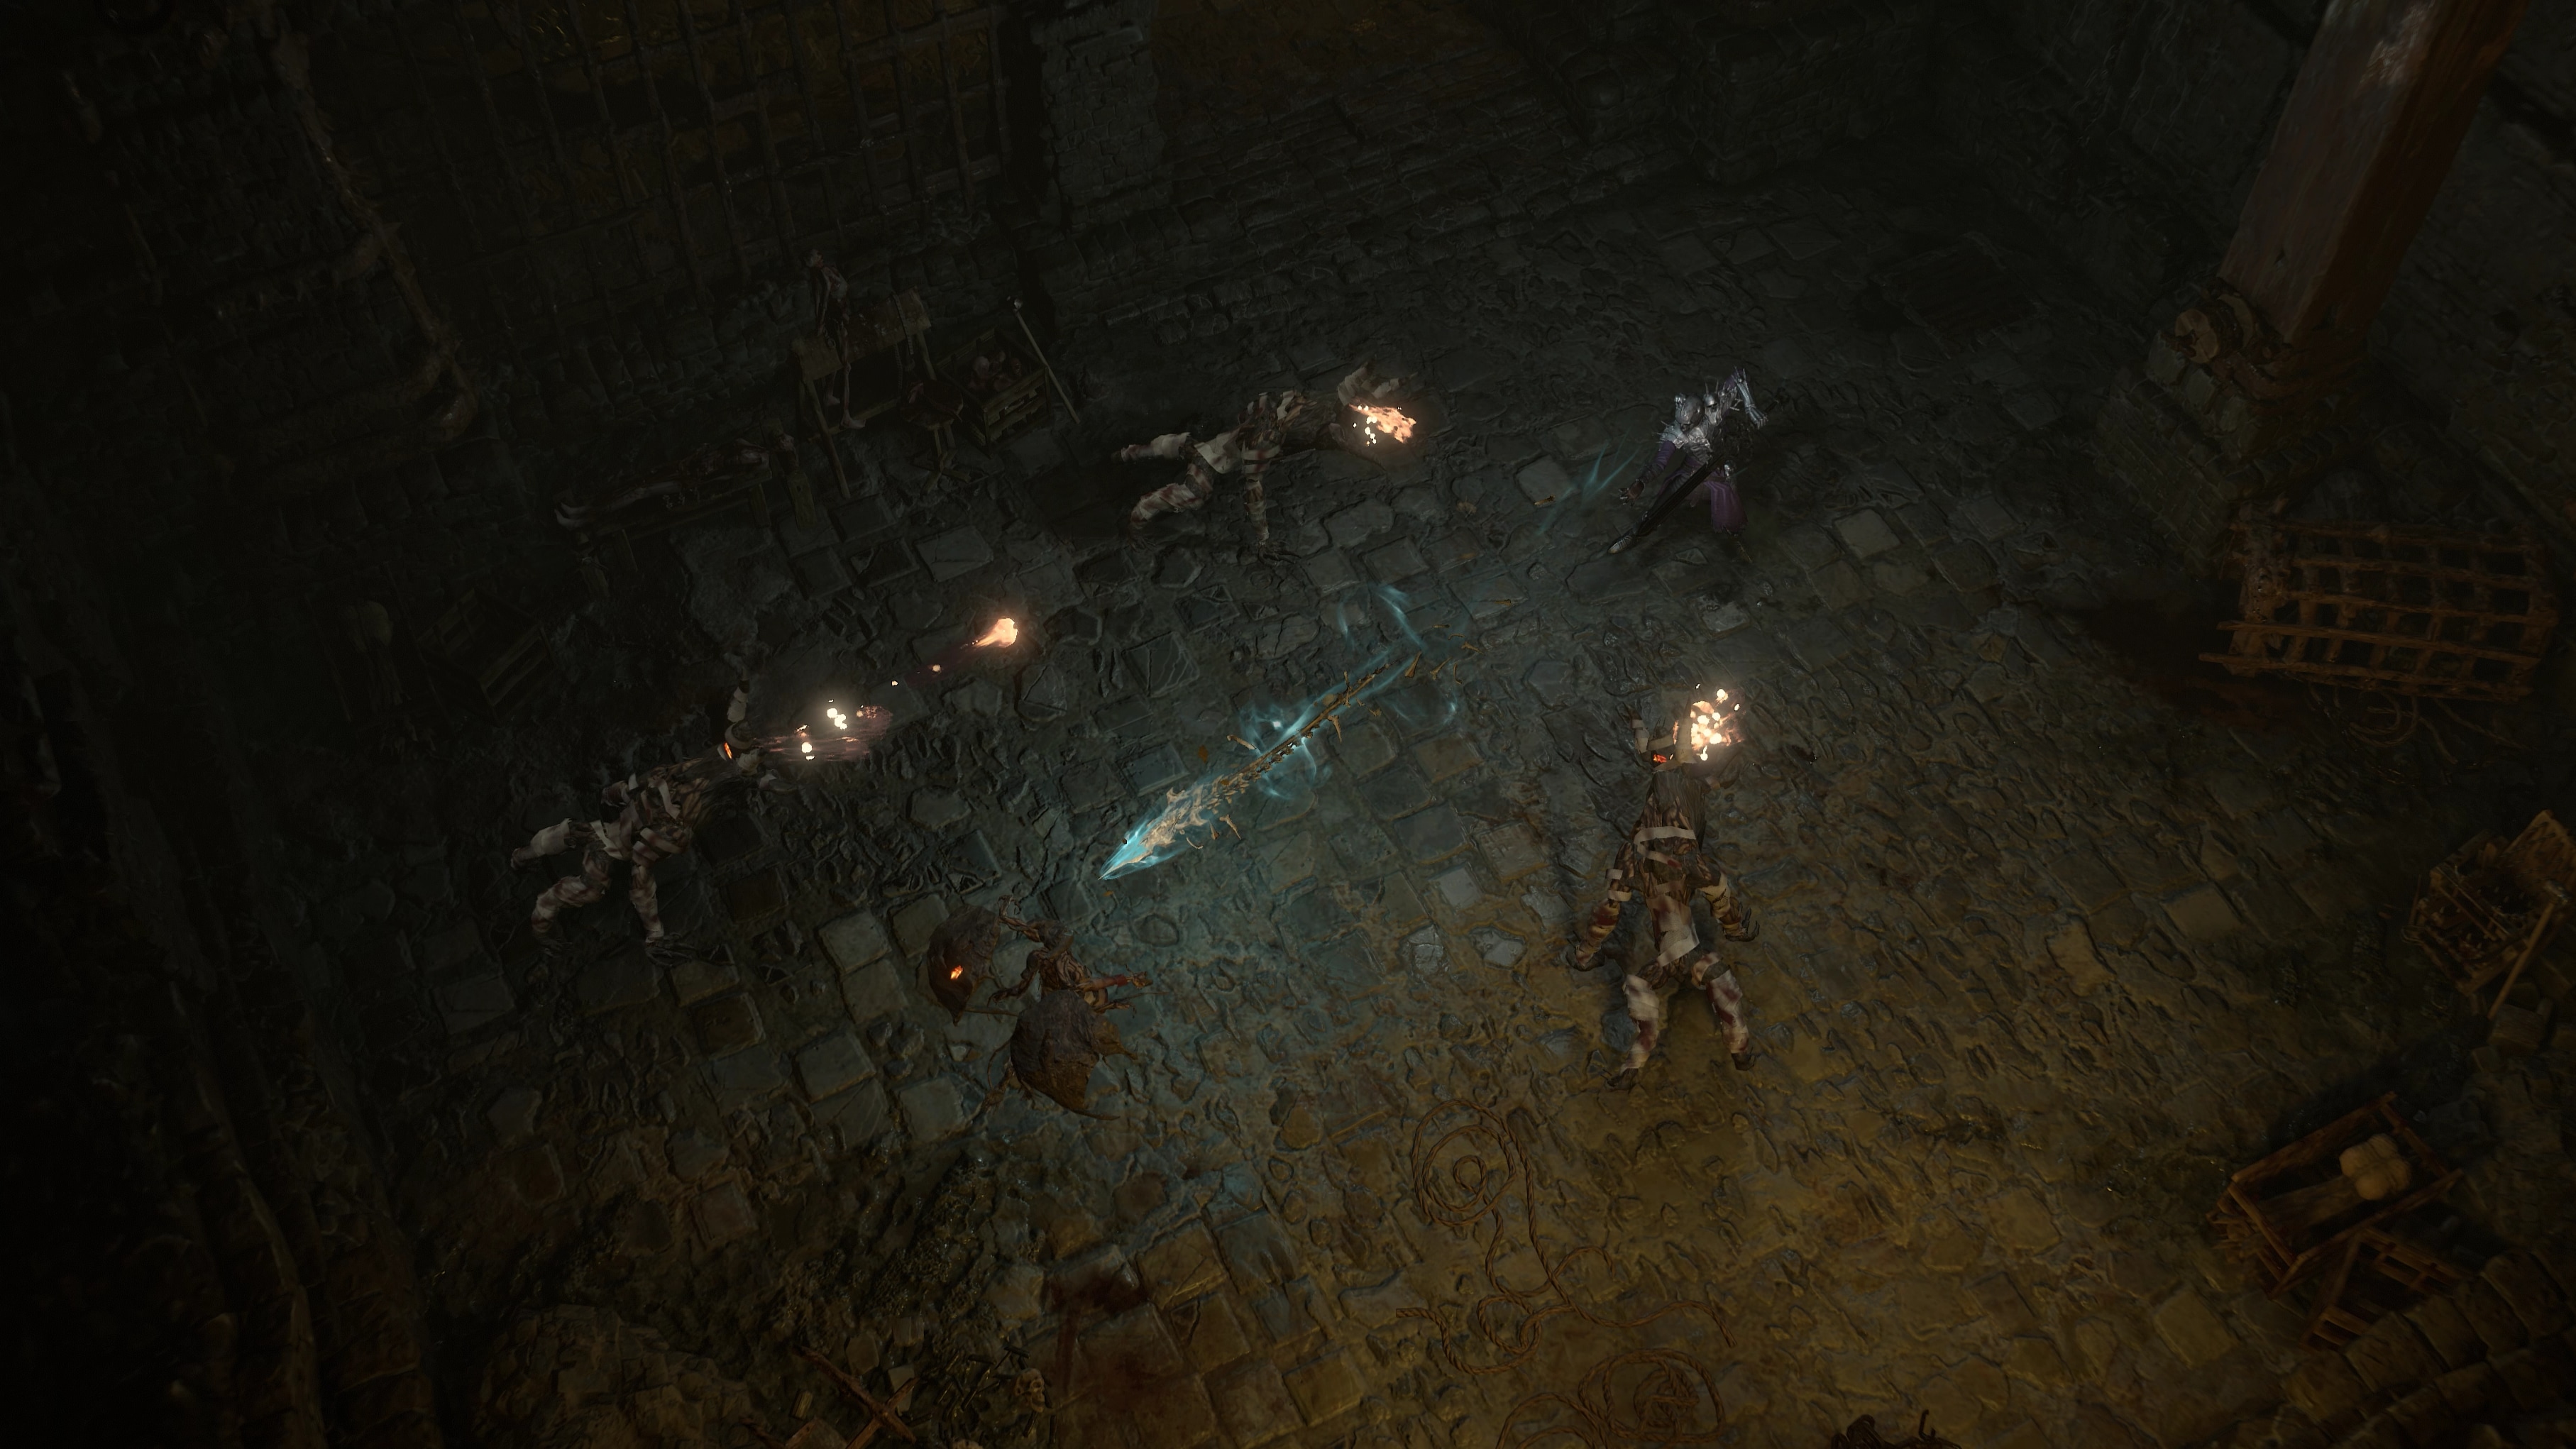
Obtained through the Seasonal Questline, use your Horadric Wayfinder to isolate these repositories of Horadric knowledge. But beware, for there are unyielding mummified entities that will attempt to take your life in exchange for disturbing their unending sleep. Once the Strongroom is unsealed, there will only be a limited amount of time to complete the Strongroom before the Horadric Relics are sealed away again forever.
Hunt for Knowledge: Finding Strongrooms
There are a couple of ways to improve your chances of finding Horadric Strongrooms within Nightmare Dungeons. The first is by increasing your difficulty level or Torment Tier. The second, and more potent method, is to find and use a Nightmare Dungeon Sigil with an affix that guarantees a Horadric Strongroom will appear.
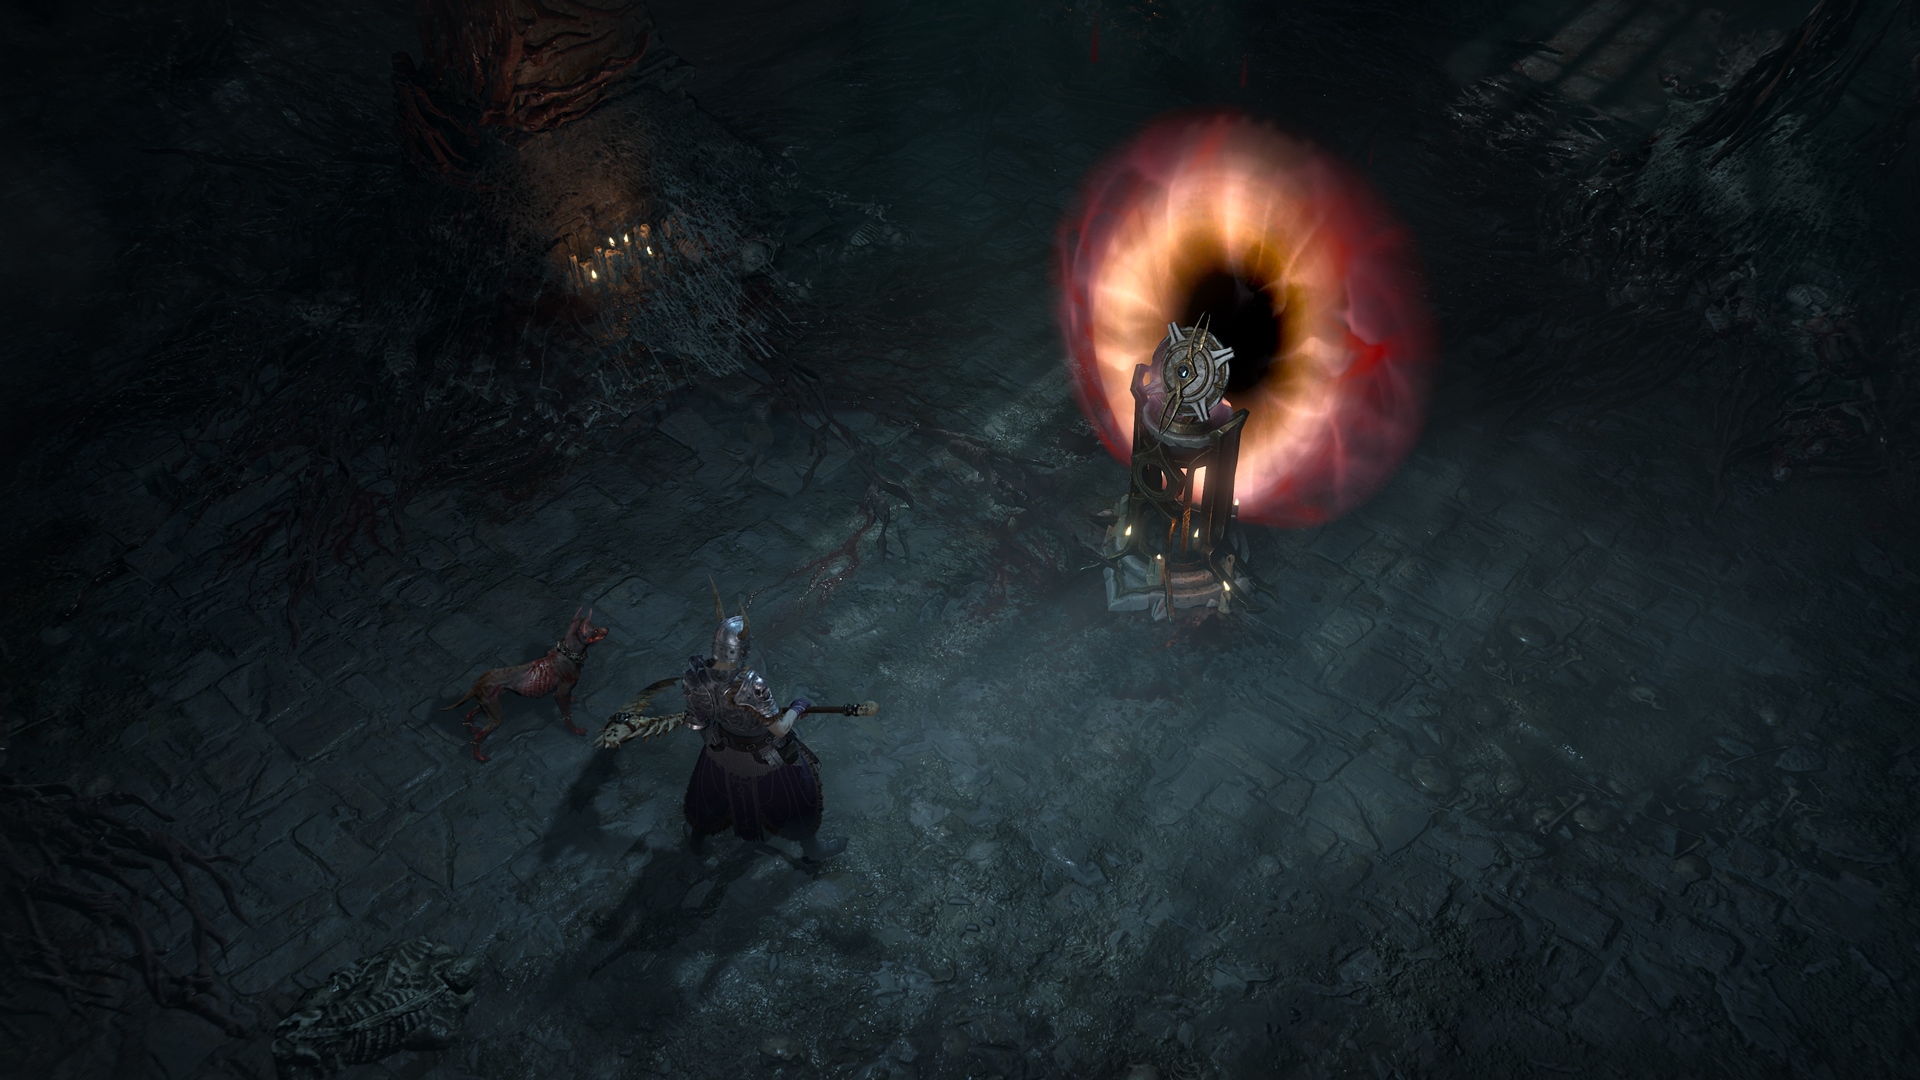
Once you’ve entered a Nightmare Dungeon, follow the distinct flash emanating from your Horadric Wayfinder that will lead you to a Horadric Gateway. Once you locate the Gateway, activating it will trigger monsters to ambush your location. Defeat them, and a Horadric Portal will materialize to teleport you into the safeguarded Strongroom.
Fight the Horrors Sealed Away
Once you’ve stepped into the musty, iron-tinged confines of the Strongroom, you’ll have a few decisions to make.
Initiate the Horadric Artifact Pillar and slay the enemies to complete the initial ritual. Once completed, you’ll be presented with a selection of Horadric Statues that augment the Strongroom. Some of these Statues have held the bonds of their original intent, while others have been corrupted by Astaroth’s influence and pose significant danger with vastly increased rewards.
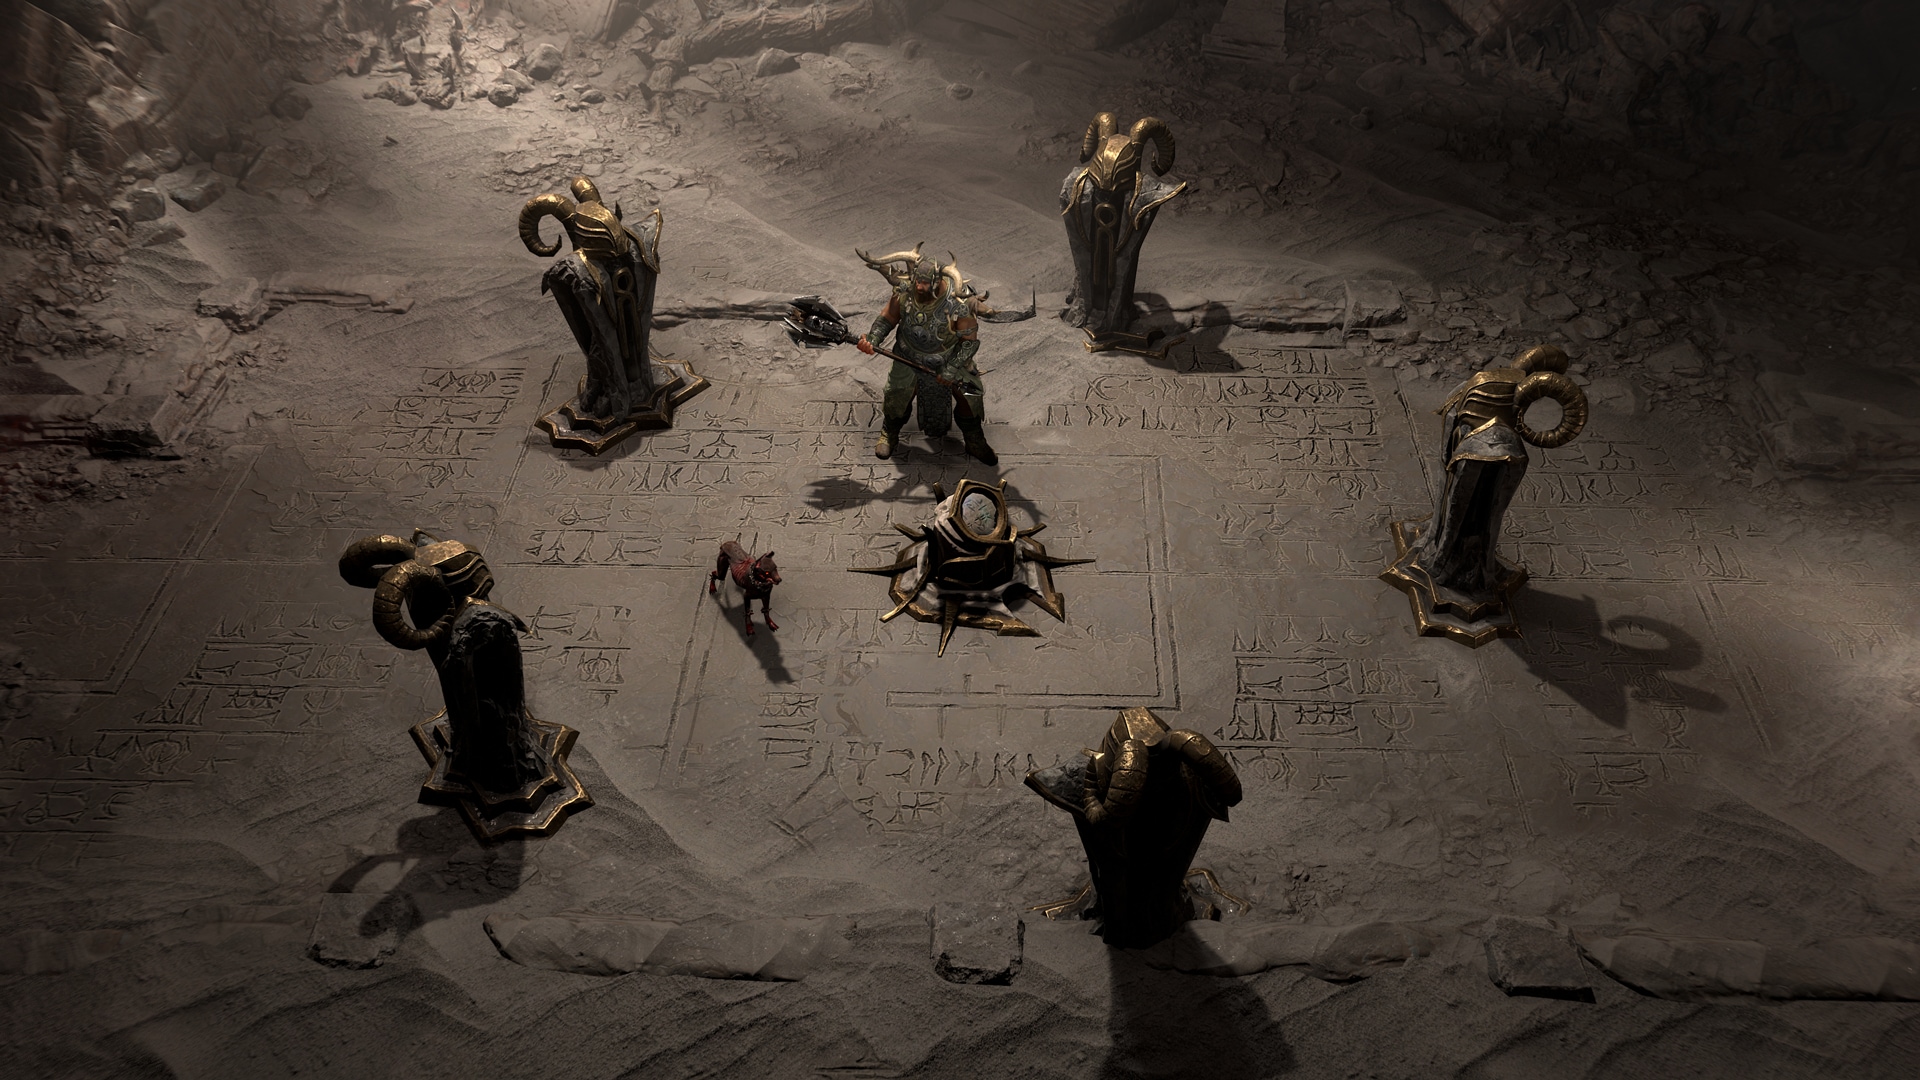
You’ll need to invoke these Horadric Statues to influence your Strongroom, so choose wisely. The number of Statues you need to select and have available to choose from will increase once you reach Torment Tiers.
Within the Strongroom, you’ll have 100 seconds to ramp up the carnage and earn as much Horadric Attunement possible. Stay near the Pillars to satisfy their base needs, and keep in mind the specific Horadric Pillars selected prior to the run to maximize your Horadric Attunement. These Pillar Rituals can be completed in any order, and these Rituals now complete more quickly with a larger radius to kill within.
Upon Completing each Pillar Ritual, all monster kills will grant +2 increased Horadric Attunement for 15 seconds. Tread carefully, for any deaths will remove time from your Strongroom run.
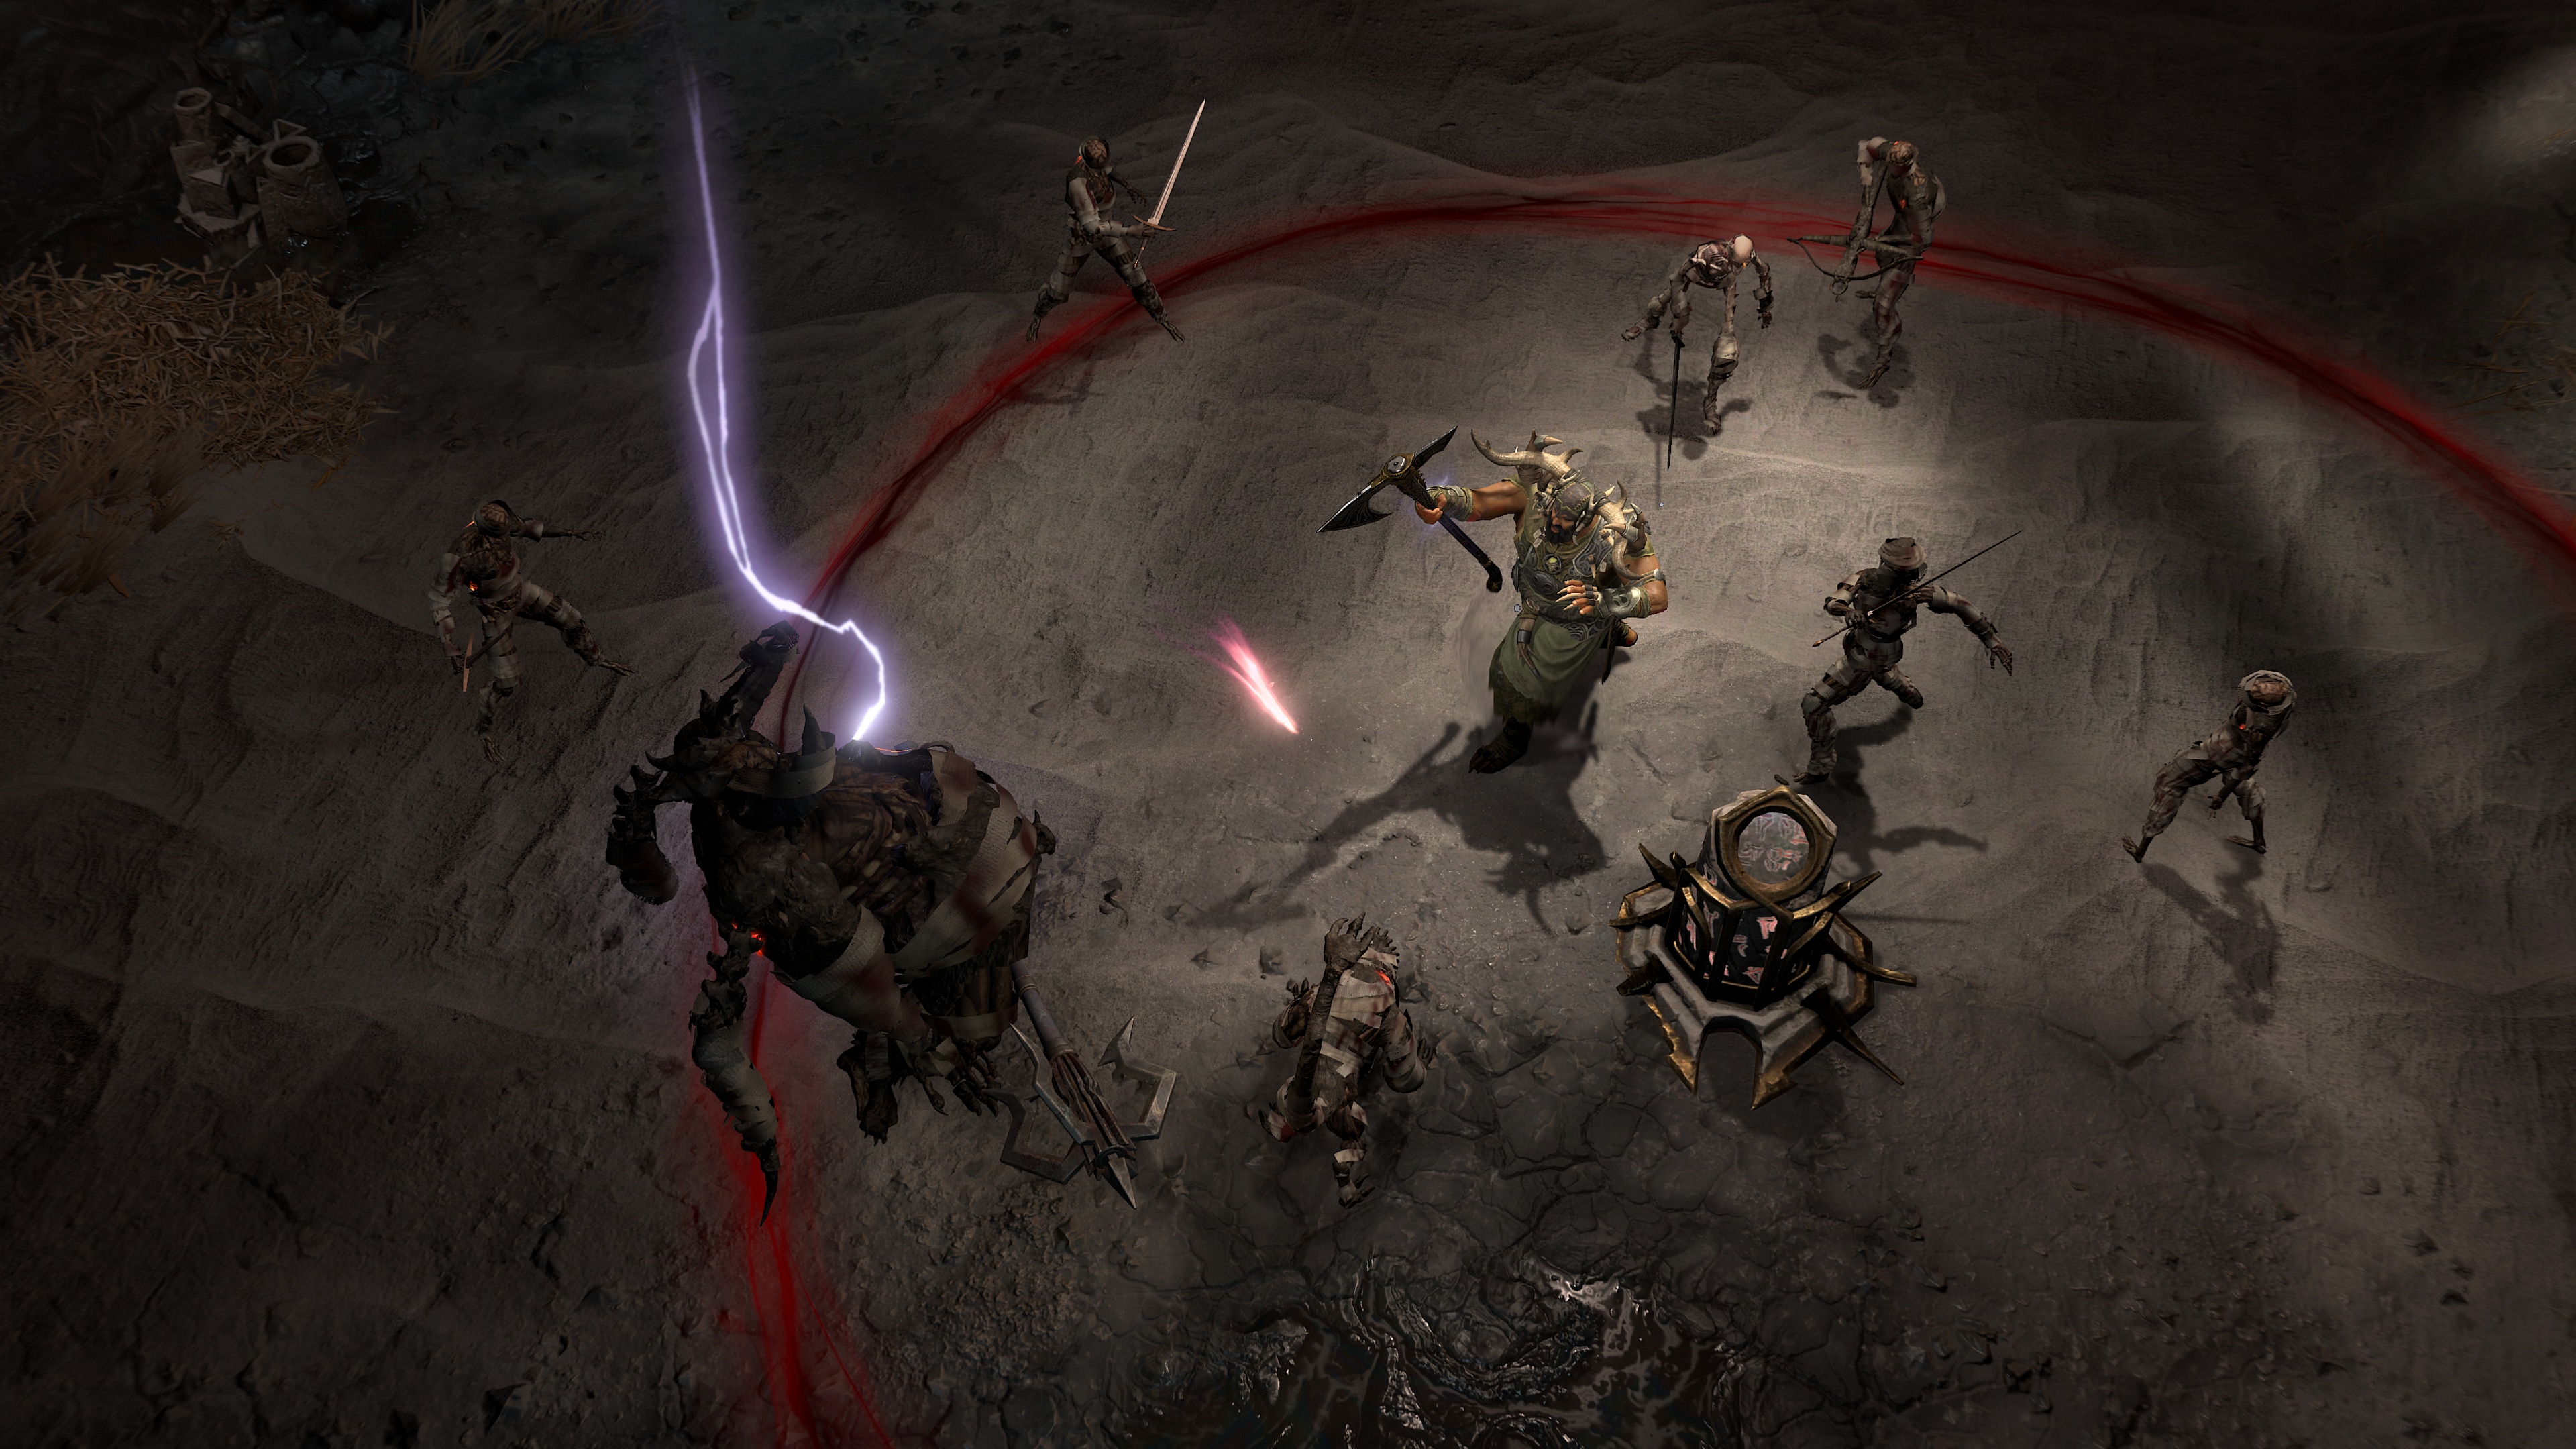
Locate Sacrifice Shrines within the Strongroom to aid your fight, which spawns an ambush on your location. When the time runs out in the Strongroom, you’ll need to fight one of the several potential bosses that can spawn to leave the Strongroom with your Attunement in-hand. If you manage to max out your Horadric Attunement during your run, you’ll go directly to the boss.
On defeating the final boss, you’ll have the option to select a Grand Horadric cache which scales its rewards based off the amount of Horadric Attunement earned within the Strongroom, earning you powerful rewards such as Obducite. On leaving the Strongroom, you’ll also be given one of the following buffs for completing the Strongroom, which will last until the end of your Nightmare Dungeon. Check to see which one you’ve earned by checking the active buffs above your Action bar.
Experience
You gain increased Experience from Monster Kills.
Reputation
You gain increased Horadric Favor from Monster Kills.
Obducite
You gain increased Obducite from Monster Kills in this dungeon.
Gold
You find 25% more gold.
Horadric Phials
Monsters in this dungeon can drop Horadric Phials.
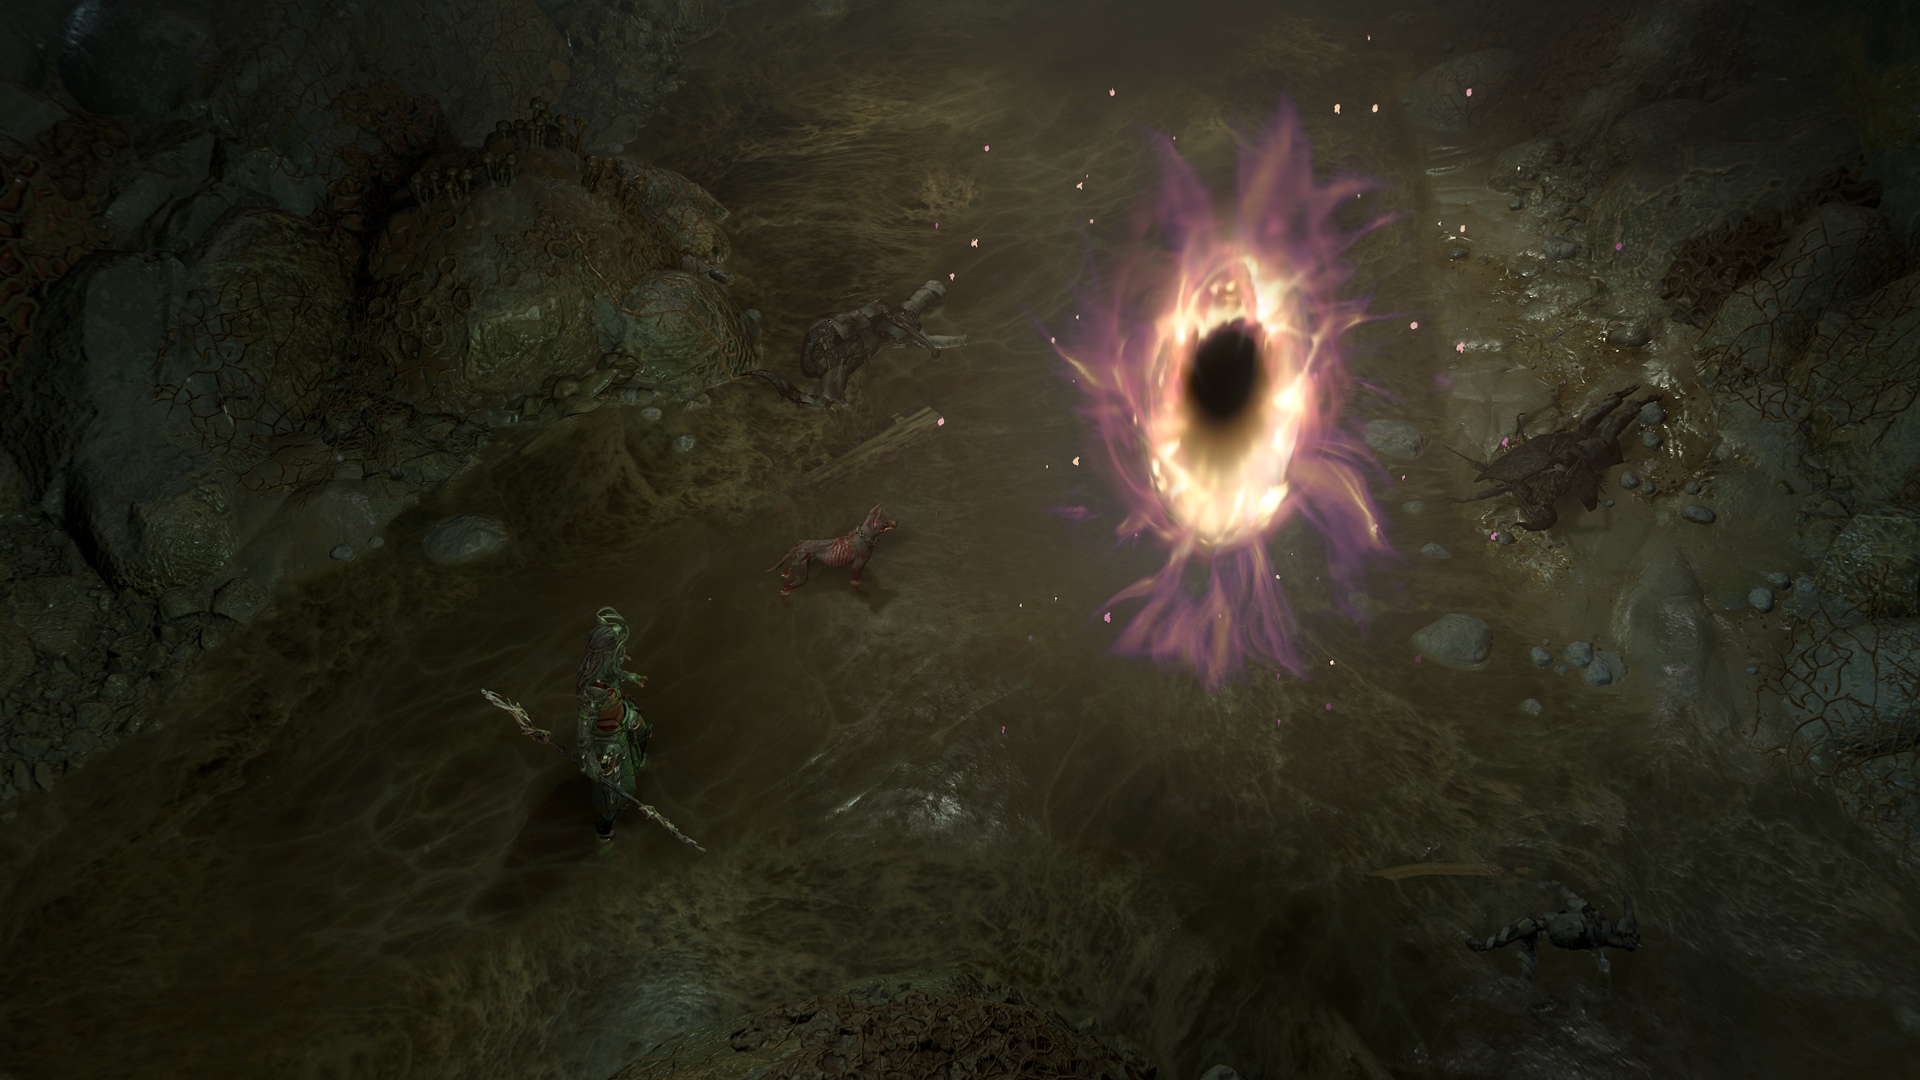
Survive the Escalating Nightmares
Nightmares have a way of seeping into the marrow of your mind, sinking you deeper into the gaping despair of their hold. In Season 9: Sins of the Horadrim, a new endgame challenge beckons you to descend further into the depths of agony for the ultimate test.
Escalating Nightmares are a new endgame activity that throws you into a chain of three Nightmare dungeons. The nightmares escalate as you go through each Dungeon, as each Nightmare Dungeons affix stacks onto the next Dungeons as you continue through in Torment Tiers. As the difficulty increases, so do the rewards. Manage to fight your way through all three in Torment Tiers, and waiting for you at the end is a date with the Exalted version of Astaroth himself.
To start an Escalating Nightmare, you’ll first need an Escalation Sigil which can be obtained as a reward from the Horadric Knowledge Seasonal Reputation track, or through Horadric caches granted from Strongrooms starting in Torment I. Activating this dungeon sigil grants you access to the first Nightmare Dungeon in the chain.
On completion of the first Nightmare Dungeon in the Escalation, a Horadric Portal will spawn which displays the affix information for the next dungeon. In Pre-Torment difficulty tiers, completing the last dungeon will finish the Nightmare Escalation.
The heat becomes far more intense if you dare to enter an Escalating Nightmare in Torment Tiers. When you enter through each Nightmare Dungeon the monster difficulty scales, increasing the difficulty the further you slay through. Additionally, the affixes of the previously completed Nightmare Dungeons stack, leading you to a final Nightmare Dungeon that contains the affixes of all previous Nightmare Dungeons.
If you start the Escalating Nightmare in Torment I or above, on completion of the third sequential Nightmare Dungeon you’ll finally be transported to Exalted Astaroth’s Lair.
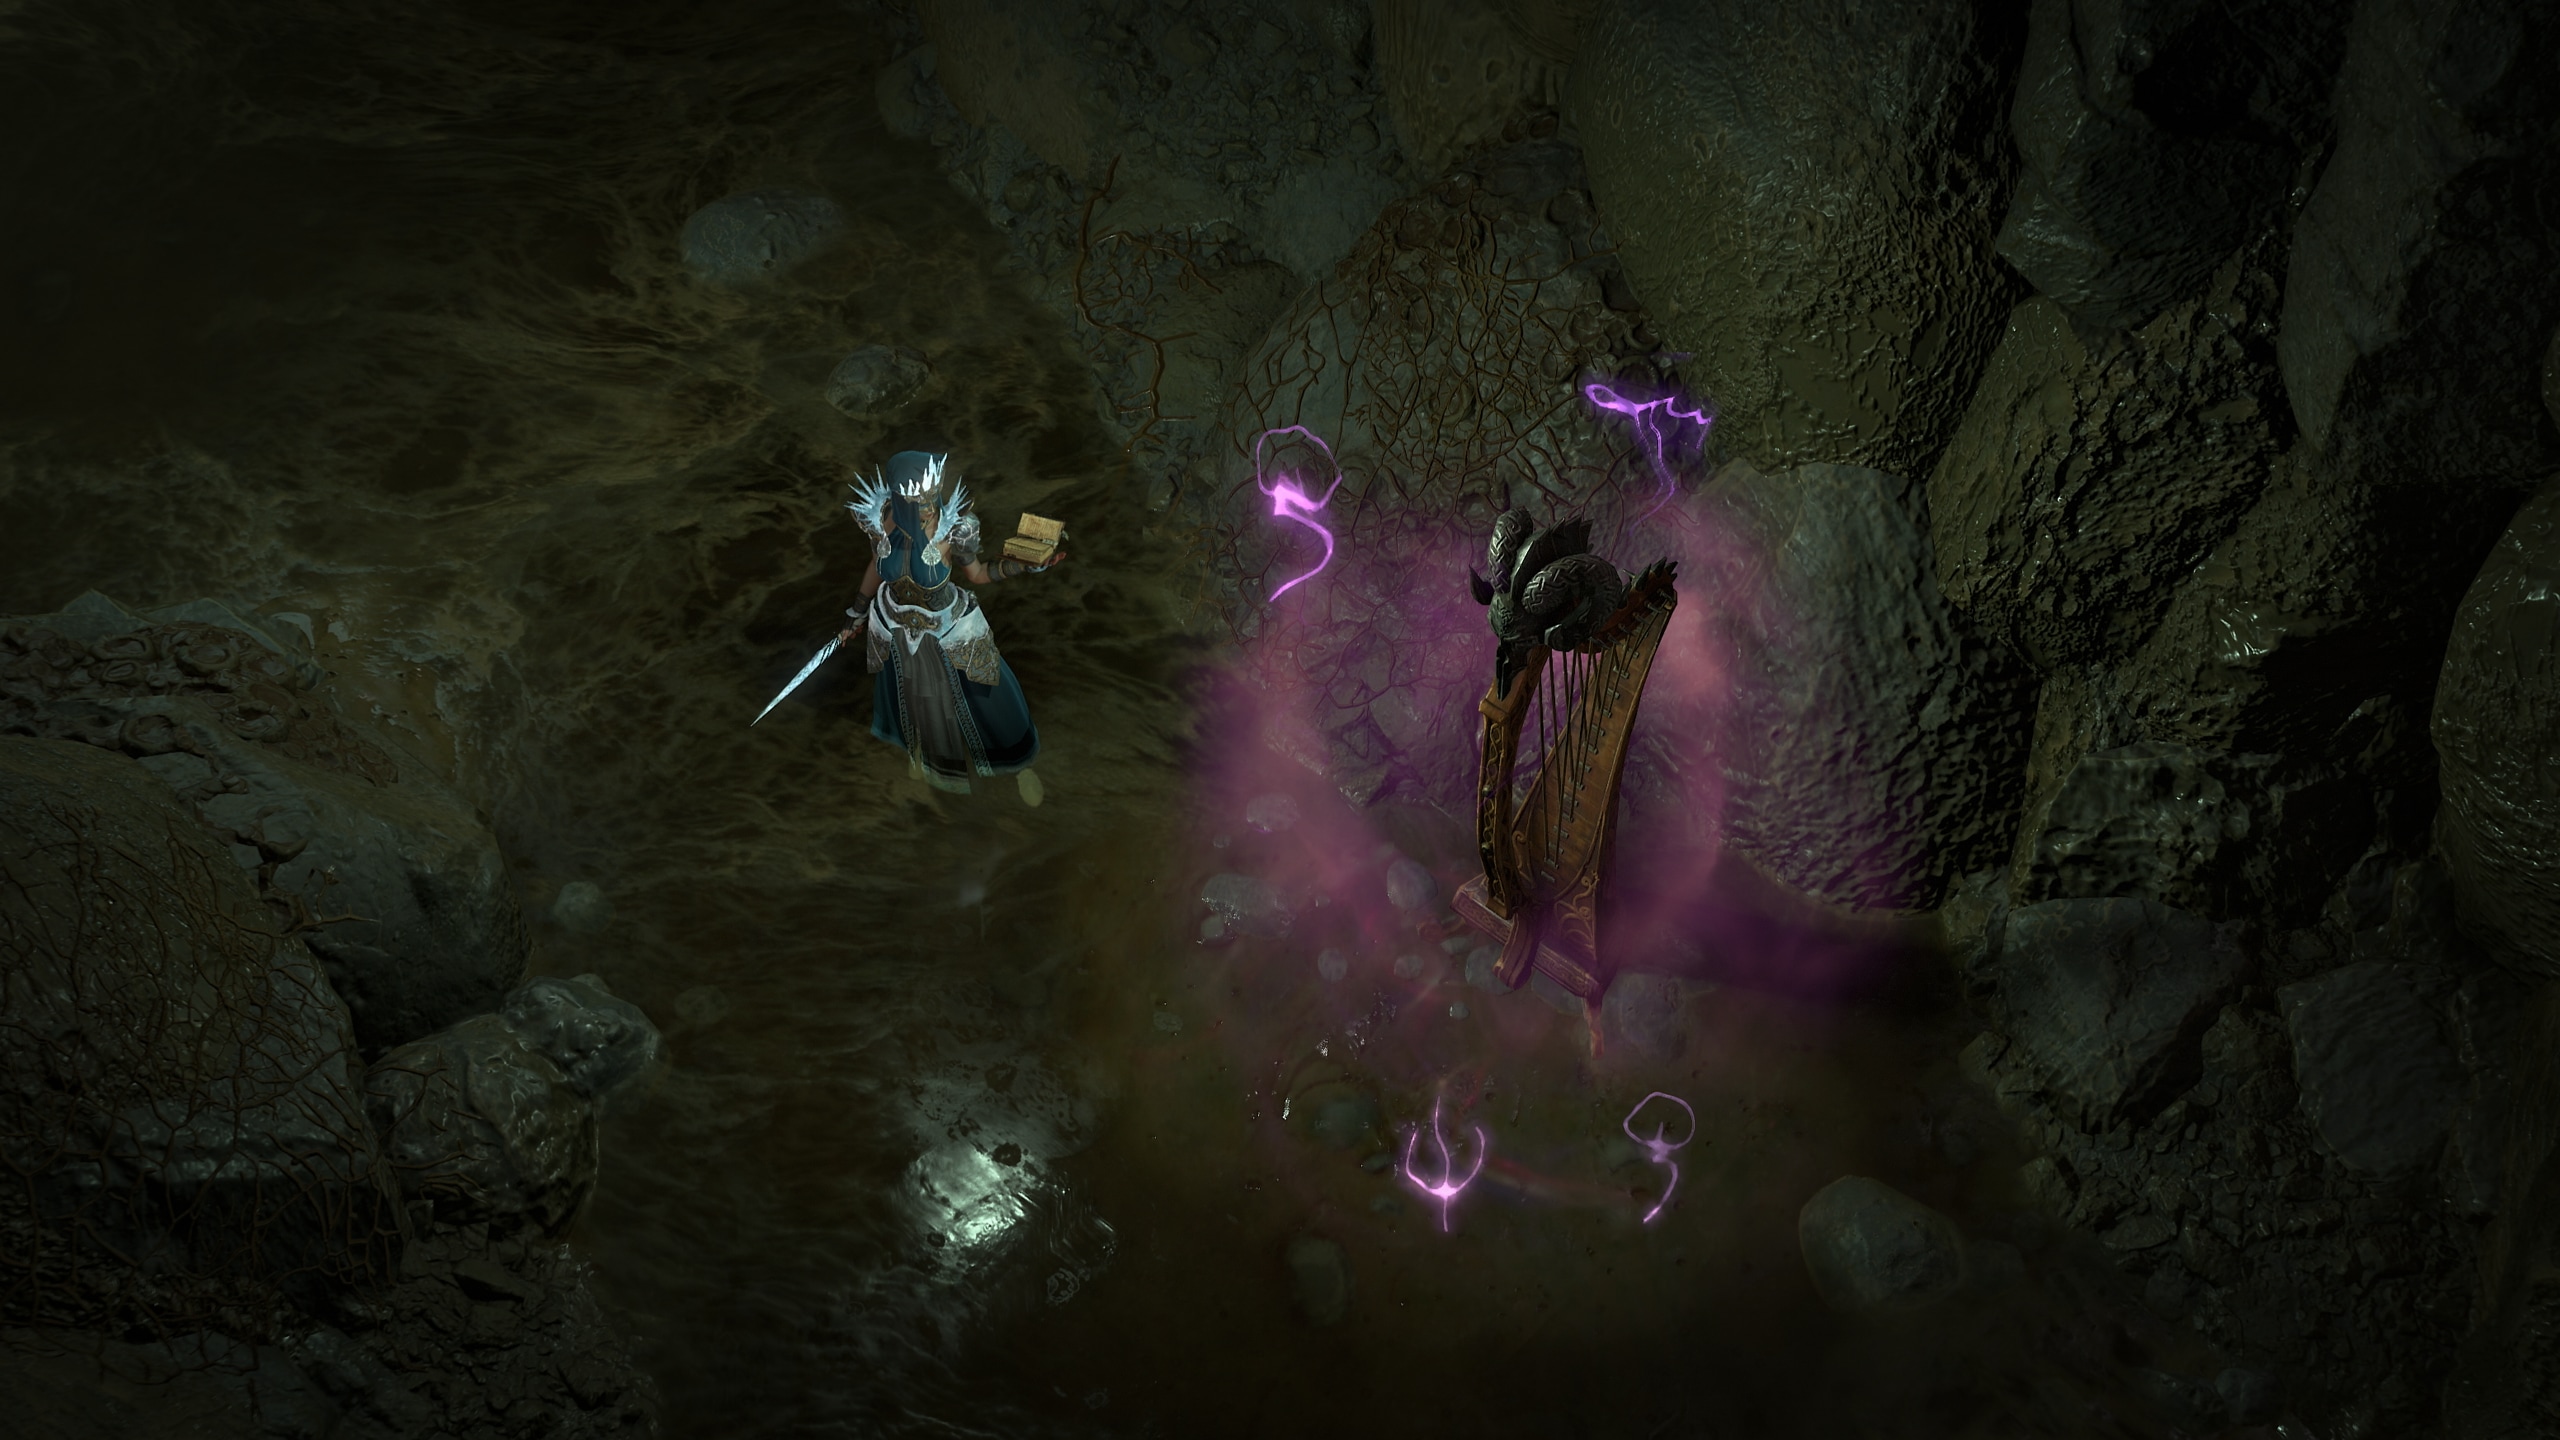
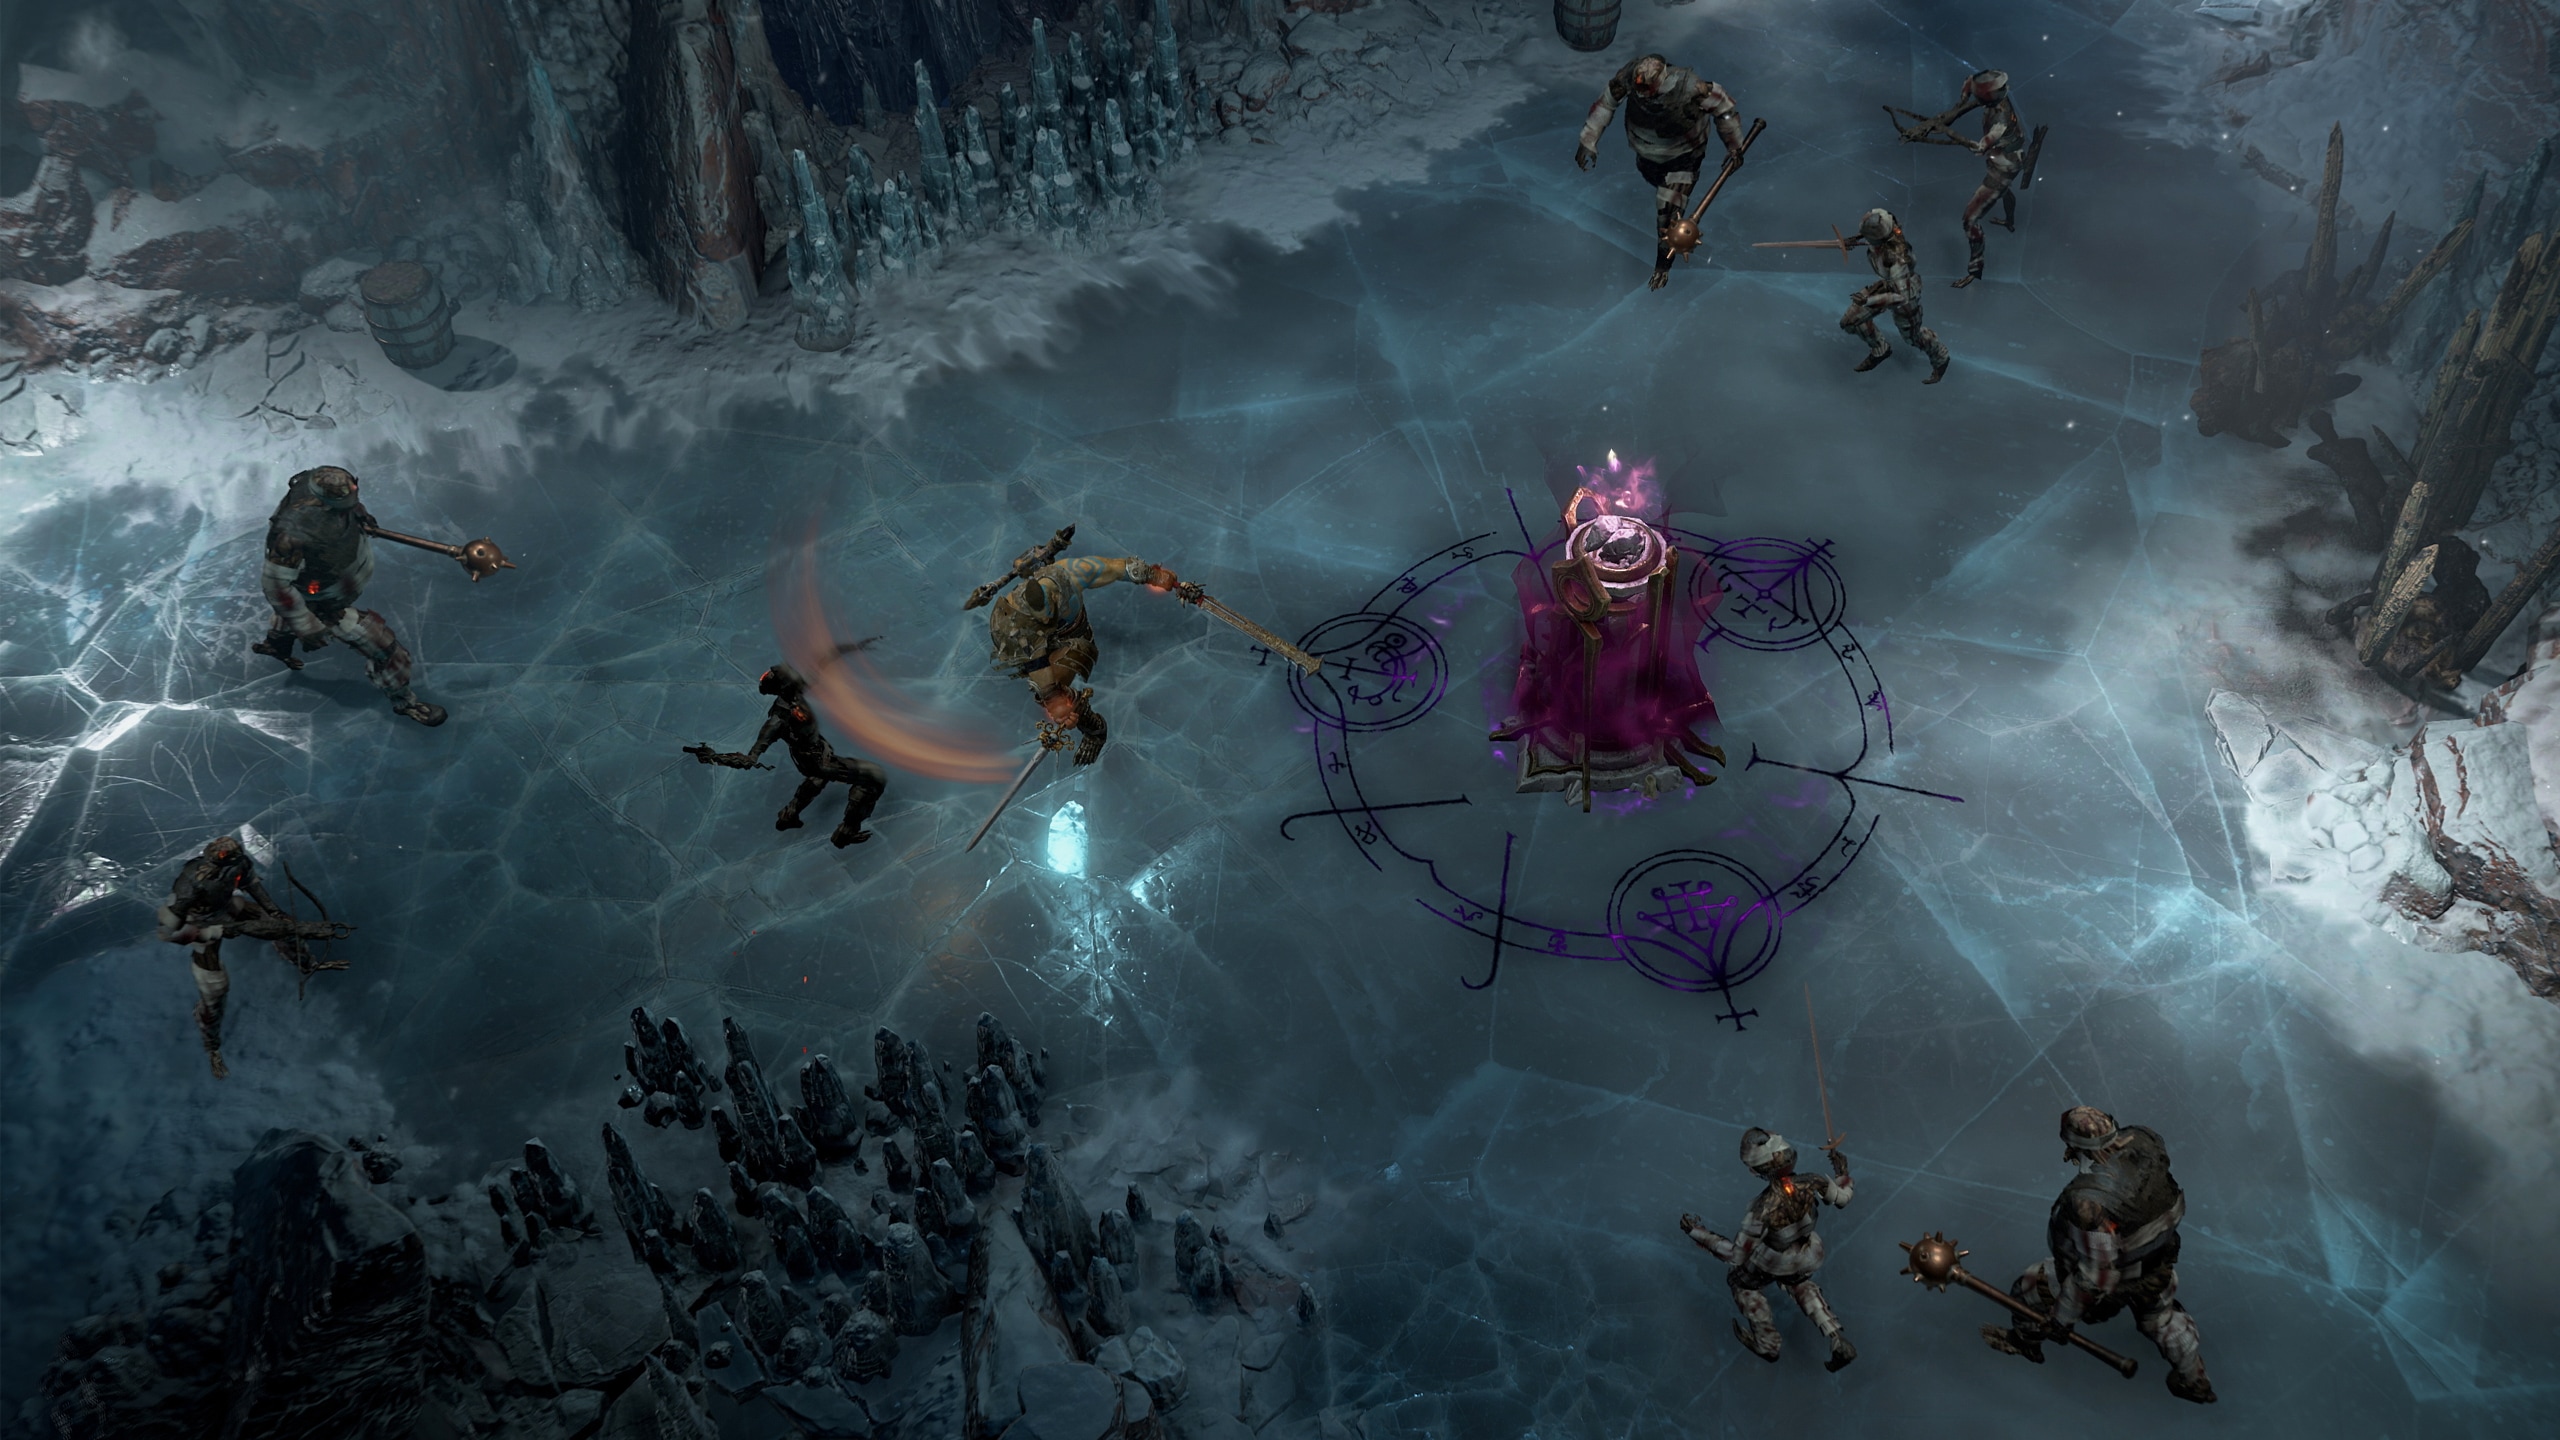
Astaroth Reignited
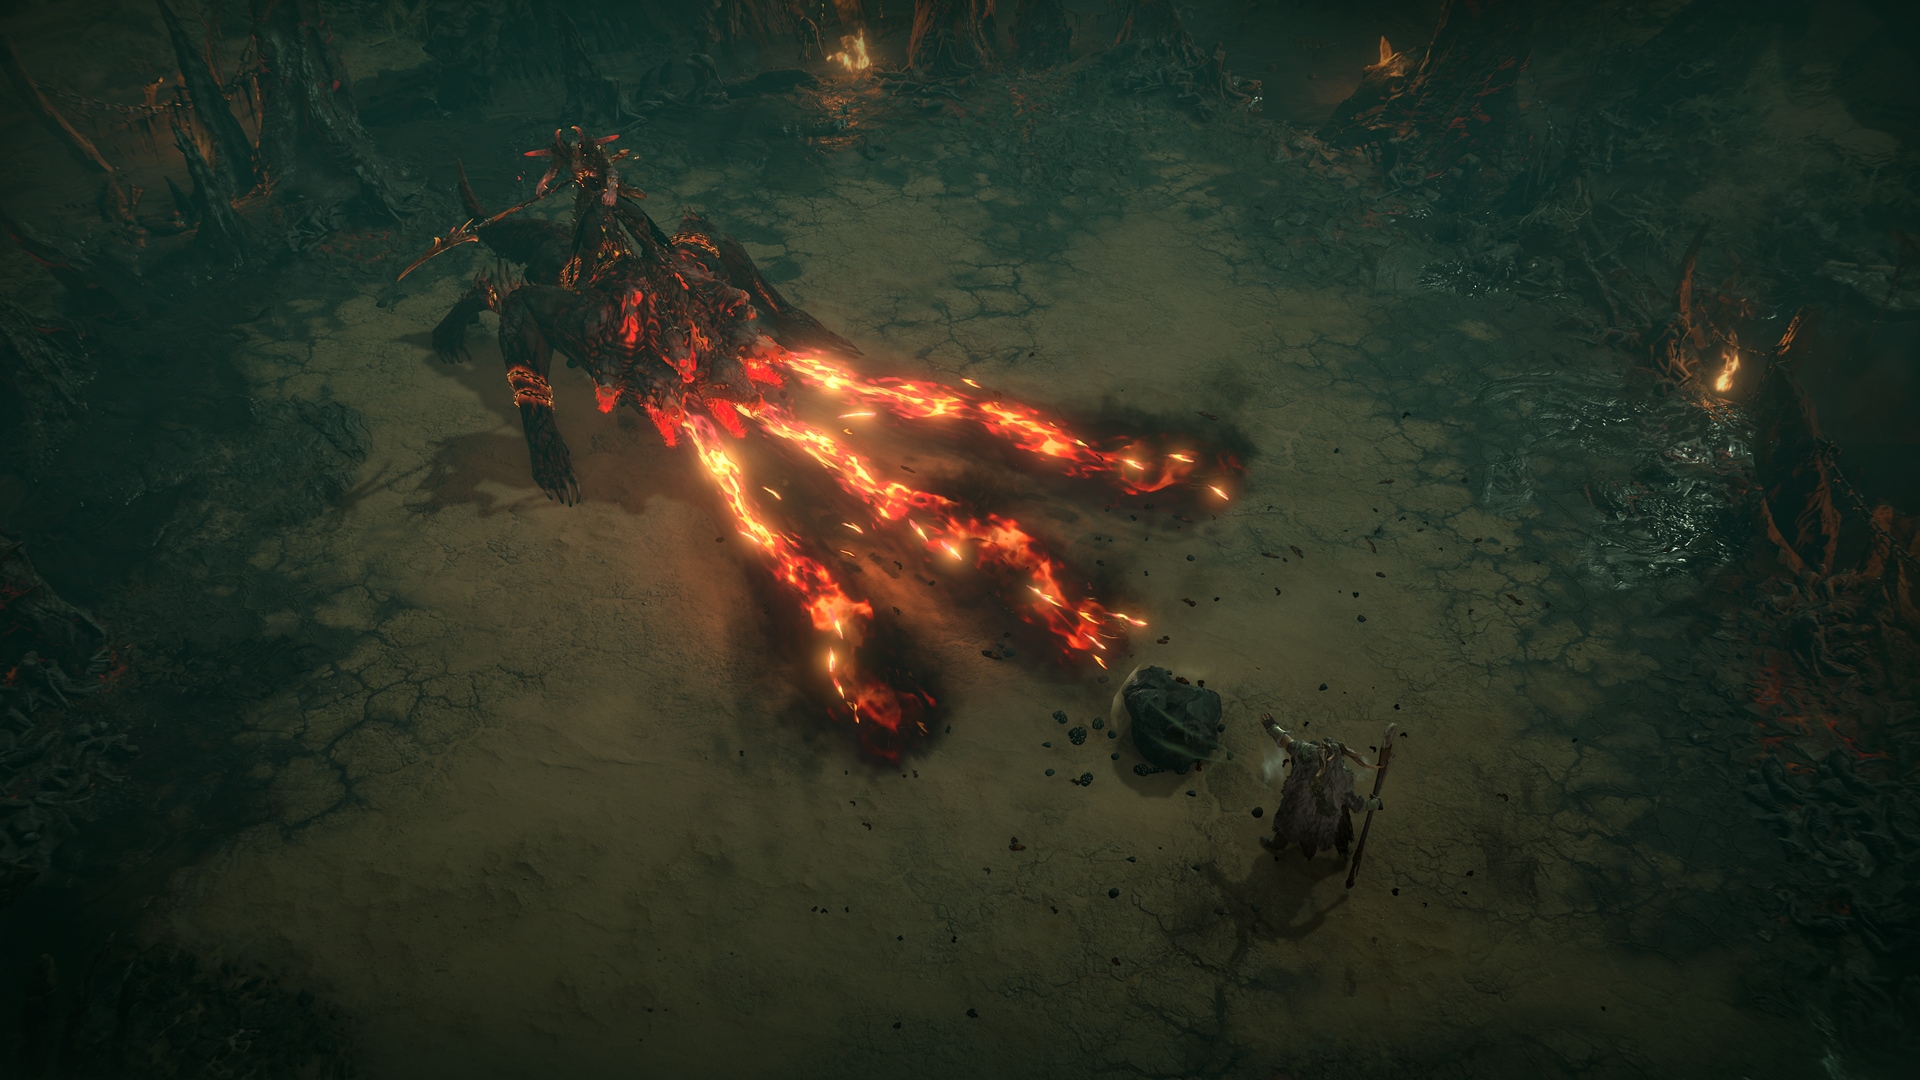
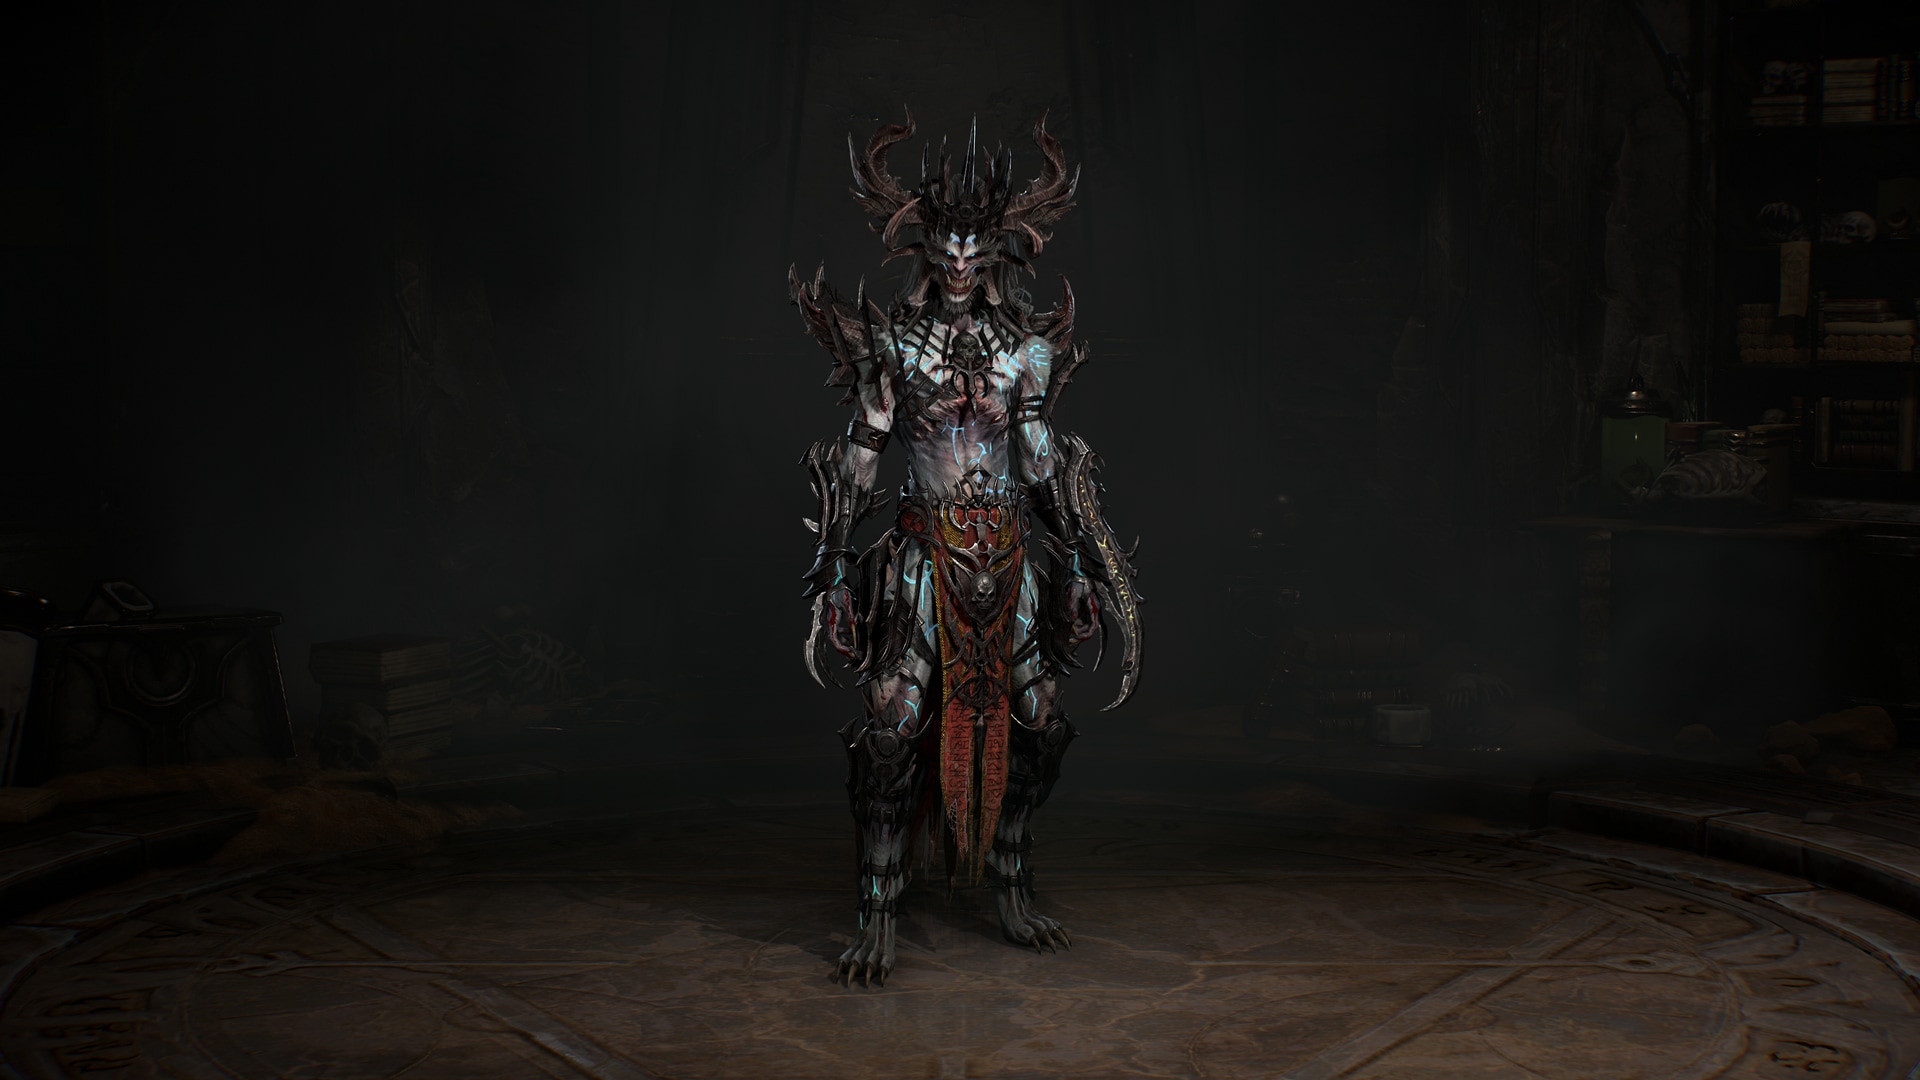
“He called out for you…wept until his tears became fire.” – Astaroth, Diablo IV, Act II
A familiar face awaits you at the end of your Nightmare Escalation.
Face Astaroth and the monstrous Amalgam with a new, challenging twist. As the battle unfolds, Astaroth will shed his mount, splitting into two terrifying bosses. Maneuver and learn their new deadly combos to defeat Astaroth. This Astaroth Boss fight can be potentially modified through certain Nightmare Dungeon affixes, which dial up the heat on his attacks.
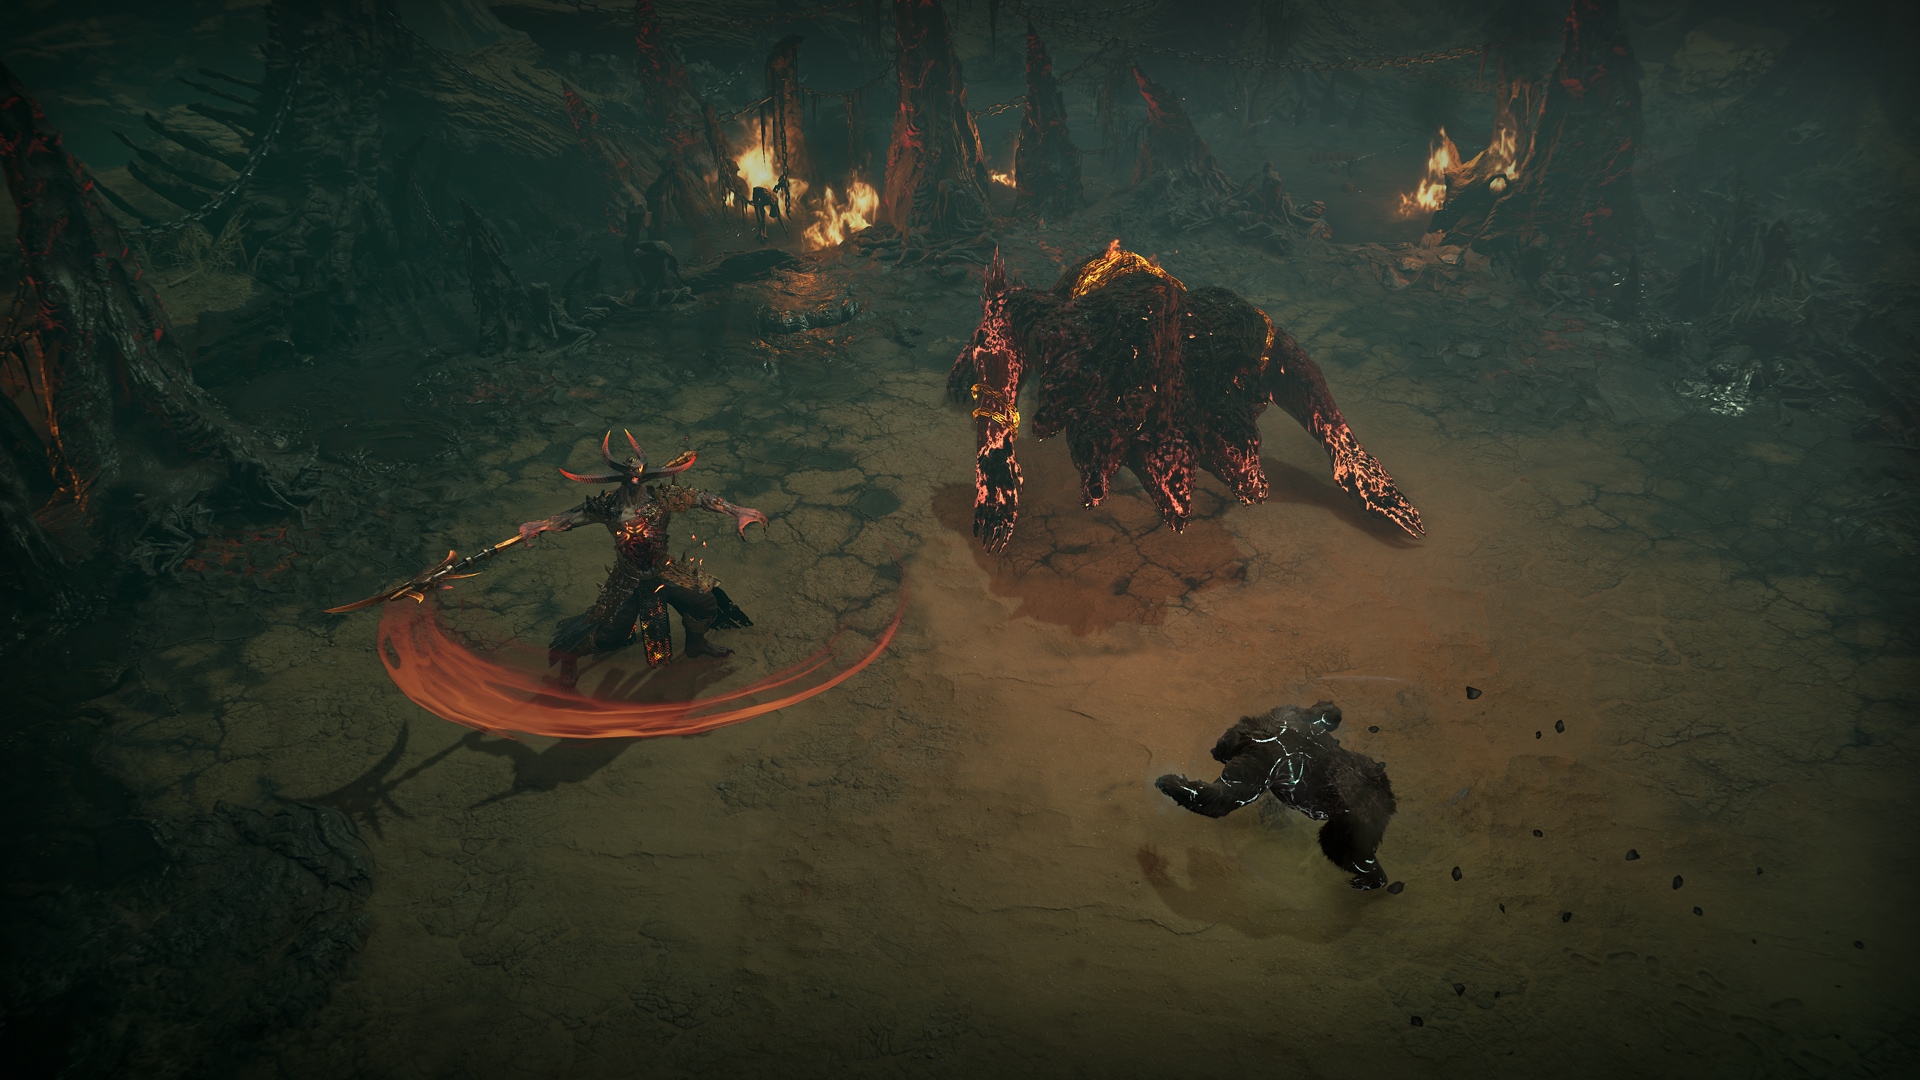
If you slay the Amalgam before Astaroth, the hound of Hell goes into a resurrection state but can’t be fully slayed while his Master still lives. After a brief time, the Amalgam will recover and rise to rejoin the fight. Slaying these two be a test of your mettle on the battlefield, fear this acolyte of Mephisto and the destructive power he wields.
Defeating Astaroth has a rare chance to drop a Horadric Jewel, slay the Charred Duke himself to try and earn one of these powerful tools.
Permanent Nightmare Dungeon Updates
The Dungeons of Sanctuary often sit idle, allowing the monstrous forces within to slowly mutate, changing slowly to provide new horrors to slay through. In Season 9: Sins of the Horadrim, we are shaking up Nightmare Dungeons in several ways that affect Sanctuary permanently beyond this Season.
Permanent Features to Remain Beyond Season 9
To confirm what is permanent to the game on July 1, here is a breakdown.
Permanent to both Seasonal and Eternal Realms
- Nightmare Dungeon Updates
- Horadric Strongrooms
- Escalating Nightmares
- New Nightmare Dungeon affixes
- Quality-of-Life: Mouse and Keyboard on Console
- New Uniques for each Class
Exclusive to Season 9: Sins of the Horadrim
- Seasonal Questline
- Horadric Spellcraft
- Horadric Jewels
- Horadric Knowledge Seasonal Reputation
You can now activate Nightmare Sigils from within Nightmare Dungeons once the dungeon is complete. You no longer need to exit the dungeon to enter a new Nightmare Dungeon. There is no escape! If you prefer.
New Nightmare Dungeon Affixes
In addition to Strongrooms and Escalating Nightmares, a new set of affixes have been added to Nightmare Dungeons to make them more rewarding. Each basic Nightmare Sigil will now include a positive affix from this refreshed and expanded pool of positive affixes.

Affix Types
Horadric Reserves
- Spawns in loot chests with specialized rewards.
- Rewards Gem Fragments, Gold, Obols, Seasonal Currency, Resources.
Equipment Delve
- Spawns in collectible items which upgrade a cache of equipment when found.
- Rewards Weapons, Jewelry, Armor.
Power Shrines
- Spawns in additional shrines of the specified type.
- Spawns the following Shrines: Artillery, Blast Wave, Channeling, Lethal, Protection.
Miscellaneous
- Forgotten Wisdom: Experience will have a chance to spawn on kill, and an experience well will spawn somewhere in the dungeon.
- Treasure Breach: A number of Treasure Goblins will invade the dungeon.
- Horadric Strongroom: Guaranteed Horadric Strongroom.
Earn New Unique Items
New powerful Unique Items enter the fray to amplify your ability to dispatch demons at fabled speed.
Barbarian
Hooves of the Mountain God (Unique Boots):
Affixes:
- Inherent - Attacks Reduce Evades Cooldown by 2.5 Seconds
- +17.5-23% Movement Speed
- +16-25% Basic Attack Speed
- +7-10 Fury Per Seconds
- +2-3 Ranks to Belligerence
- Cleave Radius 150 135
Unique Power:
- When reaching Maximum Fury, your Fury will rapidly drain until you run out and all your Basic skills now cleave and deal 70-100%[x] increased damage.
Druid
Rotting Lightbringer (Unique Two-Handed Weapon):
Affixes:
- Inherent: 110% Damage to Poisoned enemies
- 18-22% 14-18% Willpower
- 406-550% 114-150% Poison Damage
- 26-35% Chance for Pulverize to Hit Twice
- 26-35% Resource Cost Reduction
Unique Powers:
- If no puddle is around you, Pulverize forms a puddle that guarantees its own Overpowers and deals 200-600% of its normal damage as Poisoning over 7 seconds. Pulverize causes all close puddles to splash 20-60% of their total damage within their areas and around them. Pulverize radius increase will affect the size of the puddle and its splashes. Every 10 seconds, Pulverize forms a puddle that deals 200-400% of its damage as Poisoning damage over 6 seconds. Pulverizing the puddle splashes an additional 20-40% of the puddle's total damage within the area and around it.
Necromancer
The Hand of Naz (Unique Gloves):
Affixes:
- 77.5-100% Skeletal Mage Damage
- 10.5-15% Attack Speed
- +424-457 Maximum Life
- +2-4 Skeletal Mage Mastery
Unique Powers:
- Sacrificing both Skeletal Warriors and Golems grants an additional Skeletal Mage for each Minion sacrificed.
- When a Skeletal Mage attacks enemies 25 times without dying it upgrades to a Skeletal Arch-Mage.
- Skeletal Arch-Mages teleport to safety when attacked and their attacks occasionally shatter on impact dealing 50-100% increased damage to the target and up to 3 additional targets. The time between attacks shattering has been reduced by 50%. Skeletal Arch-Mages now become unstoppable for 1 second after teleporting. Arch-Mage size slightly increased.
Rogue
Deathmask of Nirmitruq (Unique Helm):
Affixes:
- +424-457 Maximum Life
- +2-3 Skill ranks to Flurry
- +16-25 Movement Speed
- +224-296 Armor
Unique Power:
You can now overexert yourself while Casting Flurry, spending 8% 10% life when you don't have enough Energy. Spending life to Cast Flurry increases its damage by 50-70% 30-50% and your Attack Speed by 50% for 5 seconds.
- Developer's Note: Flurry will fail to cast when the player has neither enough energy or health available.
Sorcerer
Ophidian Iris (Unique Amulet):
Affixes:
- Inherent: +30% Resistance to all Elements
- Inherent: Casted Hydras Have +2 Heads
- +11.5-15.7% Intelligence
- +10.5%-15.0% Attack Speed Critical Strike Chance
- +77.5-100% Pyromancy Damage
- +1-2 to Primordial Binding Devouring Blaze
Unique Power:
- Hydra is now a Core Skill and always Summons a 3-headed Hydra whose attacks explode on impact.
- For each head above 3 that it would have had, the Hydra instead grows larger and deals 50-100%[x] increased damage.
Spiritborn
Balazan's Maxtlatl (Unique Pants):
Affixes:
- +107-121 Dexterity
- +424-457 Maximum Life
- +268-373 Thorns
- +2-3 Ranks to Bastion
Unique Powers:
- Each attack damages Close enemies for 100-150% 200-300% of your Thorns and also deals 100% of this damage as Poisoning over 3 seconds.
- Each time you've retaliated with Thorns, for 5 seconds the Poisoning damage is increased by 100%, up to 300%.
New Unique Drop Locations
There is an increased chance to find these Unique items at the following boss locations:
The Beast in Ice
- Hooves of the Mountain God
- Deathmask of Nirmitruq
Varshan
- Rotting Lightbringer
- Balazan's Maxtlatl
Andariel
- The Hand of Naz
- Ophidian Iris
Duriel
- The Hand of Naz
- Ophidian Iris
Urivar
- Hooves of the Mountain God
- Rotting Lightbringer
- Deathmask of Nirmitruq
- Balazan's Maxtlatl
Harbinger of Hatred
- The Hand of Naz
- Ophidian Iris
Carve Through the Sins of the Horadrim Reliquary
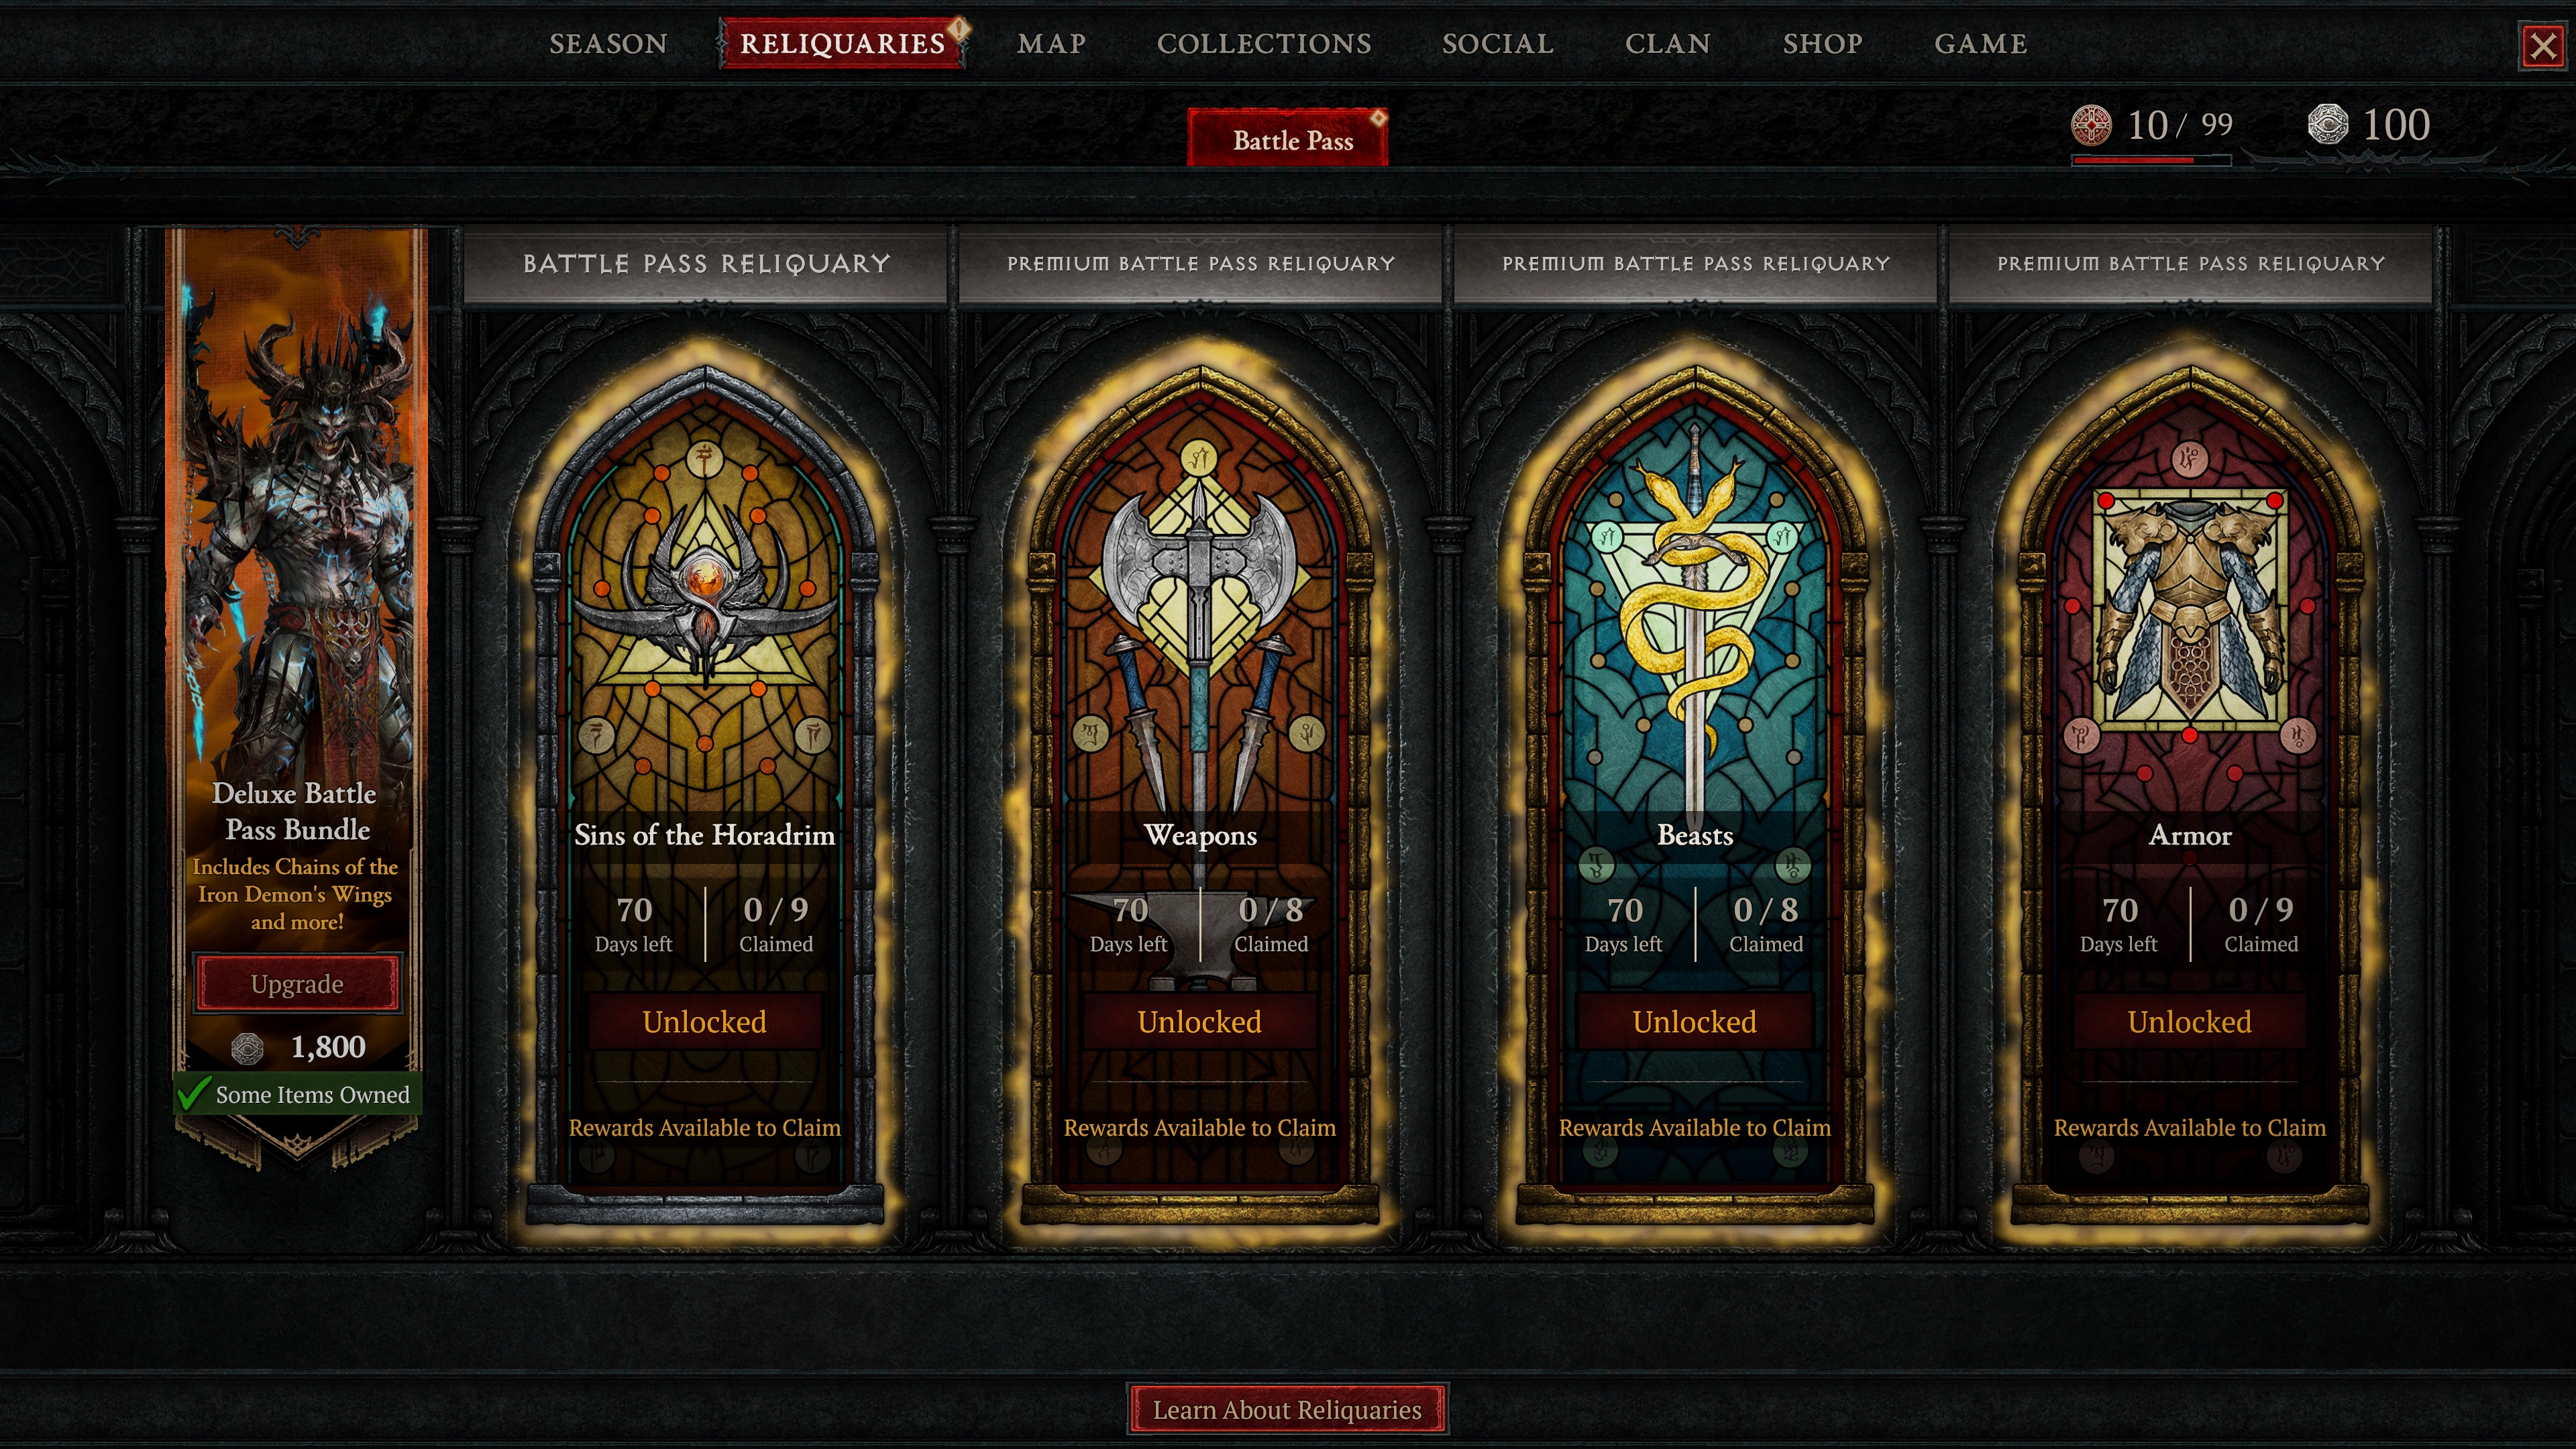
This Season brings an all-new Battle Pass Reliquary and several Premium Battle Pass Reliquaries to sink your teeth into.
The Sins of the Horadrim Battle Pass Reliquary—available to all—offers resplendent rewards such as the Eventine Mount, Nightslayer’s Barding Mount Armor, and the Door of the Iron Demon Town Portal.
Purchase the Premium Battle Pass Bundle 1,000 Platinum for quick access to all 3 Premium Reliquaries which includes the Weapons, Beasts, and Armor Reliquaries. Remember, this Bundle will no longer be available if you purchase any of the Premium Reliquaries individually.
Deluxe Battle Pass Bundle
Chains that bind can also look devilishly sinister, especially as a set of wings. Purchase the Chains of the Iron Demon wings and more when you purchase the Deluxe Battle Pass for 2,800 Platinum. This bundle includes:
- The Iron Demon armor set* immediate unlock for each Class
- Chains of the Iron Demon Wings for each Class
- Scapegoat Pet
- Access to the Weapons, Beast, and Armor Reliquaries
*Other Reliquary items must be unlocked using Favor Tokens.
Unlock Rewards from the Season Journey
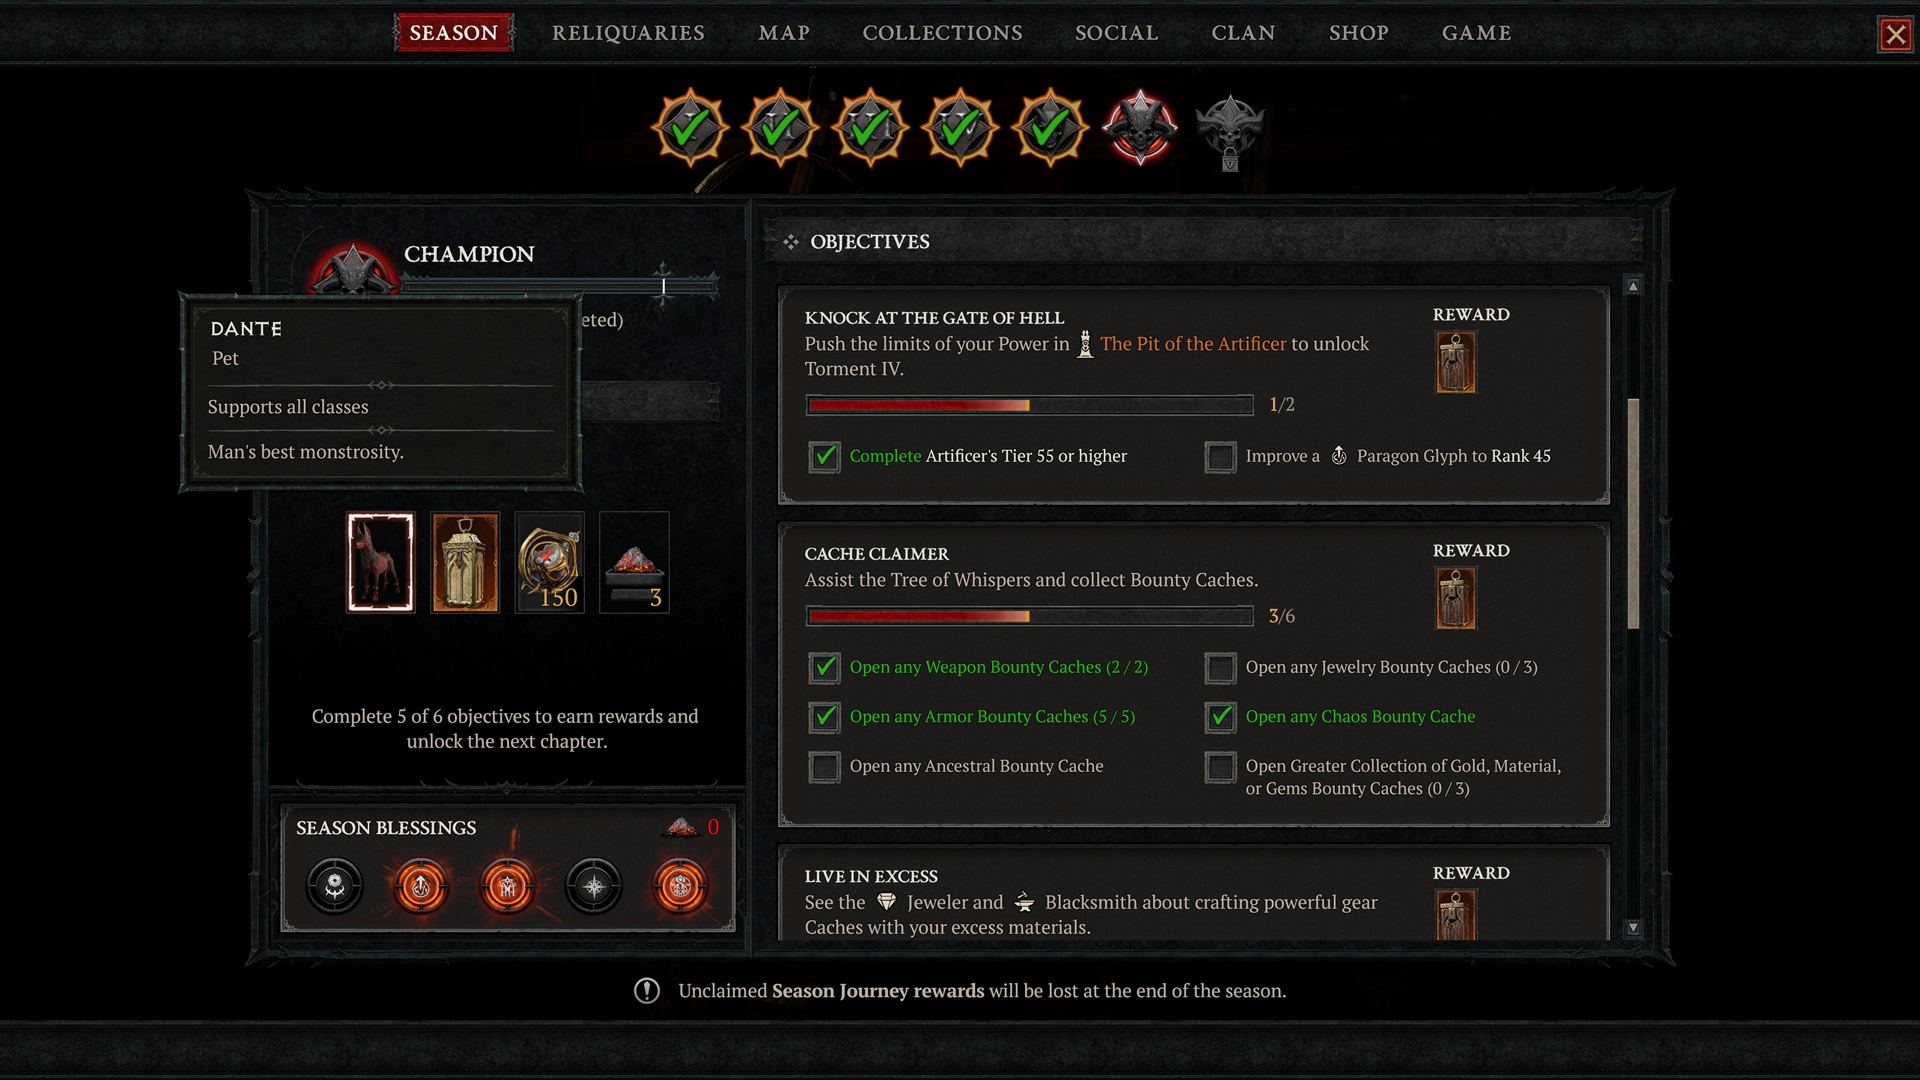
As you cleanse Sanctuary’s soil with the constant flow of demon blood, you’ll earn rewards from the Season Journey.
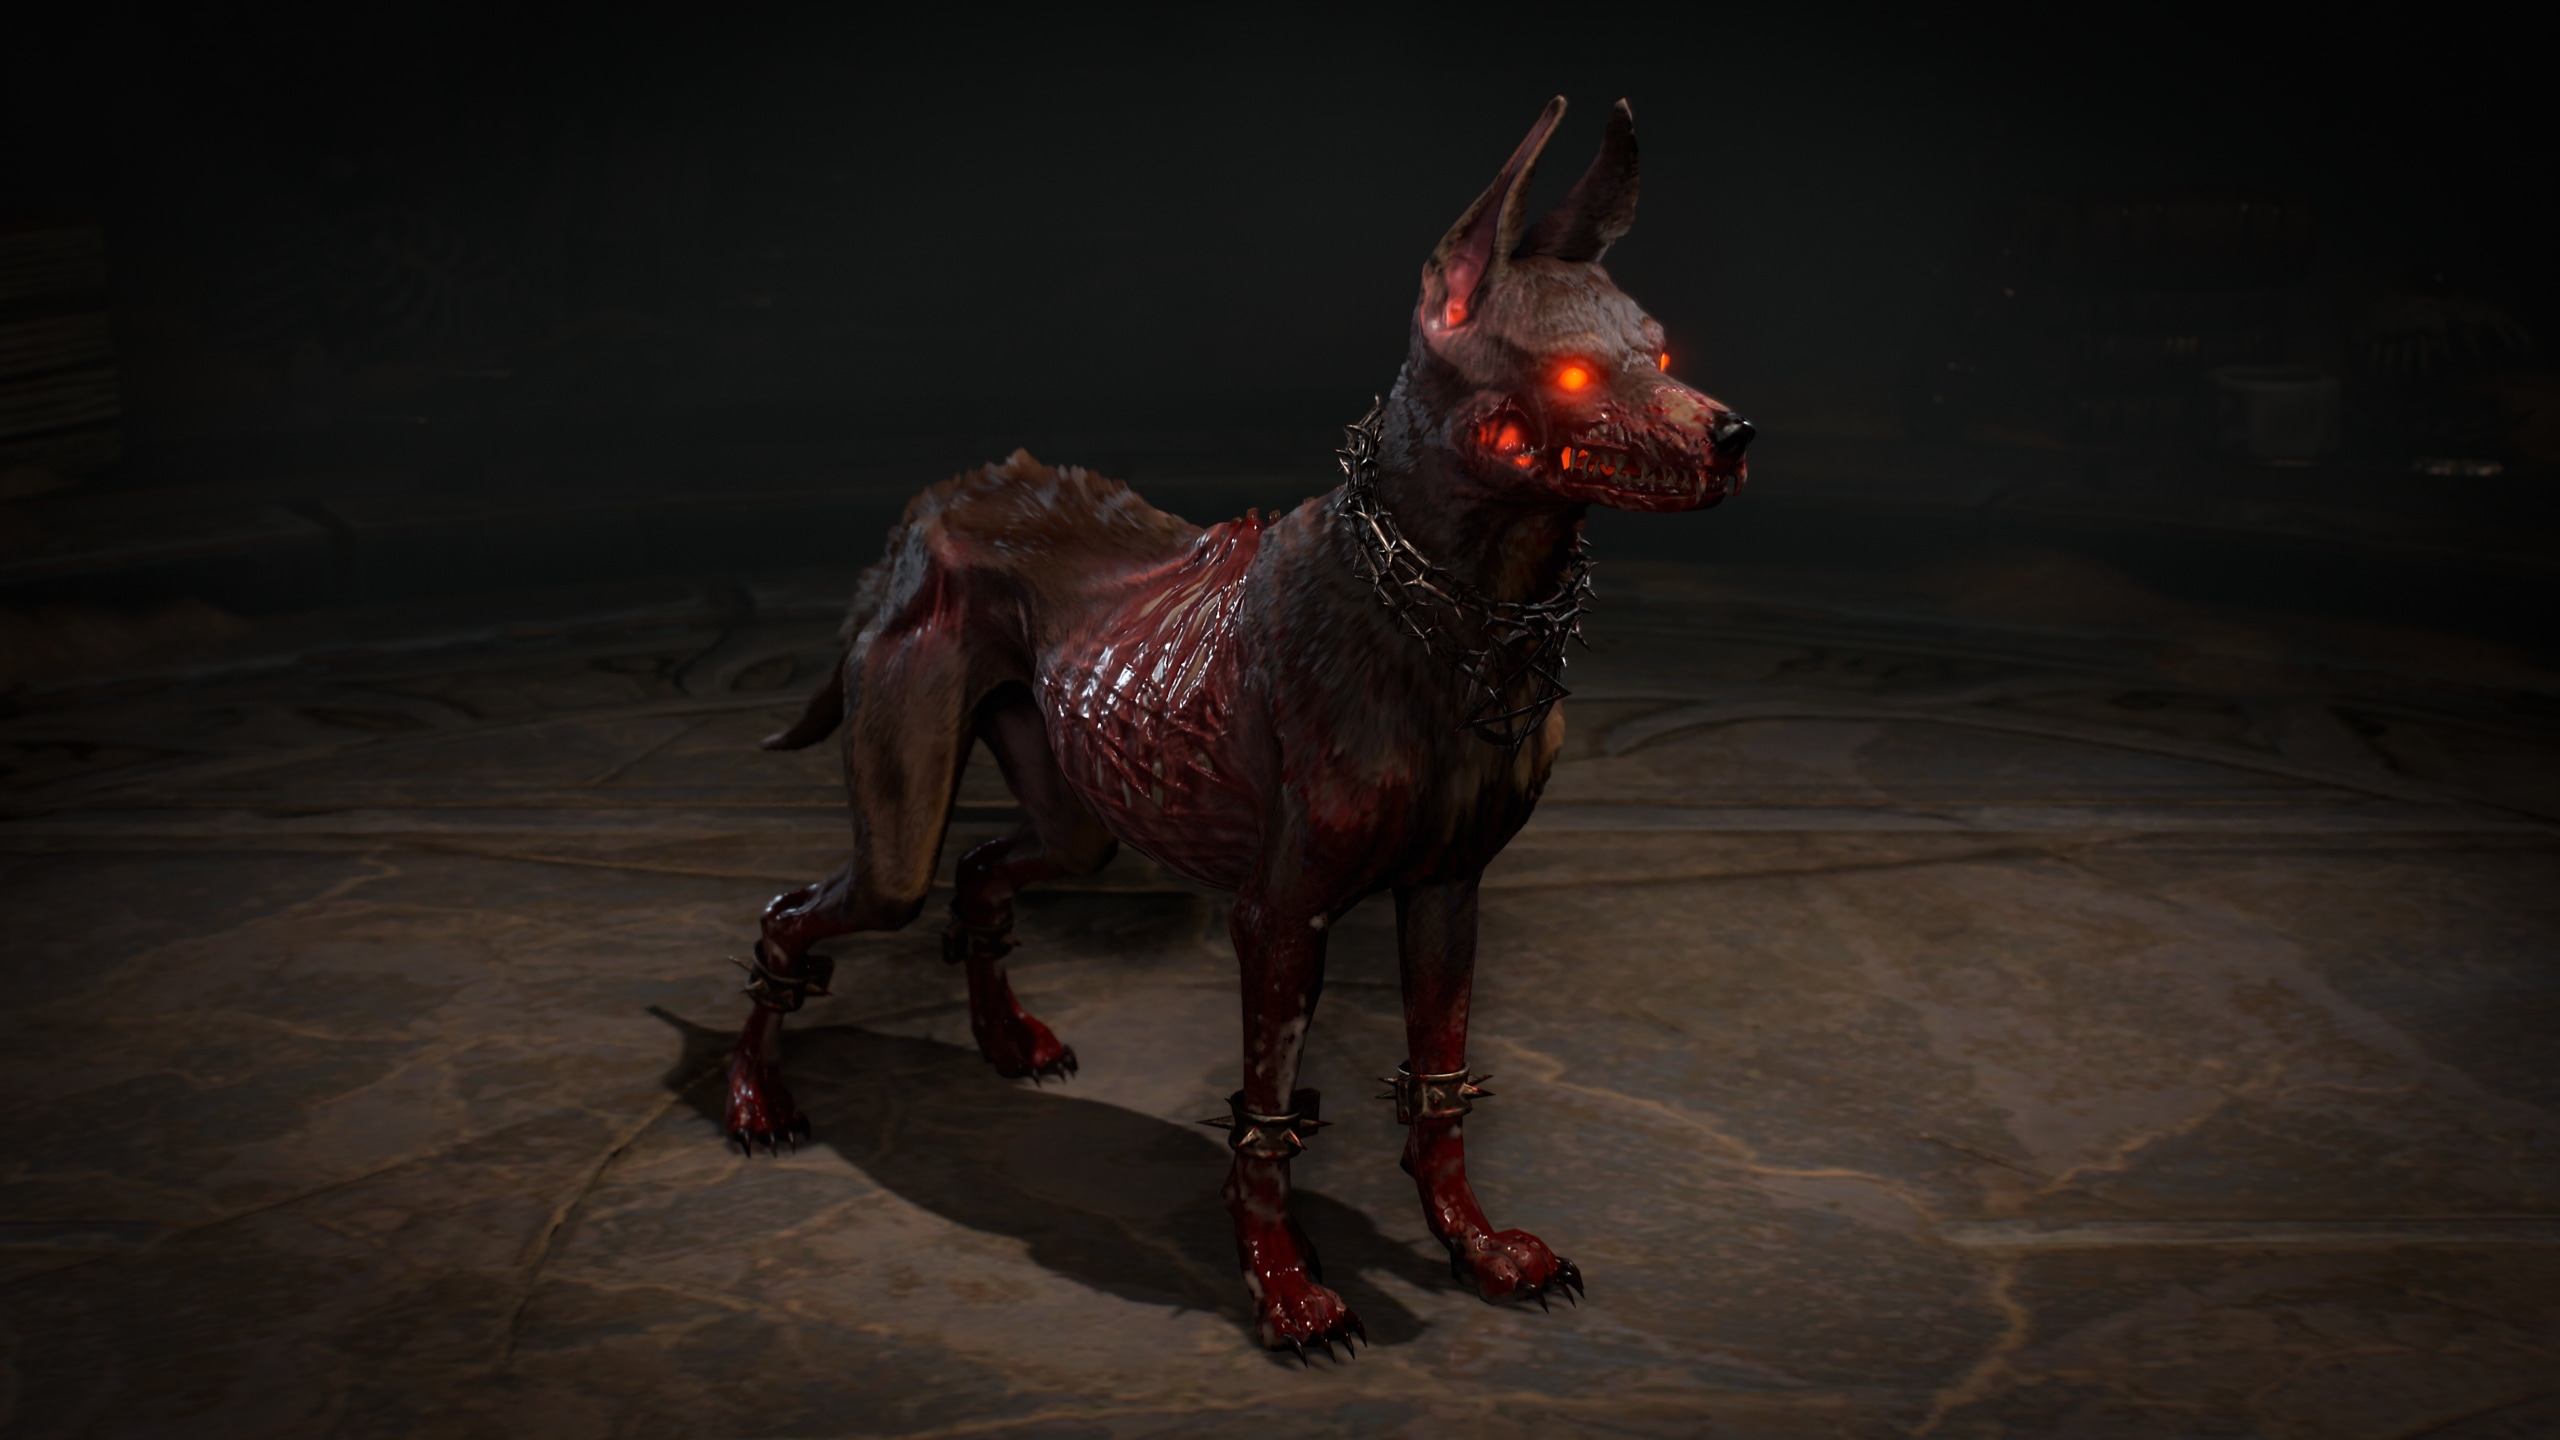
Progress through to earn rewards befitting a defender of Sanctuary, such as a Resplendent Spark. Completing Chapter 6 of the Season Journey will reward you with Dante the Dog as a Pet to use in-game. His barks match his hellish bite, you’d do well to keep this wanderer’s best friend by your side.
Remember that you do not need to complete all objectives in each Chapter of the Season Journey to earn the rewards.

Season 9: Sins of the Horadrim Season Blessings
Within the Season Journey, you’ll have the ability to unlock Season Blessings and Smoldering Ashes. Smoldering Ashes can be earned as Chapter Rewards for completing objectives in the Season Journey. Once you’ve earned Ashes, they can be spent on these Seasonal Blessings:
- Urn of Curiosities: Boost the chance of receiving a second item when purchasing from the Purveyor of Curiosities.
- Urn of Glyphs: Grants a chance to earn an extra upgrade when improving glyphs.
- Urn of Escalation: Boosts the chances of finding additional Gear items in Astaroth’s rewards.
- Urn of Remnants: Boosts the number of Horadric Phials found in a Horadrim’s Locket.
- Urn of Strongrooms: Boosts the chance of finding an additional Escalation Sigil in Horadric Strongrooms.
Acquire Fabled Threads from Tejal’s Shop
A chill has descended on the Shop with new Equipment, Armor, Accessories, Mounts, and Mount Armor bundles that will have you slaying in style. Starting on July 1 at 12 p.m. PDT, visit Tejal to browse her wares—remember to check back often, as she’ll update her stock throughout Season 9: Sins of the Horadrim.
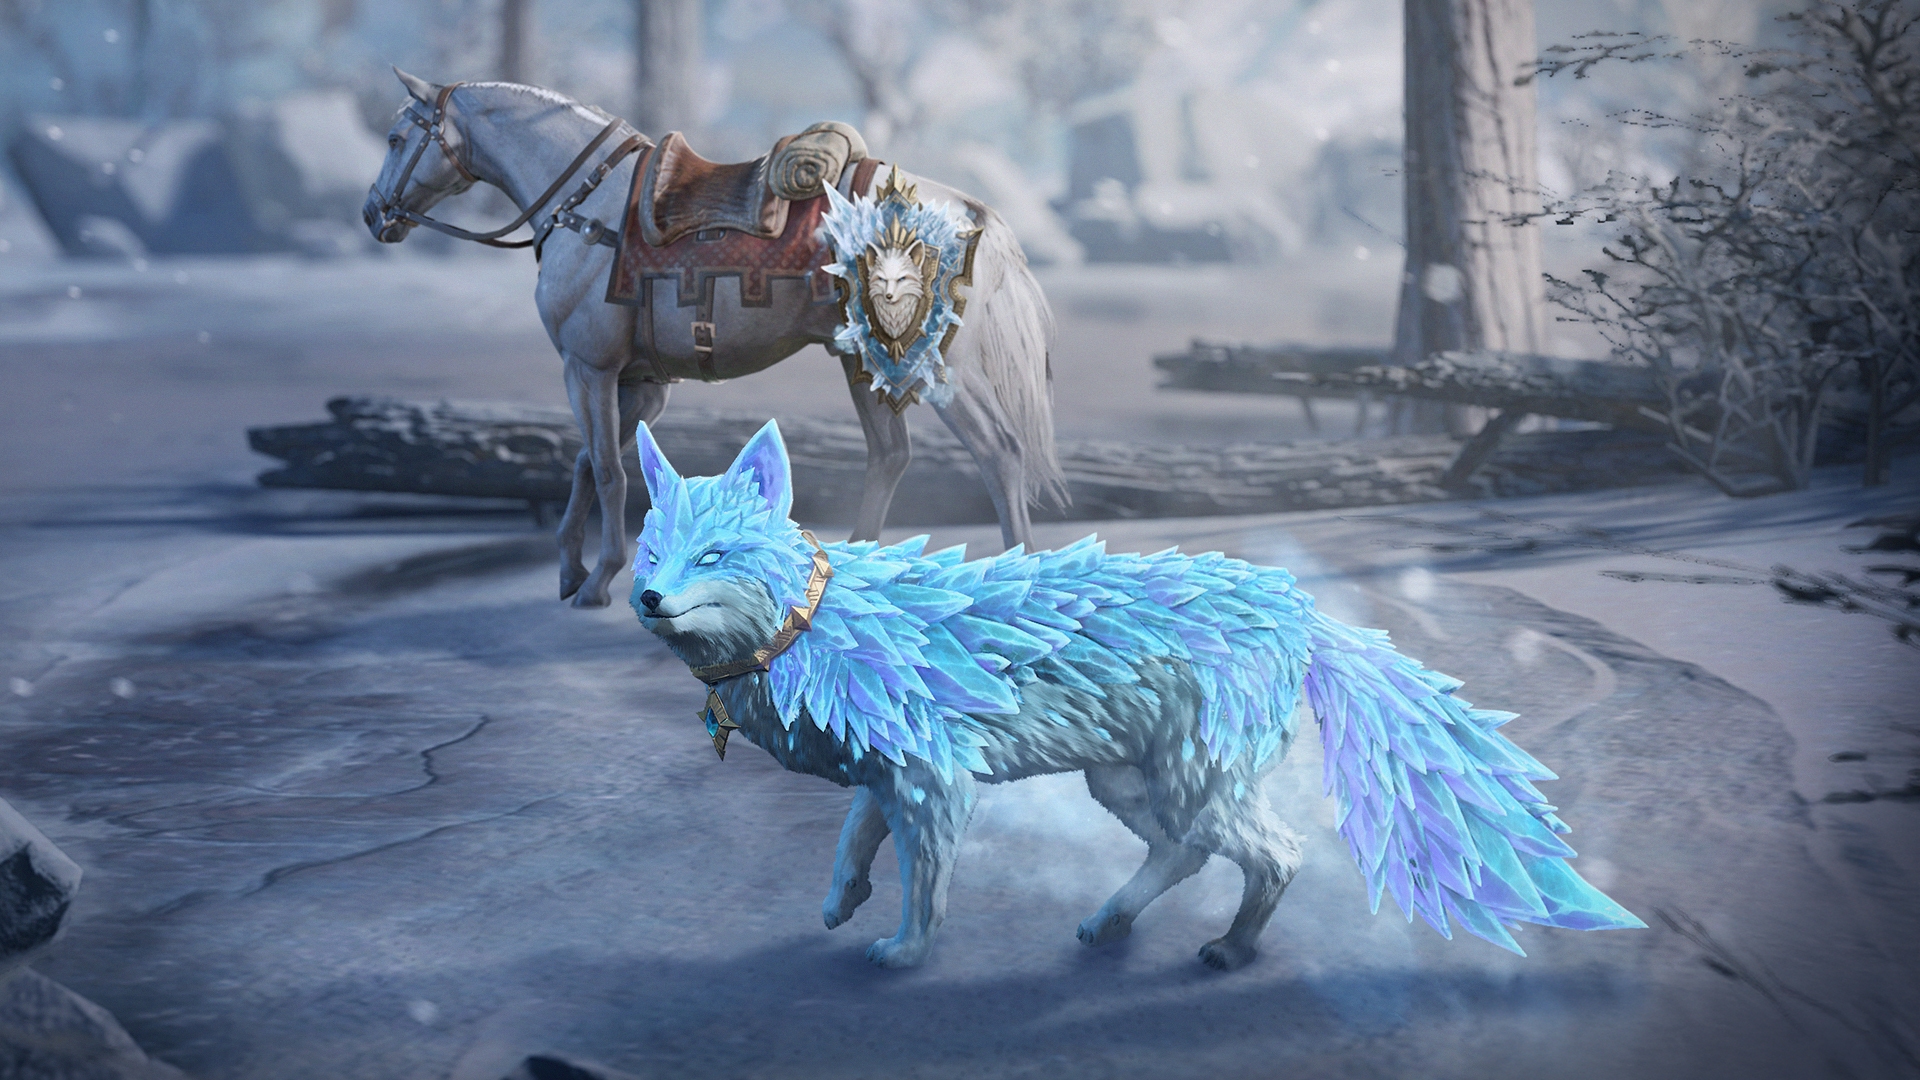
One such rarefied find from the far reaches of Sanctuary is the Azul Prestige Pet Bundle, which contains the Azul Pet, Azul’s Crest Mount Trophy, and His Slyness Emblem. This can be purchased from Tejal’s Shop for 2,500 Platinum.
Enhance the Carnage with NVIDIA DLSS 4
The battle for Sanctuary accelerates, NVIDIA DLSS 4 with Multi Frame Generation Native Support coming in Season 9: Sins of the Horadrim.
DLSS Frame Generation and NVIDIA Reflex was available for Diablo IV on launch, giving you the ability to max out frame rates and reduce PC latency, for a faster, more responsive demon slaying experience. Last year, Sanctuary was updated with ray-traced effects, making your glorious adventures more dynamic and spectacular.
On July 1, 2.3.0 will add native support for the performance multiplying DLSS 4 with Multi Frame Generation, a feature previously enabled in the NVIDIA app.
We hope you can enjoy these new visual improvements when carving through Hellspawn in Diablo IV!
